Final Project – JaeWook Lee

Assignment,Final Project,Uncategorized — jwleeart @ 10:16 pm

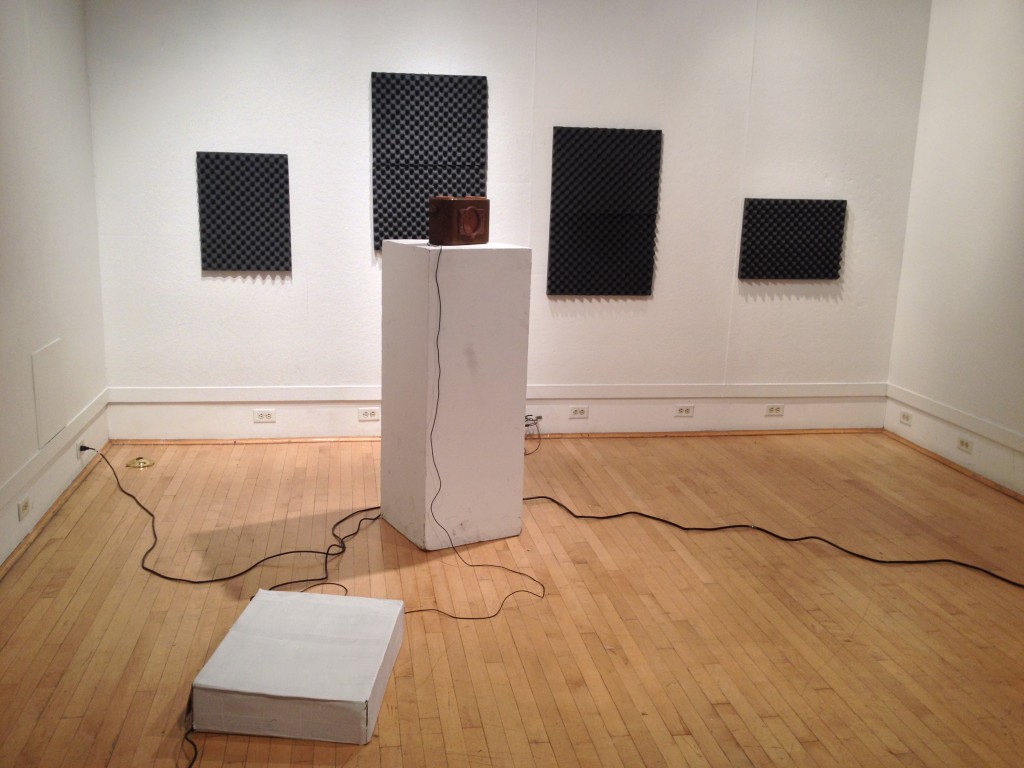
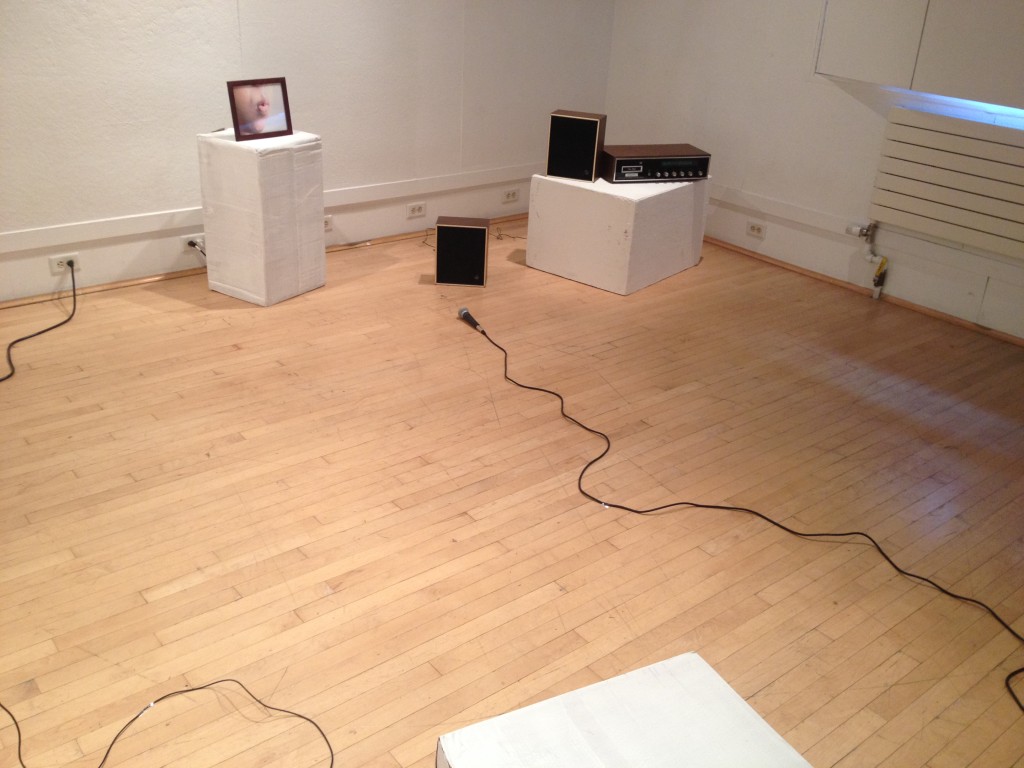
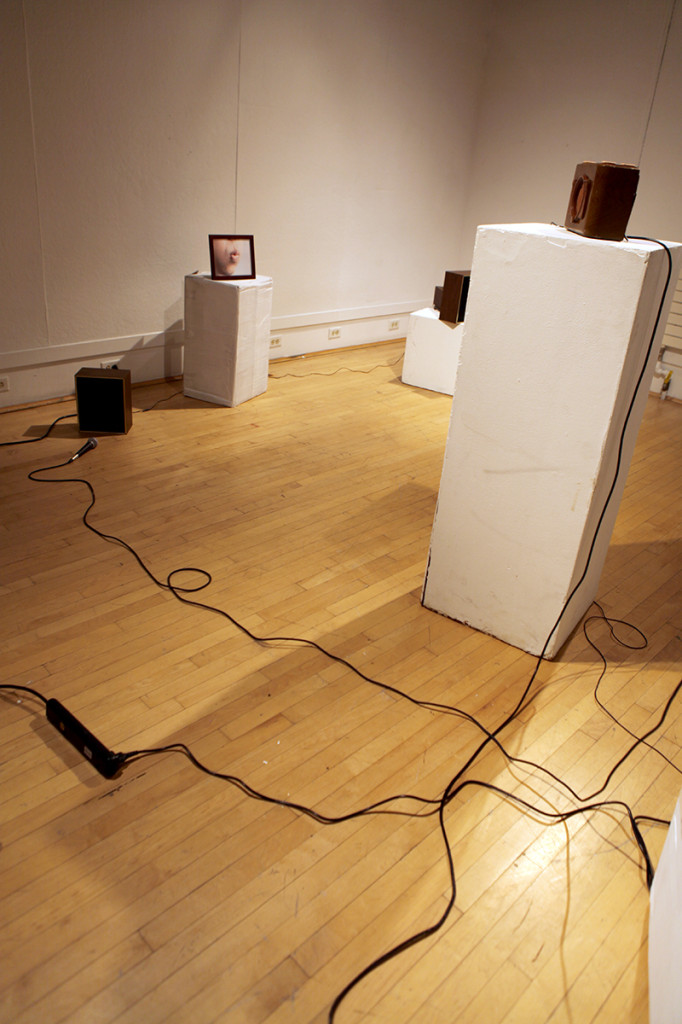
Ideasthesia_installation view


Ideasthesia_installation view

Ideasthesia_installation view

Final Project Milestone 3 – Spencer Barton

3D Printer,Final Project,Instrument,Rhino3D,Scanning — spencer barton @ 8:47 pm

Model Making

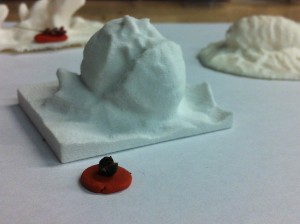
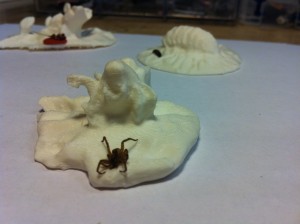
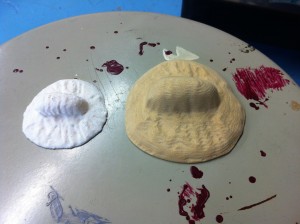
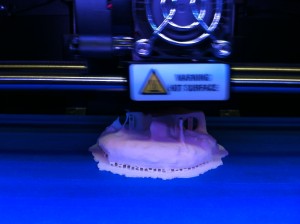
I have begun to create models. The current models utilize additive methods: one with plaster printing (thanks to dFab) and PLA printing with a Makerbot in Codelab. I also utilized the Art Fab CNC to make a slightly larger rolly polly. Some of the below models are shown with the original object that I used for the capture.

2013-11-17 17.53.01

2013-11-17 18.06.09

2013-11-17 17.55.04

2013-11-17 18.08.14

2013-11-23 13.54.47

2013-11-23 13.54.20

2013-11-18 22.59.09

Final Project Milestone 2 – Can Ozbay

Final Project — Can Ozbay @ 6:17 pm

IMG_1322 IMG_1315photo 3


Final Project Milestone 2 and 3 – JaeWook Lee

Final Project — jwleeart @ 6:11 pm


sm02IMG_5930 IMG_5948  sm09

ideasthesia installation view from JaeWook Lee on Vimeo.

Final Project Milestone 2 – Sean Lee

Assignment,Final Project — Sean @ 3:59 pm

to make a shape and circuit

After making the connection of bluetooth, I have worked to make a shape and circuit. For building the shape, I have to decide how to hold and change between a headphone and speaker shape because my previous shape has a potential to be changeable, but it’s not enough to hold a headphone unit without a support. However, one labmate gave a hint to use a joint and socket structure and I did it with Makerbot 3D printer.

photo (5)

And, then I made a quick and dirty shape not for final first because I have to wait some parts from Sparkfun for making the final circuit and I wanted to test and measure how I can deploy parts into the shape.

photo (4)

photo (3)

Until, now, I have a serious problem about unstable datas from analog sensors because the circuit structure requires a little complexity and I don’t have enough experience. So, probably, in this week, before making final version, I have to make sure this issue.

Appendix.

I have tried many types of sensors as the input part such with a Potentiometer and joystick and touch pad. During this process, what I found is that every sensors bring different situations and responses from users. For example, Joy stick causes more an active interaction than others and touch pad seems more like a play and stop button although both have much more freedom than a potentiometer.

Final Project Milestone 2 – Jake Marsico

Assignment,Final Project,Max,Uncategorized — jmarsico @ 1:21 pm

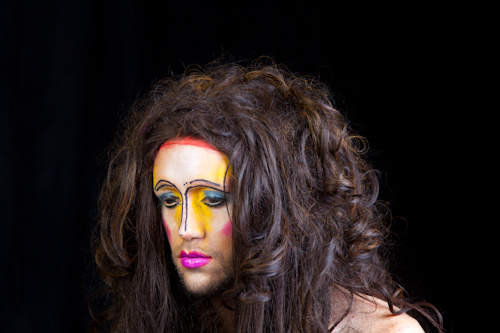
_MG_2036

The Shoot

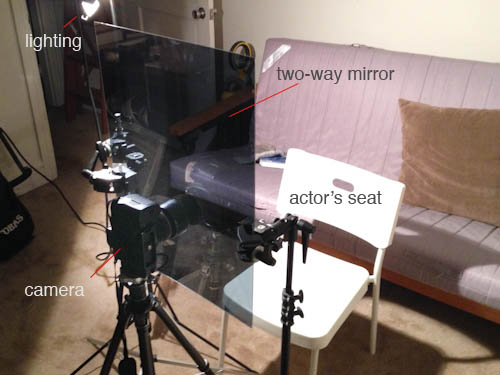
This past weekend I finished the video shoot with The Moon Baby. Over the course of three and a half hours, we shot over 80 clips. A key part of the project was to build a portrait rig that would allow the subject to register her face at the beginning of every clip. The first prototype of this rig consisted of a two way mirror that had registration marks on it. The mirror prototype proved to be inaccurate.

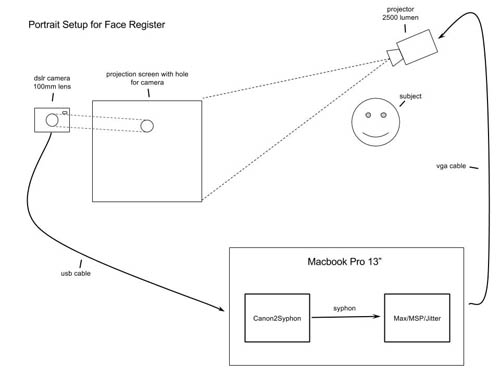
The second prototype, which we used for the shoot, relied on a direct video feed from the video camera, a projector and a projection surface with a hole cut out for the camera to look through.


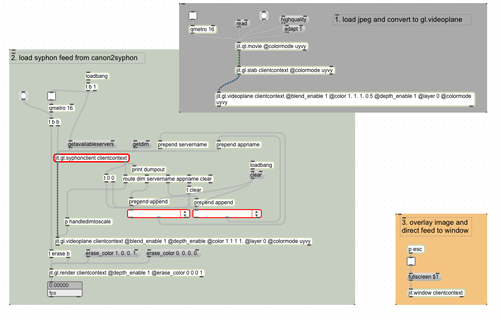
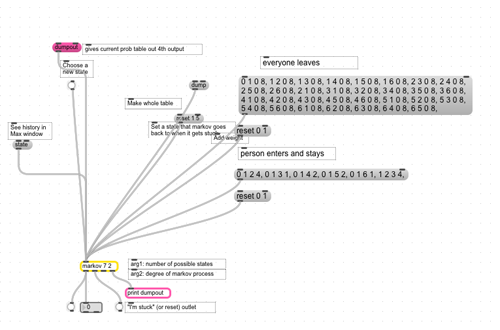
At the center of this rig was a max/msp/jitter patch that overlayed a live feed from the video camera on top of a still “register image”. This way, the subject was able to see her face as the camera saw it, and line up her eyes, nose, mouth and makeup with a constant still image. See an image of the patch below:

max_screenshot


The patch relied on Blair Neal’s Canon2Syphon application, which pulls video from the Canon dslr’s usb cable and places it into a syphon stream.  That stream is then picked up by the max/msp/jitter patch.

Here is a diagram of the entire projection rig:

Woo portrait setup

Soon into the shoot, we realized a flaw with the system: the Canon camera isn’t able to record video to its CF card while its video feed is being sent to the computer.  As a result, we had to unplug the camera after the subject registered her face, record the clip, then plug the camera back in.  We also had to close and reopen Canon2Syphon after each clip was recorded.

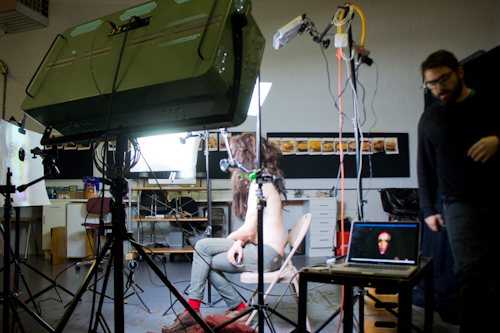
SONY DSC

Wide shot of the entire setup.


To light the subject, I used a combination of DMX-controlled fluorescent and LED lights along with several flags, reflectors and diffusers.


Final Project Milestone 2 – Spencer Barton

Final Project,Rhino3D,Scanning — spencer barton @ 12:34 am

A Walk in the Woods

In the first milestone I defined five options for objects to capture. I decided to go with ‘A Walk in the Woods’:

I grew up playing in the woods. It was always an adventure – new bugs lay under every rock and dirt could be molded into innumerable forts. I have gradually left the woods behind (as I imagine most of us are doing these days). My goal is to take a simple walk through the woods and record any and all interesting discoveries that I make. These critters, rocks and leaves would then be created as physical models to capture some of that excitement of discovery.

Captures and Lessons Learned

I have performed a number of captures now, some with great success and others with less.

I have a few pointers for capture:

  • Lighting if important. Diffused light works better then a spotlight. Captures did well with just the microscope light on.
  • The angle of capture cannot be too deep. The objects did best at 30-45 degrees.
  • The object surroundings are very important as background objects help the software orient the images. Latter models all have orange clay bases for support and textured background.
  • 30x magnification worked well for the objects that I had. Captures work best when the capture can see a wide range of the object’s surroundings
  • Taking pictures at different focus depths came out well.
  • The more pictures the better. I usually took 40-70.
  • Shiny objects don’t do as well
  • Small details like bug legs are rarely captured.

Here are some of the results (all models available on my 123D account):

Future Steps

The next hurdle is manufacturing. I am exploring two options. One in 3D printing in plaster. The d-fab on campus has the ability to print color plaster models.

I am also looking into 123Dmake which converts designs to layered models which can then be cut in something like cardboard. This would enable me to create some very large models.

Final Project Milestone 1 – Can Ozbay

Final Project — Can Ozbay @ 5:12 pm

IMG_1296 IMG_1306 IMG_1314 IMG_1315 IMG_1320 IMG_1322IMG_1308 IMG_1311

Project Milestone 1 – Jake Marsico

Assignment,Final Project,Max — jmarsico @ 12:06 pm

Portrait Jig Prototype

photo 8-2 copy

One of the primary challenges of delivering fluid non-linear video is to make each clip transition as seamless as possible. To do this, I’m working on a jig that will allow the actor to ‘register’ the position of his face at the end of each short clip. As you can see in the image below, the jig revolves around a two-way mirror that sits between the camera and the actor.  This will allow the actor to mark off eye/nose/mouth registers on the mirror and adjust his face into those registers at the end of every movement.


photo 4-2

The camera will be located directly against the mirror on the other side to minimize any glare.  As you can see below, the actor will not see the camera.  Likewise, video shot from the camera will look as though the mirror is invisible. This can be seen in the test video used in the max/openTSPS demo below.

OpenTSPS-controlled Video Sequencer


The software for this project is broken up into two sections: a Markov Chain state machine and a video queueing system. The video above demonstrates the first iteration of a video queuing system that is controlled by OSC messages coming from openTSPS, an open-source people tracking application built on openCV and openFrameworks.  In short, the max/msp application queues up a video based on how many  objects the openTSPS application is tracking.

Screen Shot 2013-10-29 at 12.00.41 PM

The second part of the application is a probability-based state transition machine that will be responsible for selecting which emotional state will be presented to the audience.  At the core of the state transition machine is an external object called ‘markov’, written by Nao Tokui. Mapping out the probability of each possible state transition based on a history of previous state transitions will require much thought and time.

Sound Design

Along with queueing up different video clips, the max patch will be responsible for controlling the different filters and effects that the actor’s voice will be passed through. For the most part, this section of the patch will rely on different groups of signal degradation objects and resonators~.


Actor Confirmed

Screen Shot 2013-10-29 at 11.38.57 AM

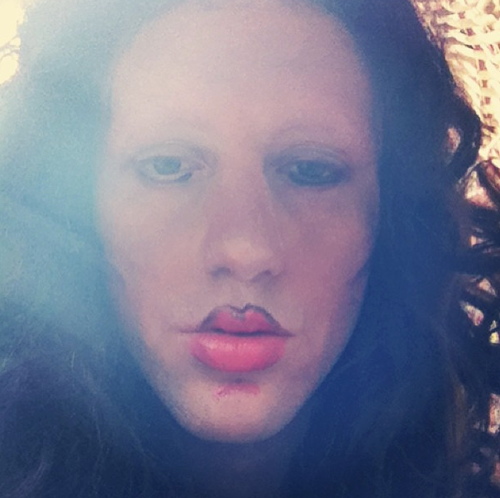
Sam Perry has confirmed that he’d like to collaborate on this project. His character The Moon Baby is fragile, grotesque, self-obsessed and vain.  These characteristics mesh up well with the emotional state changes shown in the project.

Final Project Milestone 1 – Job Bedford

Assignment,Final Project,Uncategorized — jbedford @ 11:53 am

Project: SoundWaves – Wearable wireless instrument enabling user to synthesis rhythmic sounds through dance.

Milestone 1 Goal:
Decide on Sensors and music playing software.

Sensors:
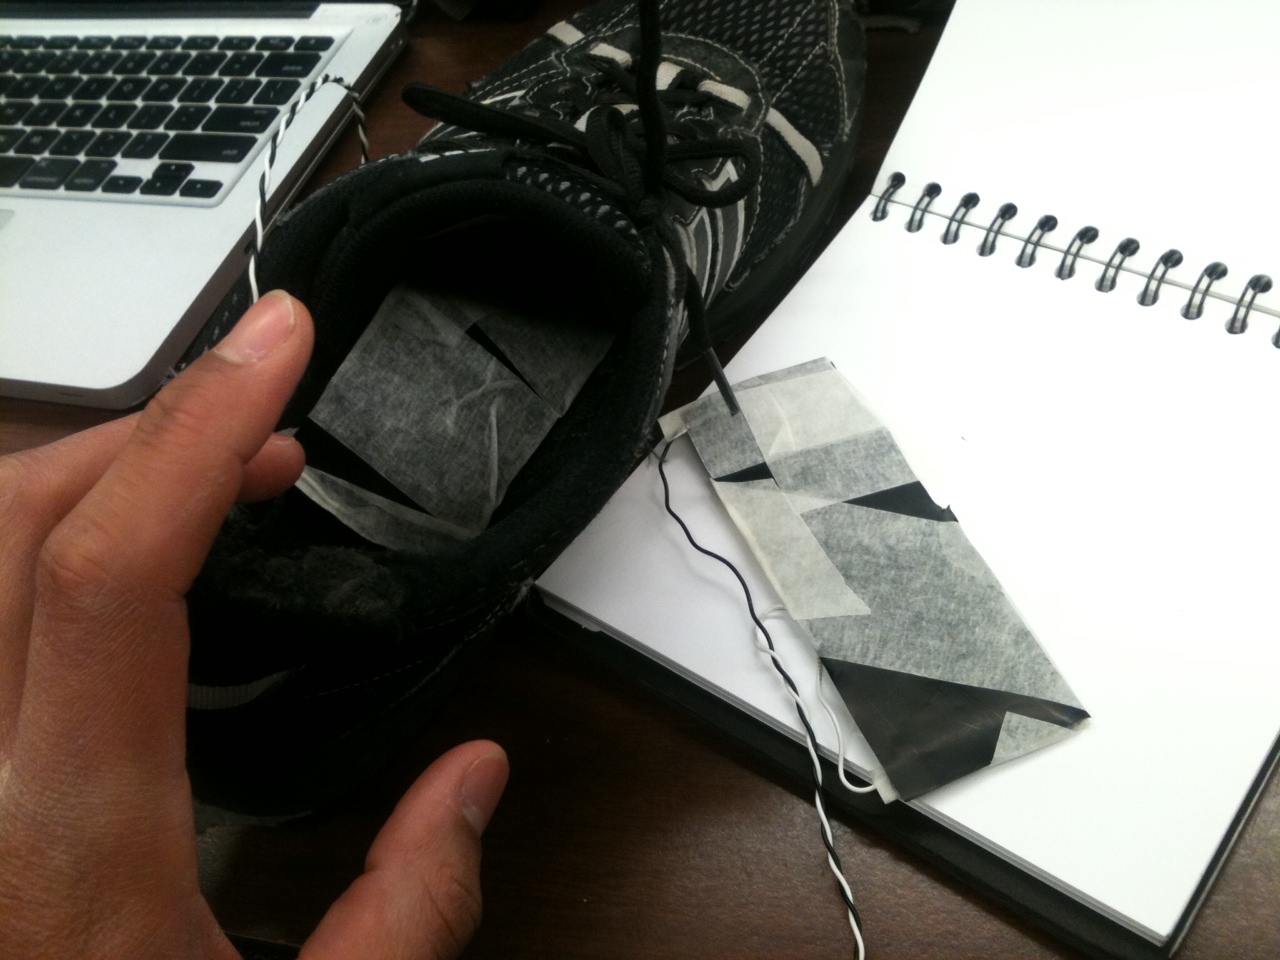
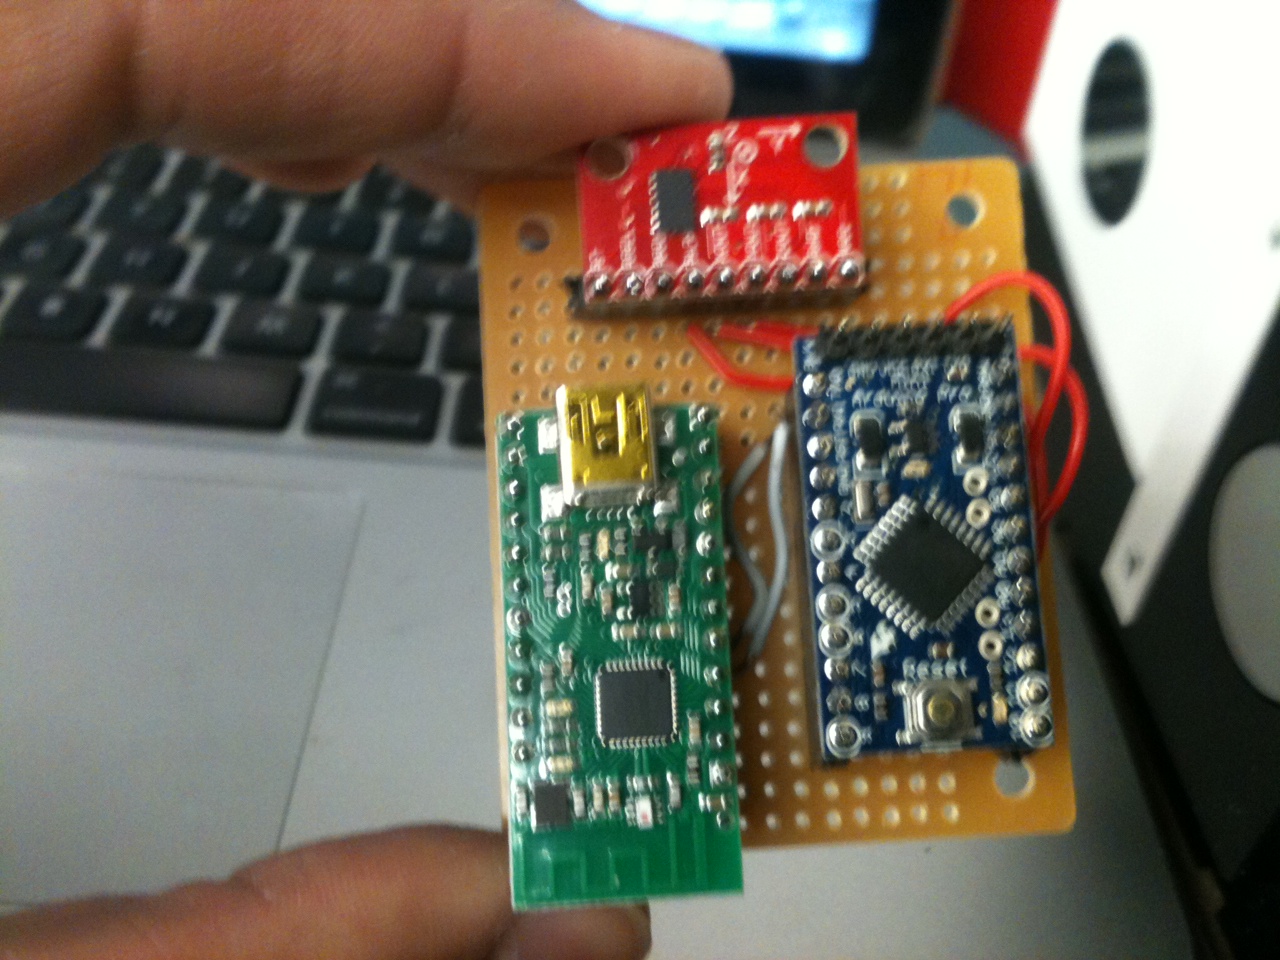
Decided to use: Conductive Rubber, Accelerometers, and homemade force-sensative resistors.

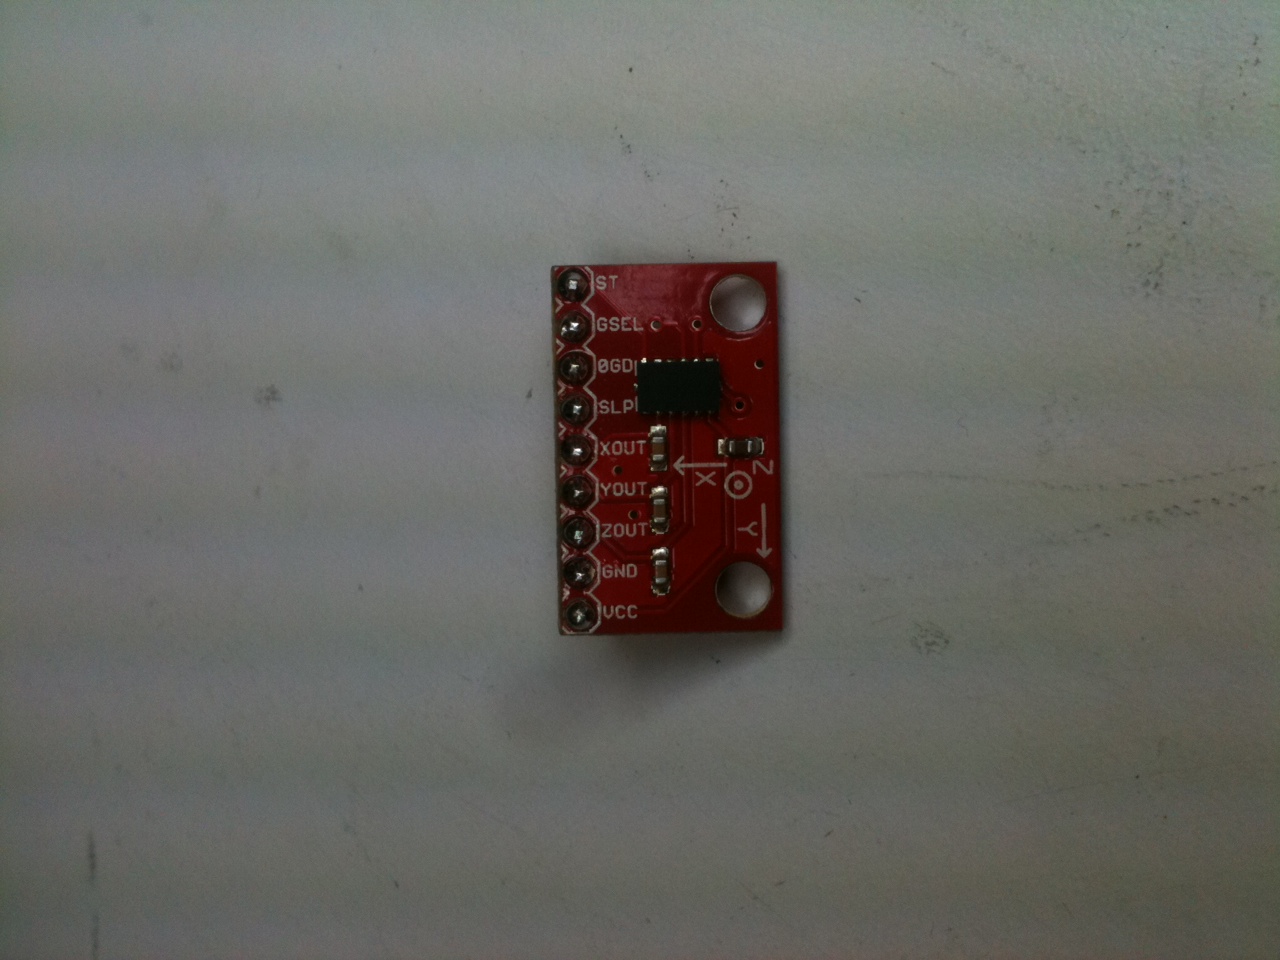
photo-42
photo-58
photo-67

Video:

Prototyping:

Prototype 1:
Bread Board
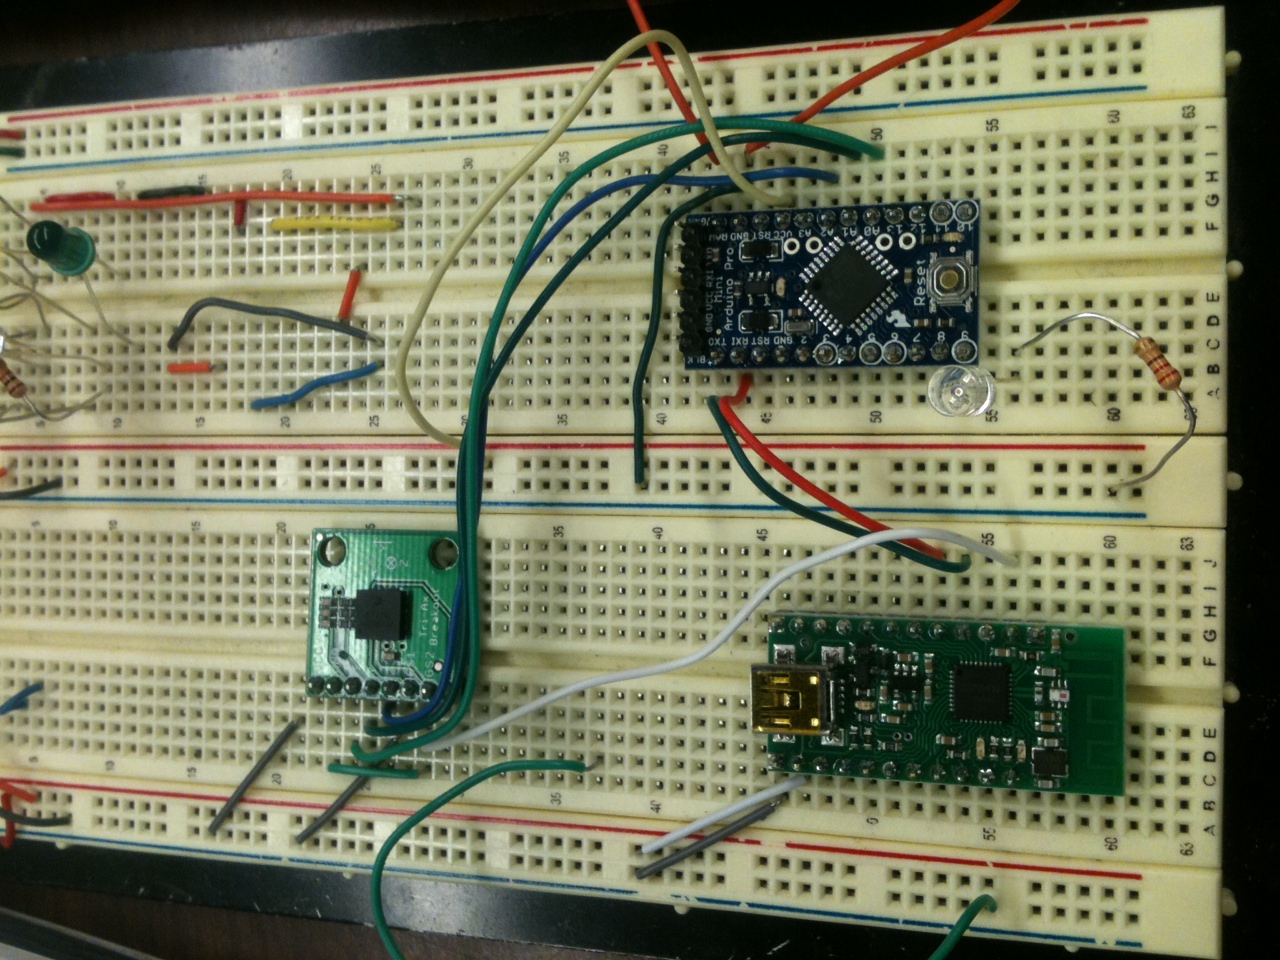
photo-39

Perf Board

photo-40

Prototype 2:
Used CNC router to cut boards
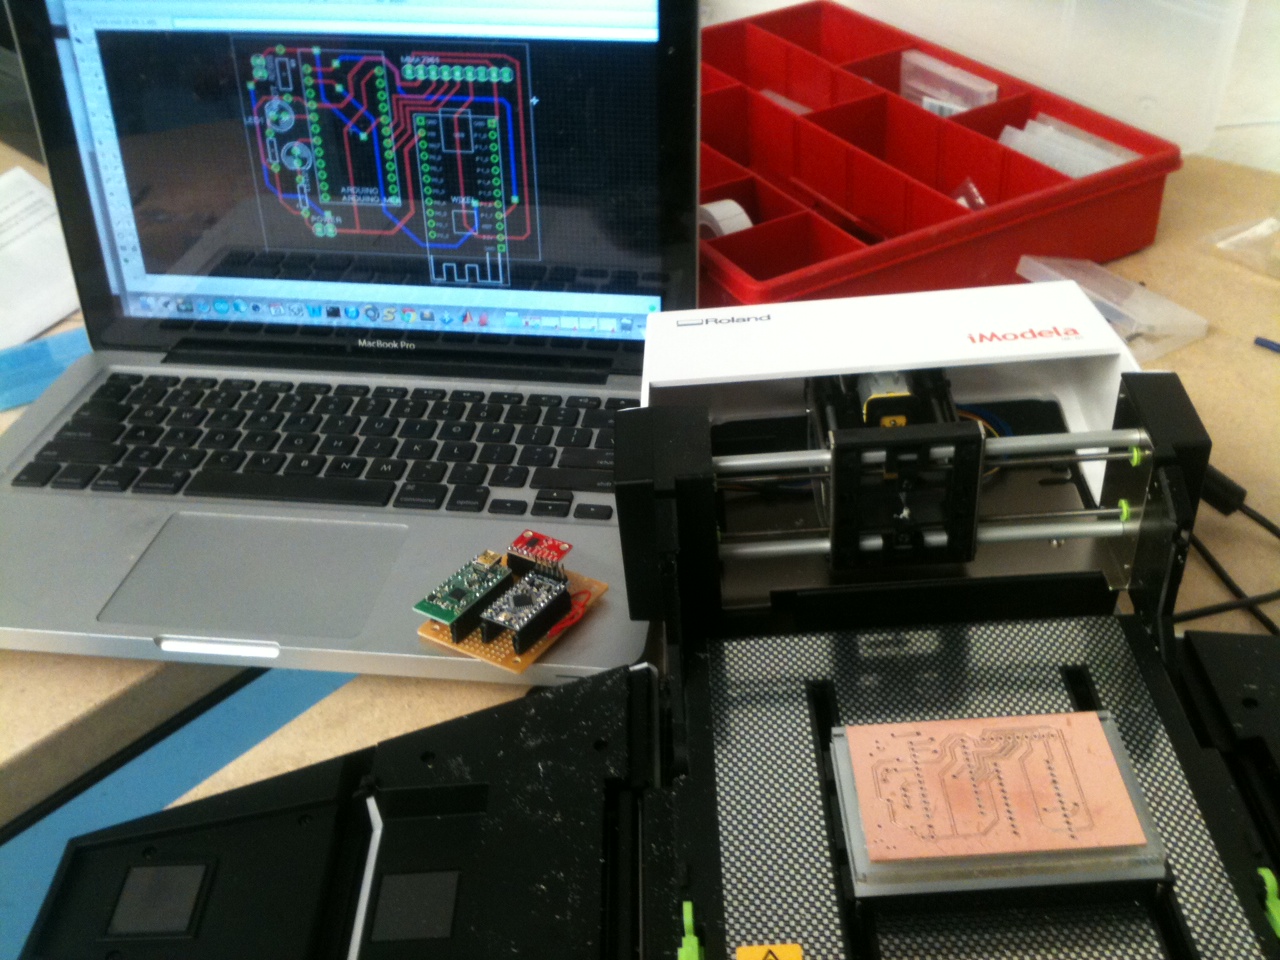
photo-43

photo-37

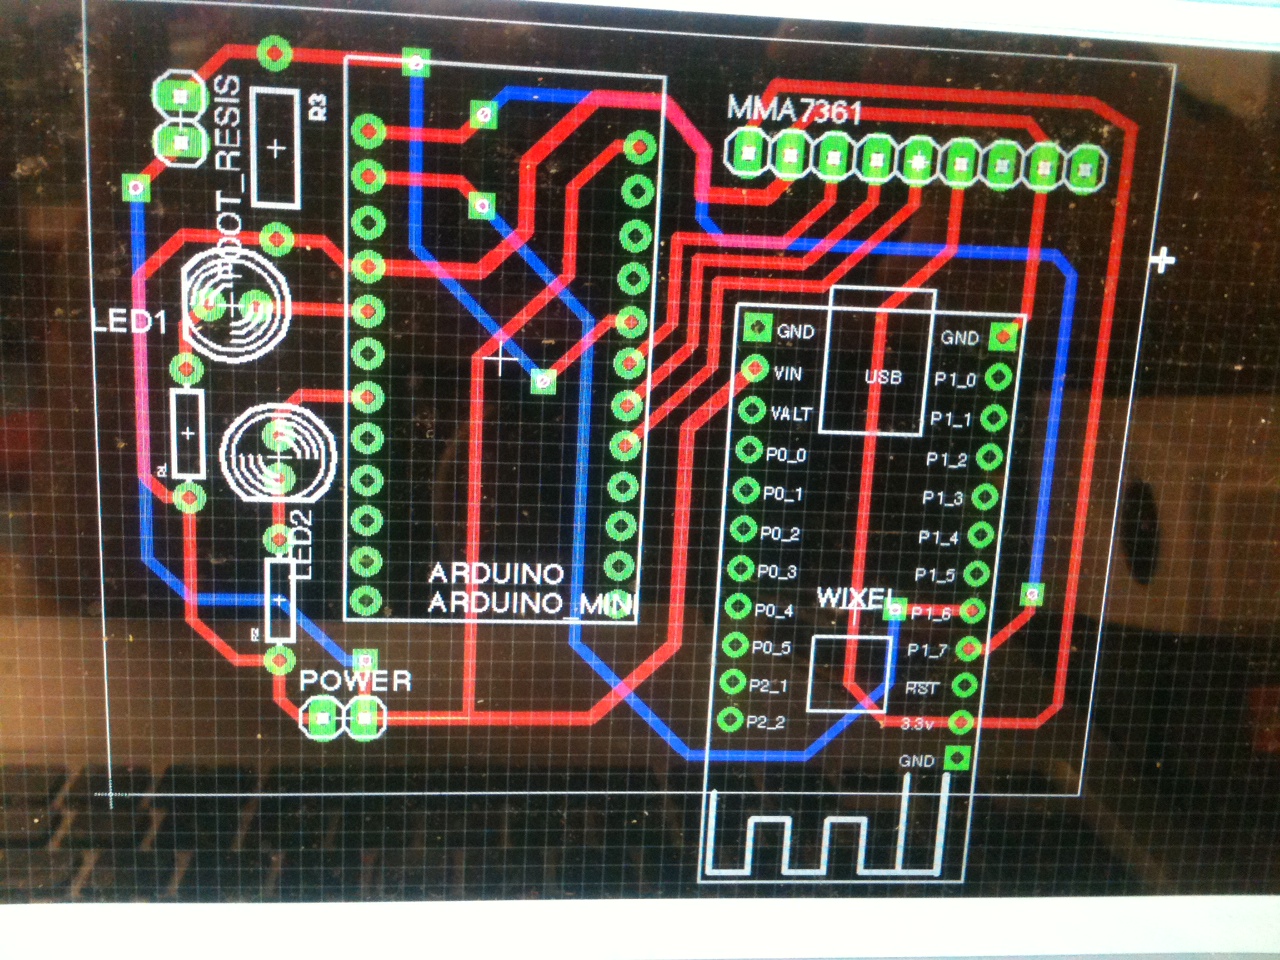
Fail. CNC router is not precise enough to cut traces of 24 mils with clearance from each other. Easier to make perf boards(I am considering print PCB’s from commercial Board maker.)

photo-41

Hardware: Mounting upon Shinguards. Force sensitive resistors in Shoes. Dance is more about Lower body movement than upper body movement

Music Playing Software:
Choices
Synthesised Audio: Max_instruments_PeRcolate_06 – traditional instruments artificially reproduced in max, with a level of sensitivity to adjust elements such as pitch, Hardness, Reed stiffness, etc. Denied due to lack of quick adjustablilty to changes in values, still under consideration.

Samplers: Investigated use of free samplers such as Independence and SampleTank, but samplers became to convoluted to setup and the trail for free use expires after 10 days. Denied

Insystem Samplers: Audio DSL synth using midi-out Function in Max. over complicated. Denied.

Resonator/Wikonator: Still under consideration.

Simple Hardcoded Max mapping of gestures to sounds and sound files of 808 drum machine: Accepted.

Wireless:
Wixel are useful, but can only hook up one channel to system, can not read multiple channels on same line, or else getting confusing serial readings.
Bluetooth, Personalize channels but expensive.
Bluetooth and Wixel combination, under consideration.

« Previous PageNext Page »
This work is licensed under a Creative Commons Attribution-Noncommercial-Share Alike 3.0 Unported License.
(c) 2025 Hybrid Instrument Building 2014 | powered by WordPress with Barecity