Final Project Documentation: The Wobble Box 2.0
Presenting my original “wobble box” to the class and Ali’s guests was a valuable experience. The criticisms I received were relatively consistent, and I have summarized them to the best of my ability below:
- The box cannot be used to create music as an independent object. When I performed for the class at the critique, I was using an Akai APC40 alongside the wobble box. I was using the APC to launch musical ideas that would then be altered using the wobble box, which I had synced to a variety of audio effects. The complaint here was that it was unclear exactly how much I was doing to create what the audience was hearing in real time, and very clear that I wasn’t controlling 100% of the noises coming out of my computer. At any rate, it was impossible to trigger midi notes using the wobble box, which meant the melody had to come from an external source.
- The box only has one axis to play with. At the time of the critique, the wobble box only had one working distance sensor attached to the Teensy, which meant I could only control one parameter at a time with my hand. Many spectators commented that it seemed logical to have at least two, allowing me to get more sounds out of various hand motions, or even using two hands at once.
- The box doesn’t look any particular way, and isn’t built particularly well. The wobble box was much bigger than it needed to be to fit the parts inside it, and little to no thought went into the design and placement of the sensors. It was sometimes difficult to know exactly when it was working or not, and some of the connections weren’t very stable. Furthermore, the mini-USB plug on the side of the device sometimes moved around when you tried to plug in the cord.
In the interested of addressing the concerns above, I completely redesigned the wobble box, abandoning the old prototype for a new model.
 The most obviously improved element of the new box is the design. Now that I knew exactly what the necessary electronic parts were, I removed all the extra space in the box. The new design conserves about three square inches of space, and the holes cut for the distance sensors are much neater.

I applied three layers of surface treatment; a green primer, a metallic overcoat, and a clear glaze. The result is a luminescent coloring, and a rubber-esque texture that prevents the box from sliding around when placed on a wooden surface. In my opinion, it looks nice.
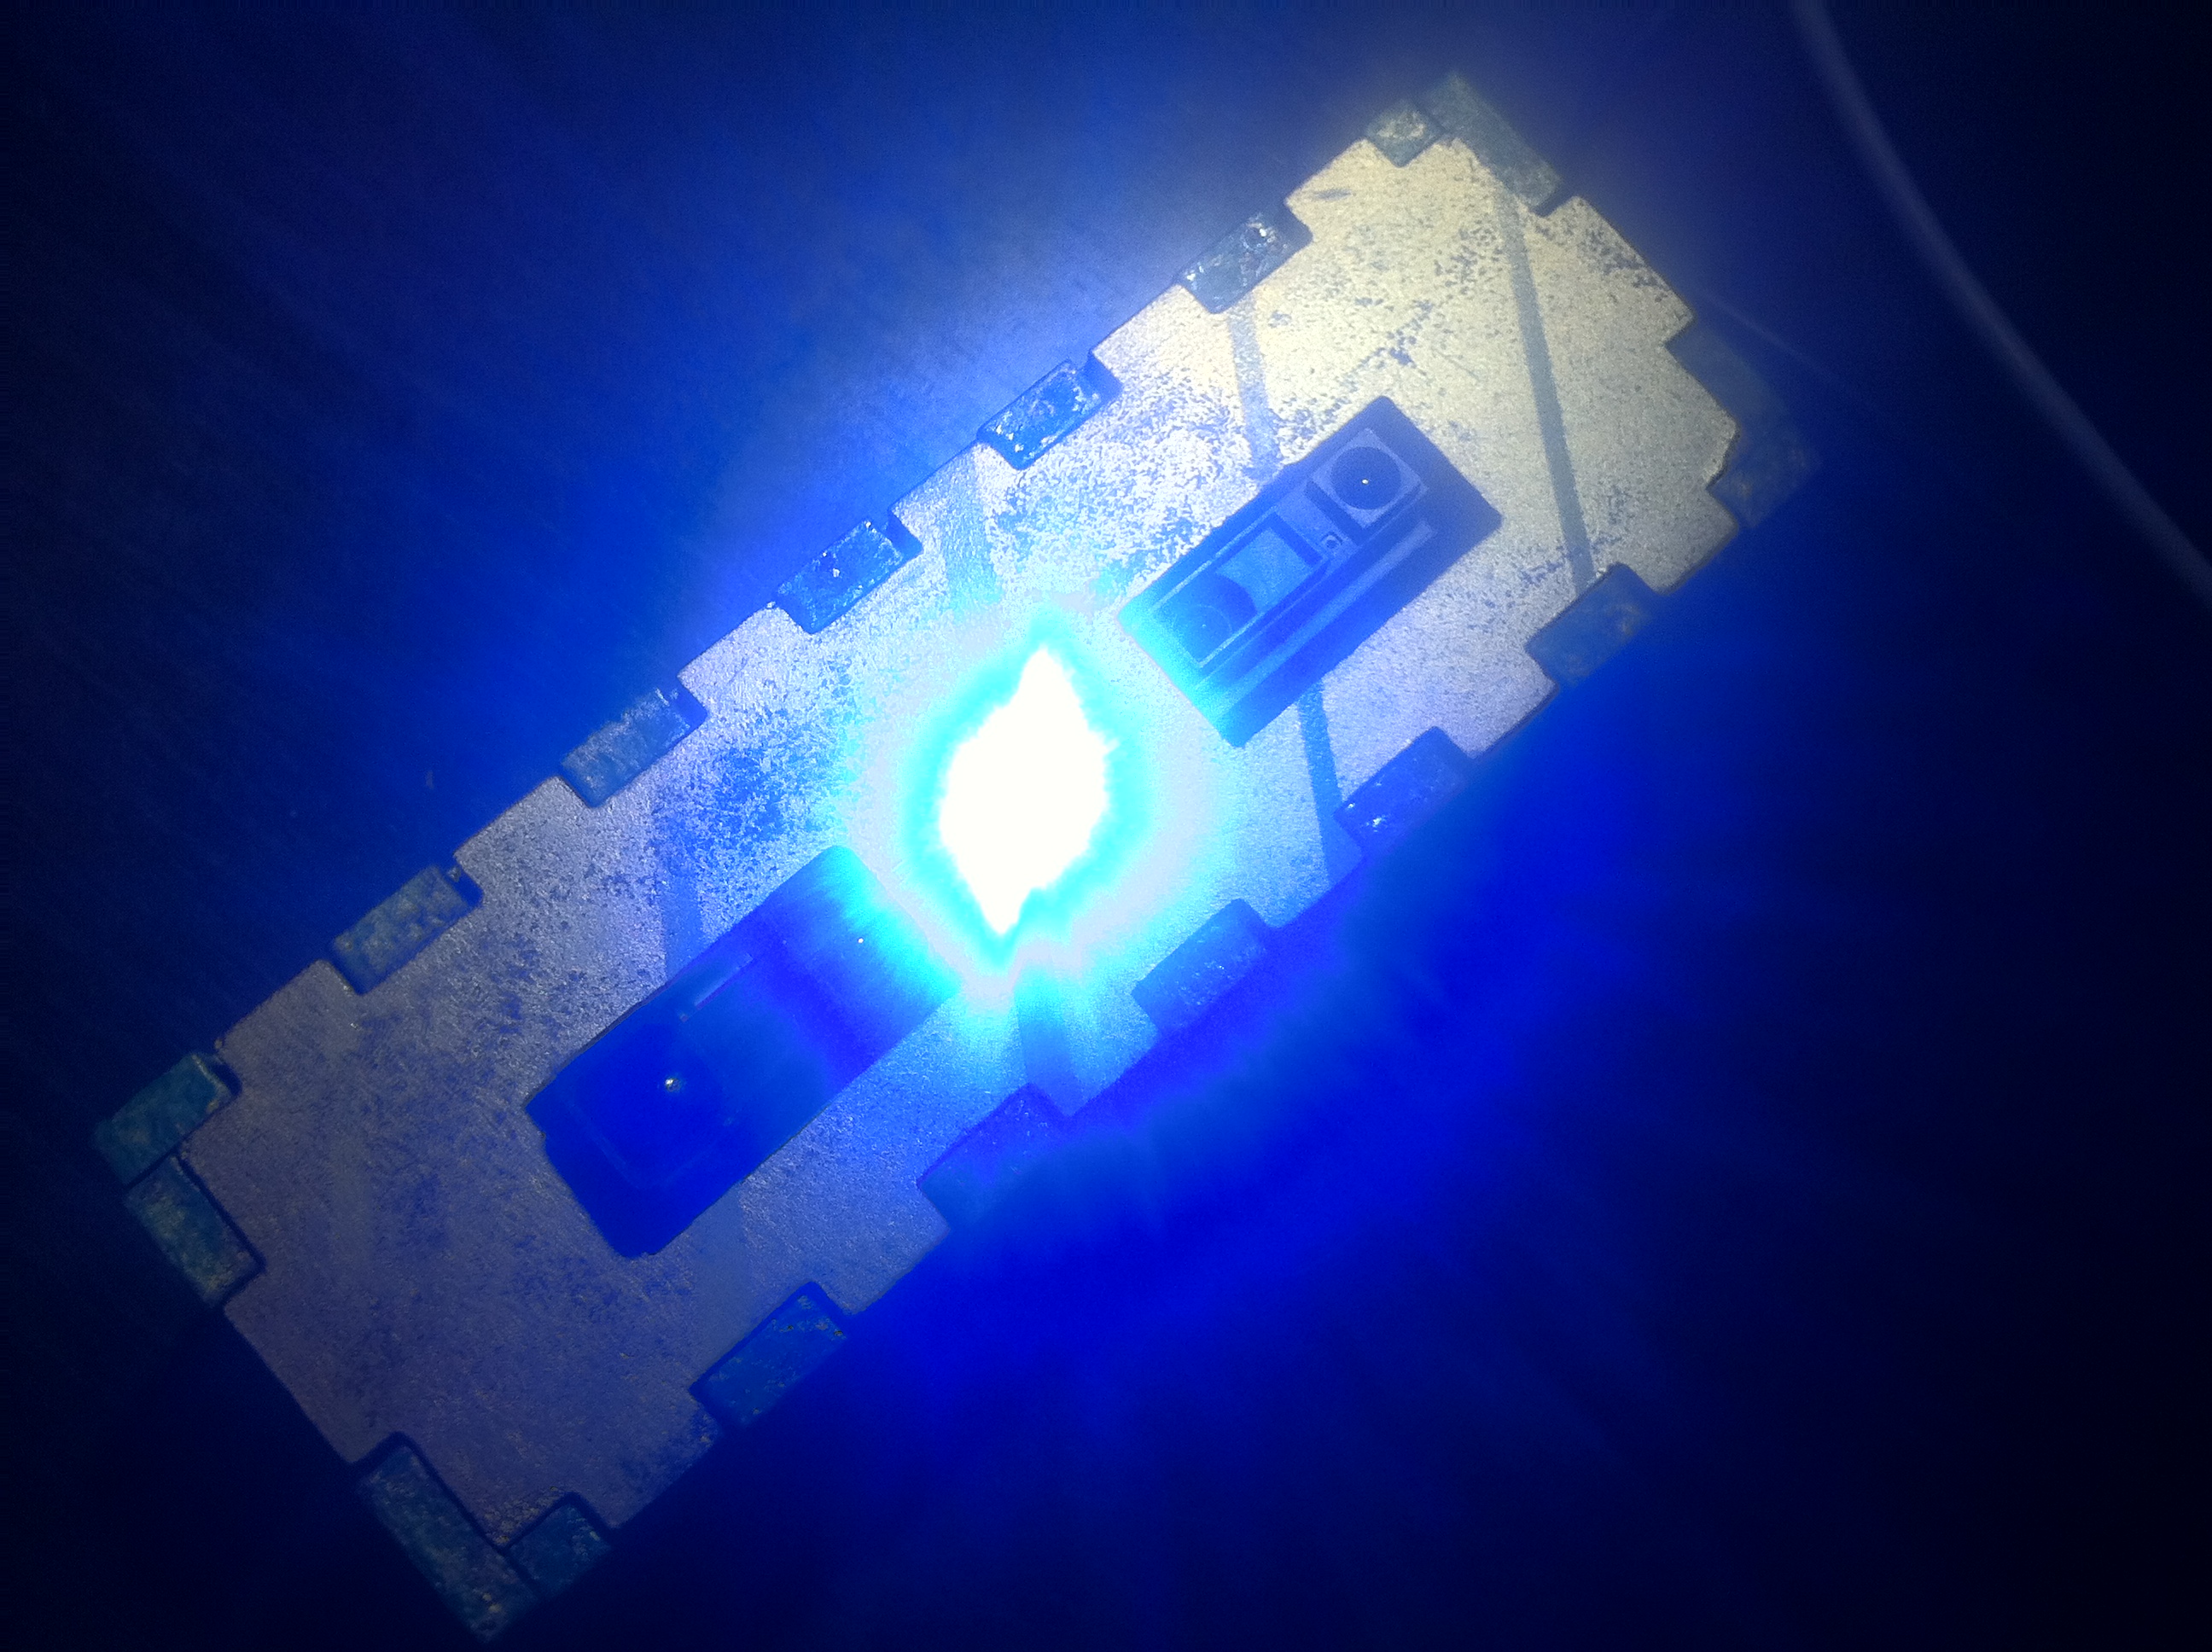
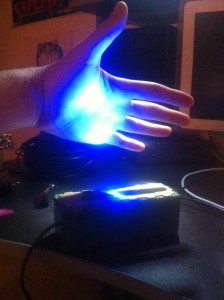
A strong LED light was placed exactly in between the two distance sensors, illuminating the ideal place for the user to put his/her hand. This also provides a clue for the audience, making it more clear exactly what the functionality of the box is by illuminating the hand of the user. The effect can be rather eery in dark rooms. Perhaps most importantly, it indicates that the Teensy micro-controller has been recognized by Max, a feature lacking in the last prototype. This saved me many headaches the second time around.
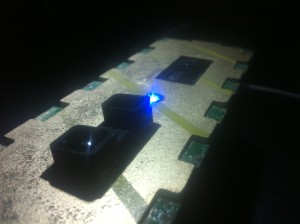
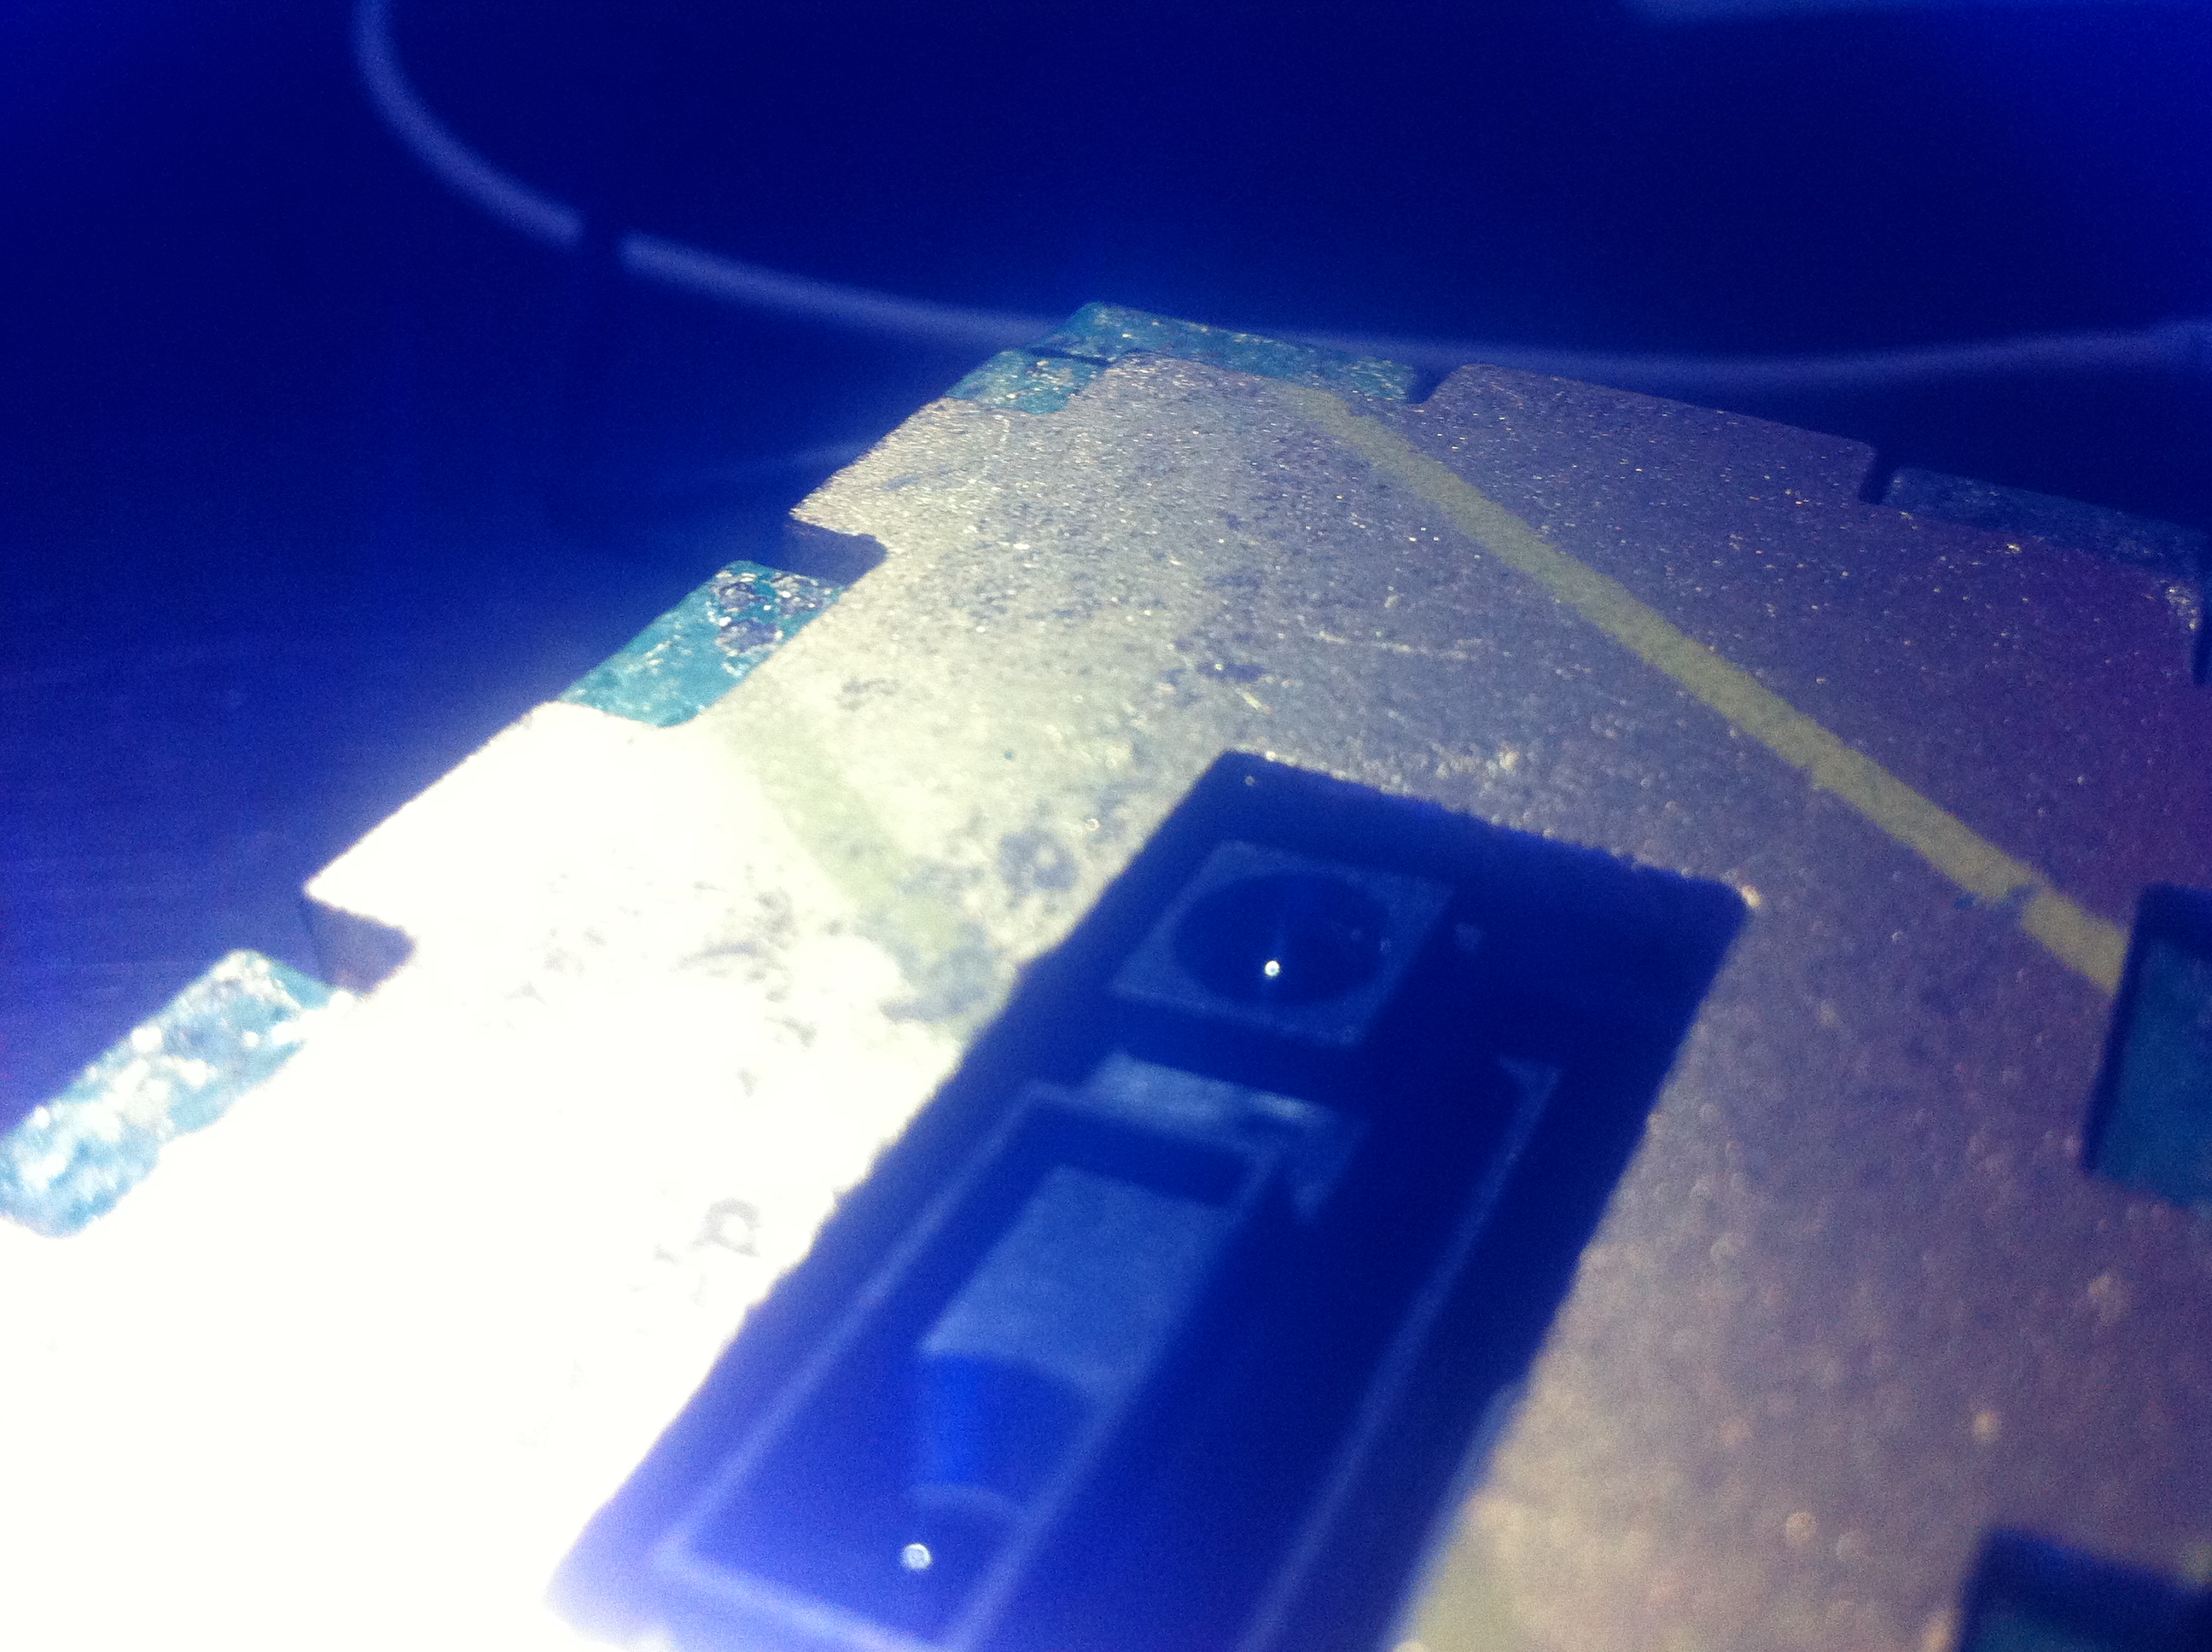
The new box has two new distance sensors, with differing ranges. One transmits very fine values between about 2 inches and 10 inches, the other larger values between about 4 and 18 inches. Staggering the ranges like this allows for a whole new world of control for the user, such as tilting the hand from front to back, using two hands with complete independence, etc.
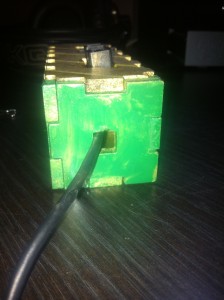
Finally, I moved the entire USB connection to the interior of the device, electing to instead just create a hole for the cord to come out. After then securing the Teensy within the box, the connection was much stronger than it was in the previous prototype.
In addition to fixing the hardware, I created a few new software environments between Max and Ableton that allow for more expressive use of the box. The first environment utilized both Max and Ableton Live to create an interactive art piece. As the user stimulated the two distance sensors, a video captured by the laptop camera would be distorted along with an audio track of the user talking into the computer microphone. Moving forward, my goals were to extend the ability to use the box as a true instrument, by granting a way to trigger pitches using only the box and a computer. To achieve this, I wrote a max for live patch that corresponds a note sequence-stepper with a microphone. Every time the volume of the signal picked up by the microphone exceeds a certain threshold, the melody goes forward by one step. Using this, the user can simply snap or clap to progress the melody, while using the box to control the timbre of the sound. I then randomized the melody so that it selected random notes from specific scales, as to allow for improvisation. The final software environment I wrote, shown below, allows for the user to trigger notes using a midi keyboard, and affect the sounds in a variety of ways using the box. For the sake of exhibiting how this method can be combined with any hardware the user desires, I create a few sounds on an APC40 that I then manipulate with the box.