Final Project Milestone 3 – Spencer Barton

3D Printer,Final Project,Instrument,Rhino3D,Scanning — spencer barton @ 8:47 pm

Model Making

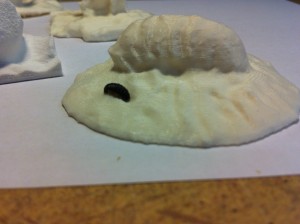
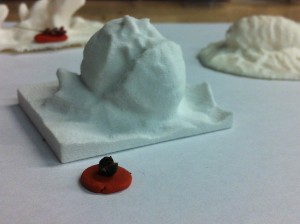
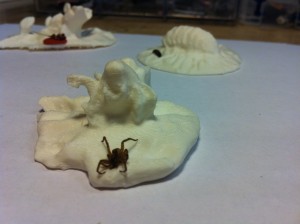
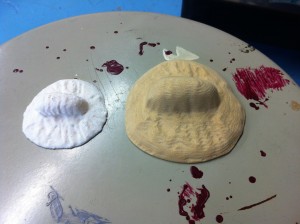
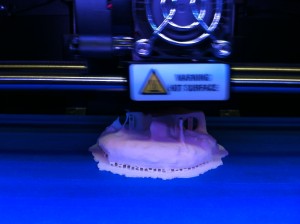
I have begun to create models. The current models utilize additive methods: one with plaster printing (thanks to dFab) and PLA printing with a Makerbot in Codelab. I also utilized the Art Fab CNC to make a slightly larger rolly polly. Some of the below models are shown with the original object that I used for the capture.

2013-11-17 17.53.01

2013-11-17 18.06.09

2013-11-17 17.55.04

2013-11-17 18.08.14

2013-11-23 13.54.47

2013-11-23 13.54.20

2013-11-18 22.59.09

Final Project Milestone 2 – Spencer Barton

Final Project,Rhino3D,Scanning — spencer barton @ 12:34 am

A Walk in the Woods

In the first milestone I defined five options for objects to capture. I decided to go with ‘A Walk in the Woods’:

I grew up playing in the woods. It was always an adventure – new bugs lay under every rock and dirt could be molded into innumerable forts. I have gradually left the woods behind (as I imagine most of us are doing these days). My goal is to take a simple walk through the woods and record any and all interesting discoveries that I make. These critters, rocks and leaves would then be created as physical models to capture some of that excitement of discovery.

Captures and Lessons Learned

I have performed a number of captures now, some with great success and others with less.

I have a few pointers for capture:

  • Lighting if important. Diffused light works better then a spotlight. Captures did well with just the microscope light on.
  • The angle of capture cannot be too deep. The objects did best at 30-45 degrees.
  • The object surroundings are very important as background objects help the software orient the images. Latter models all have orange clay bases for support and textured background.
  • 30x magnification worked well for the objects that I had. Captures work best when the capture can see a wide range of the object’s surroundings
  • Taking pictures at different focus depths came out well.
  • The more pictures the better. I usually took 40-70.
  • Shiny objects don’t do as well
  • Small details like bug legs are rarely captured.

Here are some of the results (all models available on my 123D account):

Future Steps

The next hurdle is manufacturing. I am exploring two options. One in 3D printing in plaster. The d-fab on campus has the ability to print color plaster models.

I am also looking into 123Dmake which converts designs to layered models which can then be cut in something like cardboard. This would enable me to create some very large models.

Final Project Milestone 1 – Mauricio Contreras

Assignment,Final Project,Robotics,Submission,Technique — mauricio.contreras @ 11:45 am

My first milestone was to procure myself all the software tools necessary for at least simulating motion of a robotic arm within a framework which has been previously used by Ali Momeni. Namely, this means interacting with Rhinoceros 3D, the Grasshopper and HAL plugins, and ABB RobotStudio. I’ve now got all this pieces of software up and running in a virtual image of Windows (of the above only Rhino exists, as a beta, for OS X) and have basic understanding of all of them. I had basic dominion of Rhino throuh previous coursework, and now have done tutorials fro Grasshopper by digitaltoolbox.info and the Future CNC website for HAL and RobotStudio. I’ve got CAD files that represent the geometry of the robot, can move it in freehand with RobotStudio and am learning to rotate the different joints in Rhino from Grasshopper.

Update (12/11/2013): added presentation used the day of the milestone critique.

Final Project Milestone 1 – Ding Xu

We live in a world surrounding by different environments. Since music could have mutual influence with human’s emotions, environments also embrace some parameters which could get involved in that process. In certain content, environment may be a good indicator to generate certain “mood” to transfer into music and affect people’s emotions. Basically, the purpose of this project is to build a portable music player box which could sense the surrounding environment and generate some specific songs to users.

This device has two modes: the search mode and generate mode. In the first mode, input data will be transformed into some specific tags according to its type and value; then these tags are used to described a series of existing songs to users. In the second mode, two cameras are used to capture ambien images to create a piece of generative music. I will finish the second mode in this class.

In mode 2, for each piece of song, two types of images will be used. The first one is a music image captured by an adjustable camera and the content of this image will be divided into several blocks according to their edge pixels and generate several notes according to their color. The second image is a texture one captured by a camera with a pocket microscope. When the device is placed on the different materials, corresponding texture will be distinguished and attach different instrument filter to music.

Below is a list of things I finished in the first week:

  • System design
  • platform test and select specific hardware and software for project
  • Be familiar with raspberry pi OS and Openframeworks
  • Experiment about data transmission among gadgets
  • Serial communication between arduino/teensy and Openframeworks
  • get a video from camera and play sound in openframeworks

Platform test:

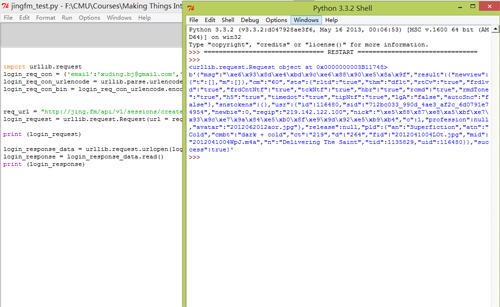
Since this device is a portable box which need to be played without supporting of a PC,  therefore, I want to use raspberry pi, arduino and sensors (including camera and data sensors) to do this project. As for the software platform, I chose openframeworks as the maor IDE and plan to use PD to generate sound notes, connecting it with openframeworks for control. Moreover, it’s more comfortable for me to use C++ rather than python, since I spent much more time to achieve some a HTTP request to log into Jing.FM in python.

Python test

Raspberry Pi Network setting

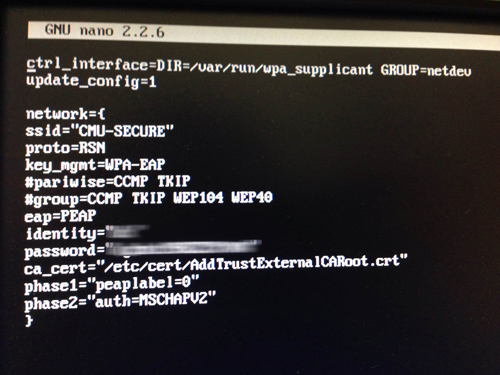
As a fresh hand for Raspberry Pi without any knowledge about Linux, I got some problems when accessing into the CMU-secure wifi with Pi since the majority of tutorial is about how to connect the Pi with a router, and CMU-secure is not the case. Finally, I figured it out with the help of a website explaining the very specific parameters in wpa_supplicant.conf, the information provided by CMU computing service website and copying the certificate file into Pi. I also want to mention that each hardware which use CMU wifi need to register the machine in netreg.net.cmu.edu/ and this process takes effect after 30 minutes.

Raspberri Pi

Data Transmission between gadget and arduino

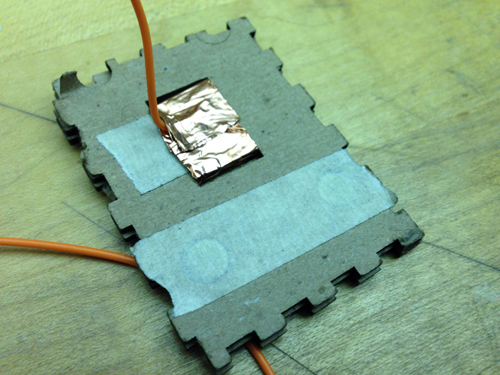
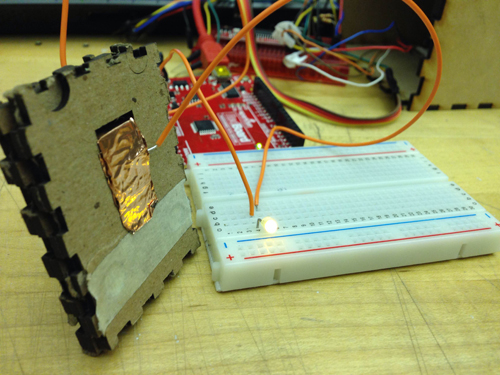
Experiment 1: Two small magnets attached in the gadget with the height of 4 mm

gadget1

gadget

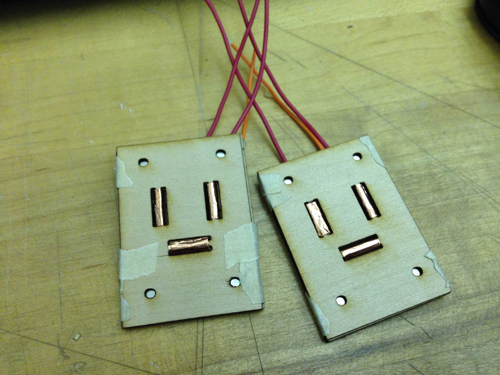
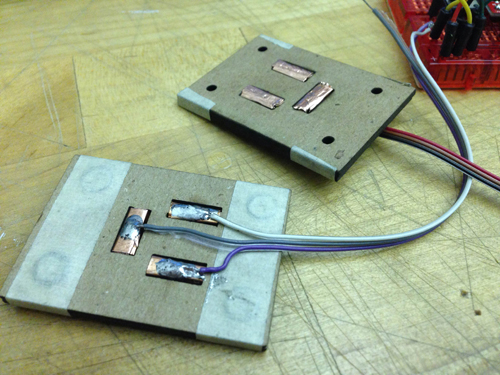
Experiment 2: Four magnets attached in the gadget with the height of  2.9 mm and 3.7 mm

gadget2


gadget3

the prototype 2 is easier to attach the gadgets together but all of these gadgets fail to transmit accurate data if not pressing the two their sides. A new structure is required to build to solve this problem.

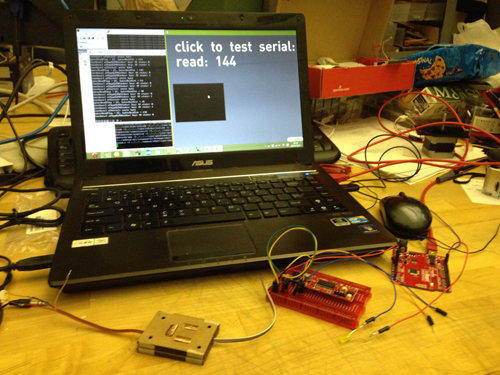
Connecting arduino with openframeworks with serial communication

Mapping 2 music to different sensor input data value

OF test2

Final Project Milestone 1 – Spencer Barton

Final Project,Scanning — spencer barton @ 8:00 am

The Project

Our world is defined by what we see. However beneath our feet exist an enormous and elaborate system of creations. With the aid of a microscope and camera I am seeking to recreate through 3D modeling the millimeter scale for the centimeter scale that we live in. This project is enabled by key advancements in 3D modeling software such at Autodesk’s 123D Catch.

The process for capture is fairly simple. A series of photographs are taken of an object from every direction. These photographs are stitched together and distance is interpolated resulting in a 3D model. The chair model below is a good illustration. About 40 photographs were taken from a variety of angles and then uploaded to 123D Catch.

Chair Test

Milestone 1

The goal of my first milestone was to create a functioning 3D scanning jig as well as perform some research into objects to capture.

Scanning Jig

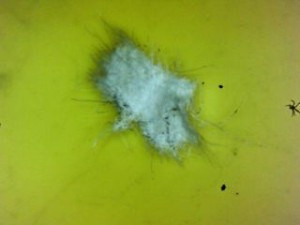
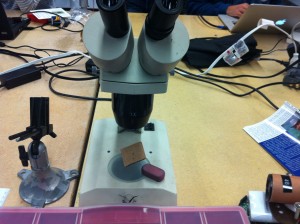
The scanning jig is based around a microscope. I began with a usb microscope, but it quickly proved not to have the necessary image resolution.

Example of the USB microscope:
t4

The Original Microscope Jig

I discovered that my iPhone camera was high enough resolution with the added advantage of being easy to work with. I got hold of a microscope from the robotics club and set-up a few tests holding my camera to the lenses. I created a rotating stand for the object with a LEGO piece, tape and cardboard.
2013-10-23 20.52.32

Lessons Learned

From this first prototype I learned that it important to have a textured surface for the rotating base. The 3D capture software relies on picking out key points in each photo, so a textured base provides more unique points for the software. I also discovered the importance of a stable camera. The model below turned out poorly as camera jitter made depth interpolation difficult.

Piece of Solder

Upgraded Jig

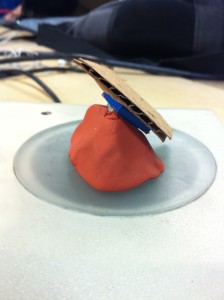
The first jig was upgraded first with the use of magic arms for camera stabilization as well a a sturdier turning base. The base utilized the same LEGO piece but was planted in clay in order to make the assembly flexible. I wanted to be able to change platform height and angle easily.

The Photo Platform
2013-10-28 19.48.20

Jig Results: Acorn

What to Capture?

5 ideas on interesting things to capture. I will pursue one or more.

Food

Food doesn’t always look as nice close up. This project would provide a new perspective on good food at a new scale.

Chewed Gum
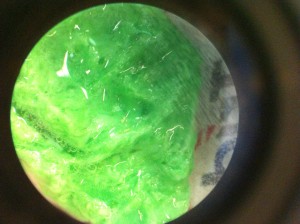
2013-10-28 20.26.19


A walk in the woods

I grew up playing in the woods. It was always an adventure – new bugs lay under every rock and dirt could be molded into innumerable forts. I have gradually left the woods behind (as I imagine most of us are doing these days). My goal with this track would be to take a simple walk through the woods (Schenley Park) and record any and all interesting discoveries that I make. These critters, rocks and leaves would then be created as physical models to capture some of that excitement of discovery.

A Rolly-polly Bug
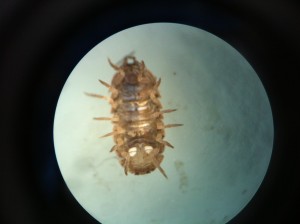
2013-10-28 17.29.52


Surfaces

We have a good sense of how a surface might feel, but how does touch translate to the physical look of a material? Surfaces would be recreated in larger scale so that roughness becomes visibly rough and the finer details of materials like velcro can be seen.

Velcro

2013-10-28 20.18.29

Close-up

Inspiration for this track comes from hyper-realism. The goal here is to take a close-up look at less elegant human features. Following the lead from Ron Mueck, these captures would transformed into larger then life models.

A Fingernail
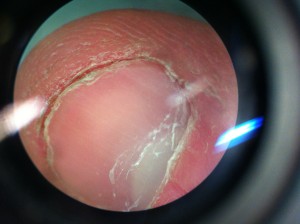
2013-10-28 19.09.35

Fluids

Water forms differently on different surfaces. This track would explore the interaction between water on various surfaces and under varying conditions (heat, vibration, pressure, sunlight). As a comparison other fluids such as oil could be used. 3D modeling is particularly interesting as the liquids would be forming distinct forms in 3 dimensions and not just in profile. 3D printing would be a viable option as the form matters more then material in this case.

Water on a Leaf
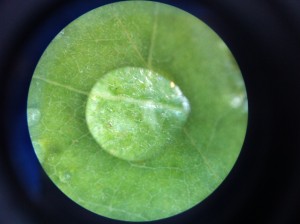
2013-10-28 17.25.13

Final Project Proposal – Can Ozbay


glassPresent

www.glissglass.com


Final Project Proposal – Liang He

Final Project Proposal – Wanfang Diao

Final Project Proposal – Spencer Barton

Assignment,Final Project,Modelling,Scanning — spencer barton @ 11:46 am

Final Project Proposal – Jakob Marsico

« Previous PageNext Page »
This work is licensed under a Creative Commons Attribution-Noncommercial-Share Alike 3.0 Unported License.
(c) 2025 Hybrid Instrument Building 2014 | powered by WordPress with Barecity