Final Project “ImSound”: Ding

Audio,Final Project,OpenCV — Ding Xu @ 9:31 pm

ImSound: Record/Find your sounds in images

We run into a lot of sounds in our lives and sometimes we will naturally come up with certain color with those sounds. We may even form a memory of our city or living environment with some interesting sounds and colors. As for me, when I listen to some fast and happy tempo I could sense a color of dark red and when I run into some soft music, I may feel it is green or blue. Different people may have different feeling about different sounds. Therefore, ImSound is a devices aiming to encourage people collecting useless sounds in lives, all kinds of noise for example, convert them to certain colors based on their understanding and play the similar mixed sounds when run into a new image. The process stems from sound to image and then to sound.

For the user himself/herself, this device may help him/her convert some useless or even annoying sounds into some interesting funny sounds and  find new information from it. As for others, this devices is like a business card of a user’s specific understanding about the world’s sounds and share to others.

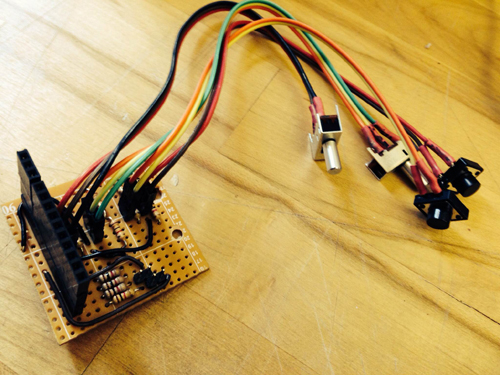
Hardware improvement:

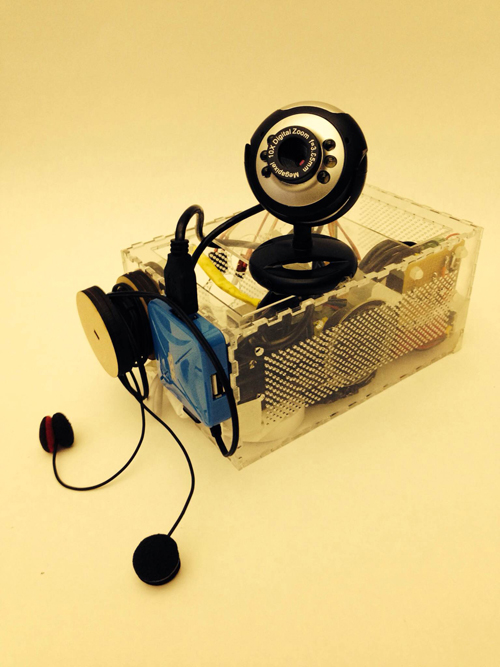
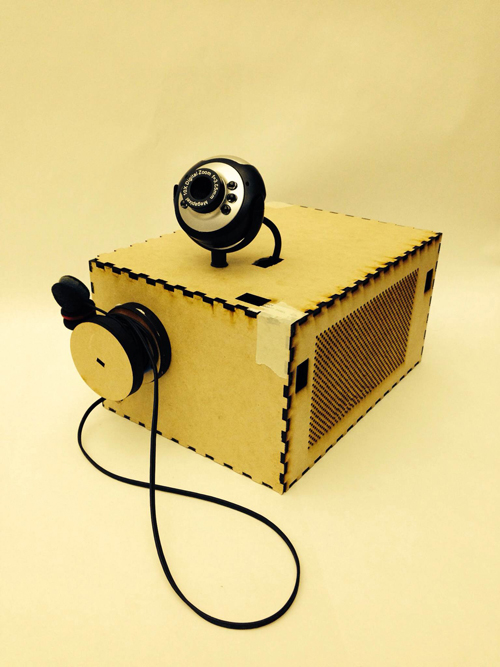
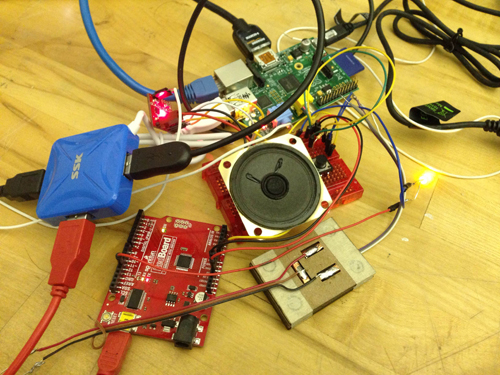
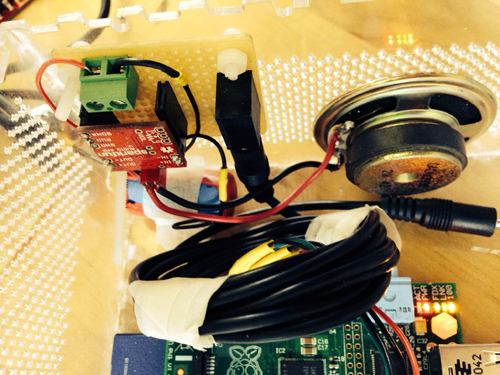
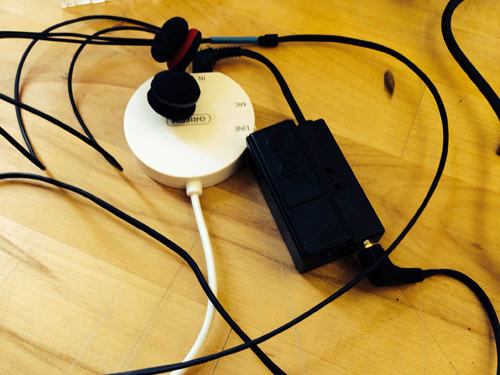
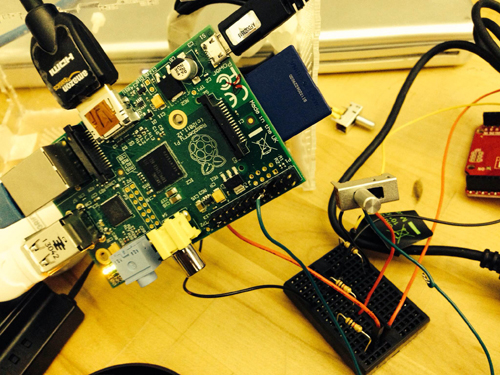
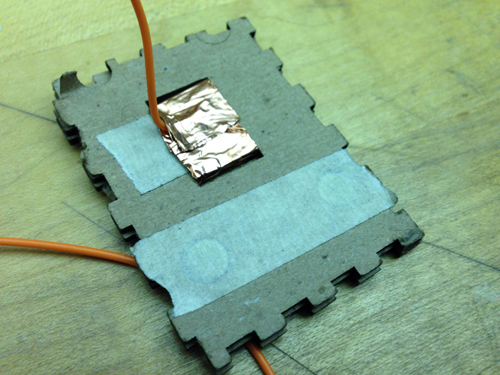
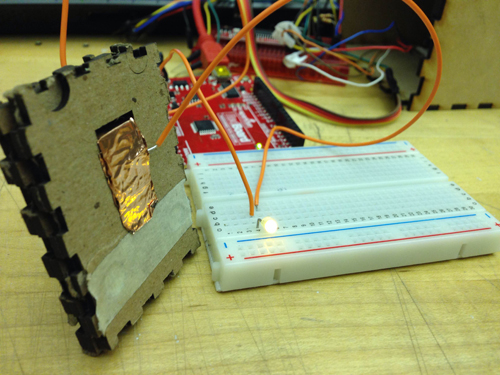
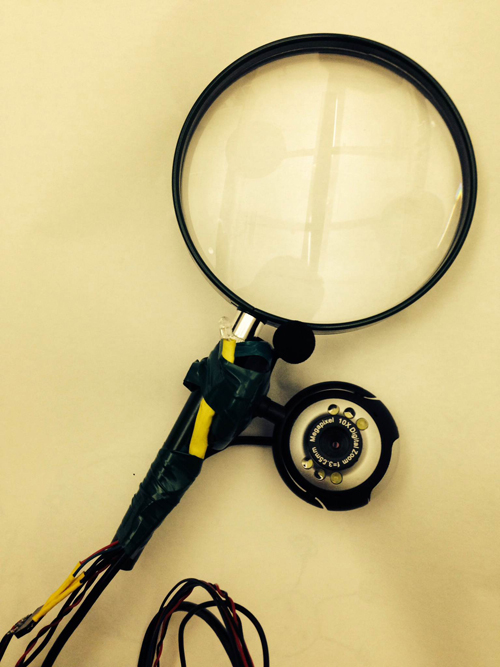
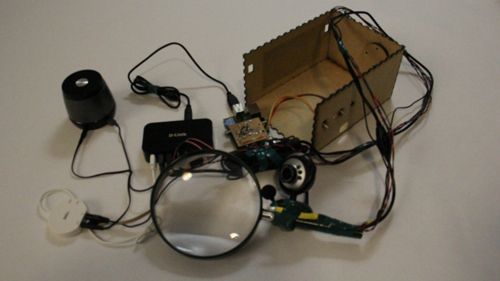
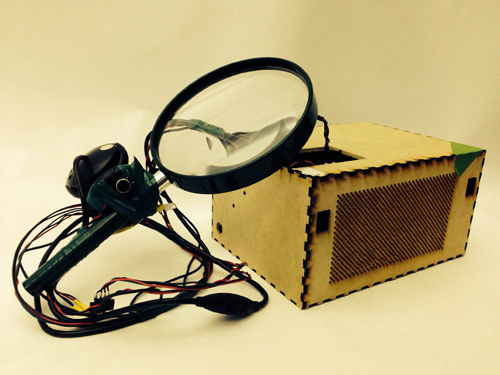
Based on last time’s feedback, people failed to get aware of the focus when capturing an image. Thus, in the final prototype, I use a magnifier attaching a camera and a mic as a portable capture device for people to focus where the sound and where they will capture an image, with a metaphor of finding sounds in our lives. Instead of several buttons to control the recording and taking image, a single push button in the handle of magnifier is used to trigger taking a photo and then automatically record a 3s sound.

Final1

Final3

Final2

Software improvement:

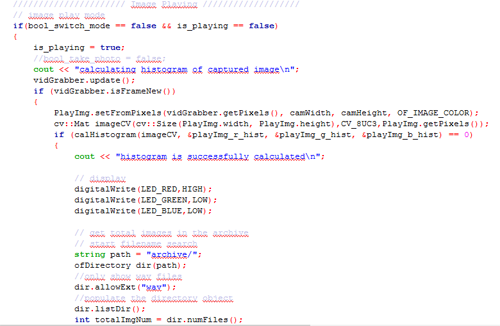
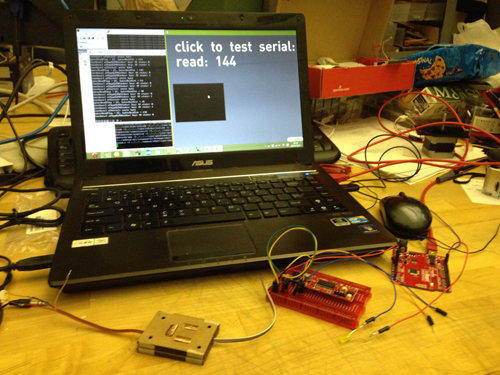
Instead of using the whole histogram of images, I converted the image from RGB to HSV and used the H value for histograms with 12 bins (variable). That is to say, the images will be divided into 12 clusters based on their major color. Each image is classified and the sound will be recorded into corresponding track contributing to the library of that color. That is to say, every color has a soundtrack which belong to this cluster. Then a granular analysis is used to divided the sound into small grains and remix them for a new sound of that class. When changing to the play mode, the H histogram is computed and the corresponding sound will be played.

I used a OF ofxMaxim with FFT processing for granular analysis, but the output sound effect is not that good. The speed of sound is changed but without much similar grains connecting together. This is a main aspect I should improve for the next step of this project.

 Demo Video:

Future Plan:

1. the most important is to get more in-depth granular analysis to re-mix the sounds. My current thought is to combine the grains with their similarities among each other. The funny part is that with the growing of number of recording sounds, the output sound is dynamic changing and form some new sound.

2. Take some more actual image and sound to test the effects of whole process. Aiming to a specific type of sound may be a good choice, such as city noise.

Conclusion/Acknowledge:

Although this project is far from fully completion, I learned a lot in this process, not only the technologies such as RPI, openFrameworks and Linux; more importantly, I learned a lot about input/output design, mapping, and telling story (a point I did not do well). It teaches me to think why should we design this device and inspired me to think whom and where does a device will be used in my future projects. Thanks Ali Momeni very much for his suggestions and all the conversations during this whole process of project, and all the reviewers and classmates who help me to improve my ideas and project.


Sound/tracks: Real-Time Sonification of Train Journeys by JKU

Reference — Ding Xu @ 9:29 pm

Audible Color by Momo Miyazaki, CIID

Audio,OpenCV,Reference — Ding Xu @ 9:06 pm

audible color from Momo Miyazaki on Vimeo.

Final Project Milestone 3 – Ding Xu

Audio,Final Project,Machine Vision,OpenCV — Ding Xu @ 10:24 pm

1. GPIO control board soldering

In order to use GPIO of RPI for digital signal control, I built a control protoboard  with two switches and two push buttons connecting a pull-up/pull-down registers respectively. A female header was used to connect the GPIO of RPI to get the digital signal.

In RPI, I used the library WiringPi for GPIO signal reading. After compiling this library and include the header files, three easy steps are used to read the data from digital pins: (1). wiringPiSetup() (2). set up pinmode: PinMode(GPIOX,INPUT) and (3). digitalRead(GPIOX) or digitalWrite(GPIOX)

photo_7(1)


2. software design

In openframeworks, I used  the library Sndfile for recording and ofSoundPlayer for sound output. There are two modes: capture and play. Users are expected to record as many as sounds in their lives and take an image each time recording a sound. Then in the play mode, the camera will capture a surrounding image and the sound tracks of similar images will be played.  The software workflow is as follows:

Capture:

Play:

code

3. system combination

Connecting the sound input/output device, RPI, singal control board and camera, the system is as follows:

photo_31

photo30

Final Project Milestone 2 – Ding Xu

Audio,Final Project,Laser Cutter,OpenCV — Ding Xu @ 11:05 pm

In my second milestone. I finished the following stuff:

1. sound output amplification circuit. I first used a breadboard to test the audio output circuit using an amplifier connecting a speaker with a switch to augment the output sound and then  finished soldering a protoboard.

photo_2

photo_7 (2)

photo_8 (2)

2. Sound capture device: a mic with a pre-amp connecting an usb audio card was used for sound input. However, it spent me a lot of  time to configure the parameters in the Raspberrry Pi to make it work. I referred to several blog posts in the website to get asoundrc and asound.conf file well set for audio card select and alsa mixer for control. A arecord and aplay command were used to test the recording in linux. Then I revised an addon of OF ofxLibsndFileRecorder to achieve recording. However, from the testing result, the system is not very robust, sometimes the audio input will fail and sometimes the play speed will much faster than recording speed, accompanying much noise.

photo_11照片2

alsamixer

3. GPIO test: in order to test control the audio input and output with  switch and button. I first used a breadboard connecting a switch with a pull-up or pull down resister as the recording/play control.

photo_22

4. Case building: a transparent case using laser cut was built.

photo(1)

5. Simulink test: I searched that simulink recently supported the raspberry Pi with several well developed modules. So I tried to install an image of Simulink and run some simple demos with that platform. I also tested the GPIO control for triggering the switch between two sine wave generator in Simulink.

gpio1

Final Project Presentation: Ding

Uncategorized — Ding Xu @ 5:41 pm

Final Project Milestone 1 – Ding Xu

We live in a world surrounding by different environments. Since music could have mutual influence with human’s emotions, environments also embrace some parameters which could get involved in that process. In certain content, environment may be a good indicator to generate certain “mood” to transfer into music and affect people’s emotions. Basically, the purpose of this project is to build a portable music player box which could sense the surrounding environment and generate some specific songs to users.

This device has two modes: the search mode and generate mode. In the first mode, input data will be transformed into some specific tags according to its type and value; then these tags are used to described a series of existing songs to users. In the second mode, two cameras are used to capture ambien images to create a piece of generative music. I will finish the second mode in this class.

In mode 2, for each piece of song, two types of images will be used. The first one is a music image captured by an adjustable camera and the content of this image will be divided into several blocks according to their edge pixels and generate several notes according to their color. The second image is a texture one captured by a camera with a pocket microscope. When the device is placed on the different materials, corresponding texture will be distinguished and attach different instrument filter to music.

Below is a list of things I finished in the first week:

  • System design
  • platform test and select specific hardware and software for project
  • Be familiar with raspberry pi OS and Openframeworks
  • Experiment about data transmission among gadgets
  • Serial communication between arduino/teensy and Openframeworks
  • get a video from camera and play sound in openframeworks

Platform test:

Since this device is a portable box which need to be played without supporting of a PC,  therefore, I want to use raspberry pi, arduino and sensors (including camera and data sensors) to do this project. As for the software platform, I chose openframeworks as the maor IDE and plan to use PD to generate sound notes, connecting it with openframeworks for control. Moreover, it’s more comfortable for me to use C++ rather than python, since I spent much more time to achieve some a HTTP request to log into Jing.FM in python.

Python test

Raspberry Pi Network setting

As a fresh hand for Raspberry Pi without any knowledge about Linux, I got some problems when accessing into the CMU-secure wifi with Pi since the majority of tutorial is about how to connect the Pi with a router, and CMU-secure is not the case. Finally, I figured it out with the help of a website explaining the very specific parameters in wpa_supplicant.conf, the information provided by CMU computing service website and copying the certificate file into Pi. I also want to mention that each hardware which use CMU wifi need to register the machine in netreg.net.cmu.edu/ and this process takes effect after 30 minutes.

Raspberri Pi

Data Transmission between gadget and arduino

Experiment 1: Two small magnets attached in the gadget with the height of 4 mm

gadget1

gadget

Experiment 2: Four magnets attached in the gadget with the height of  2.9 mm and 3.7 mm

gadget2


gadget3

the prototype 2 is easier to attach the gadgets together but all of these gadgets fail to transmit accurate data if not pressing the two their sides. A new structure is required to build to solve this problem.

Connecting arduino with openframeworks with serial communication

Mapping 2 music to different sensor input data value

OF test2

Final Project: It’s a metaphor about human nature

Final Project — Ding Xu @ 4:24 pm

Instrument: “Pinokio Lamp” by Adam Ben-Dror, Shanshan Zhou and Joss Dogget (2012)

Instrument,Reference — Ding Xu @ 5:30 am

Pinokio_500

More…

Instrument: “Piano Staircase” by theFunTheory.com (2009)

Instrument,Reference — Ding Xu @ 5:21 am

Piano Stairs_500

More…

Video…

Next Page »
This work is licensed under a Creative Commons Attribution-Noncommercial-Share Alike 3.0 Unported License.
(c) 2024 Hybrid Instrument Building 2014 | powered by WordPress with Barecity