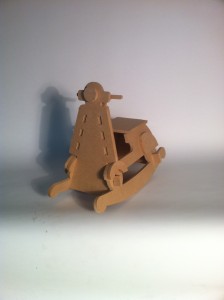
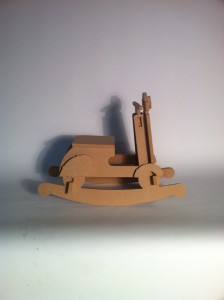
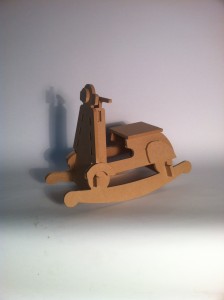
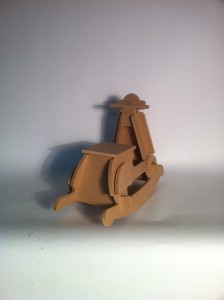

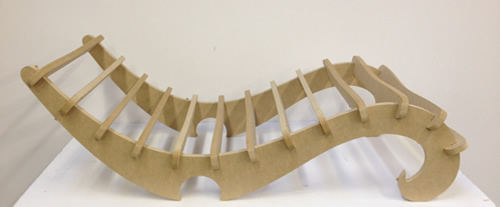
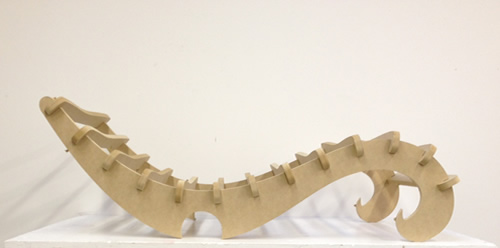
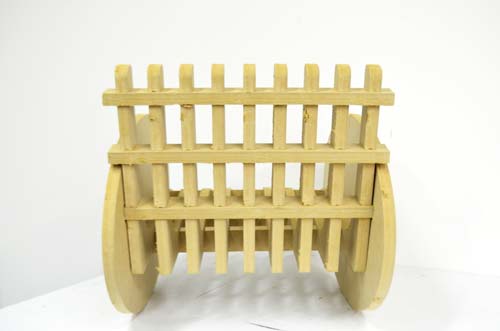
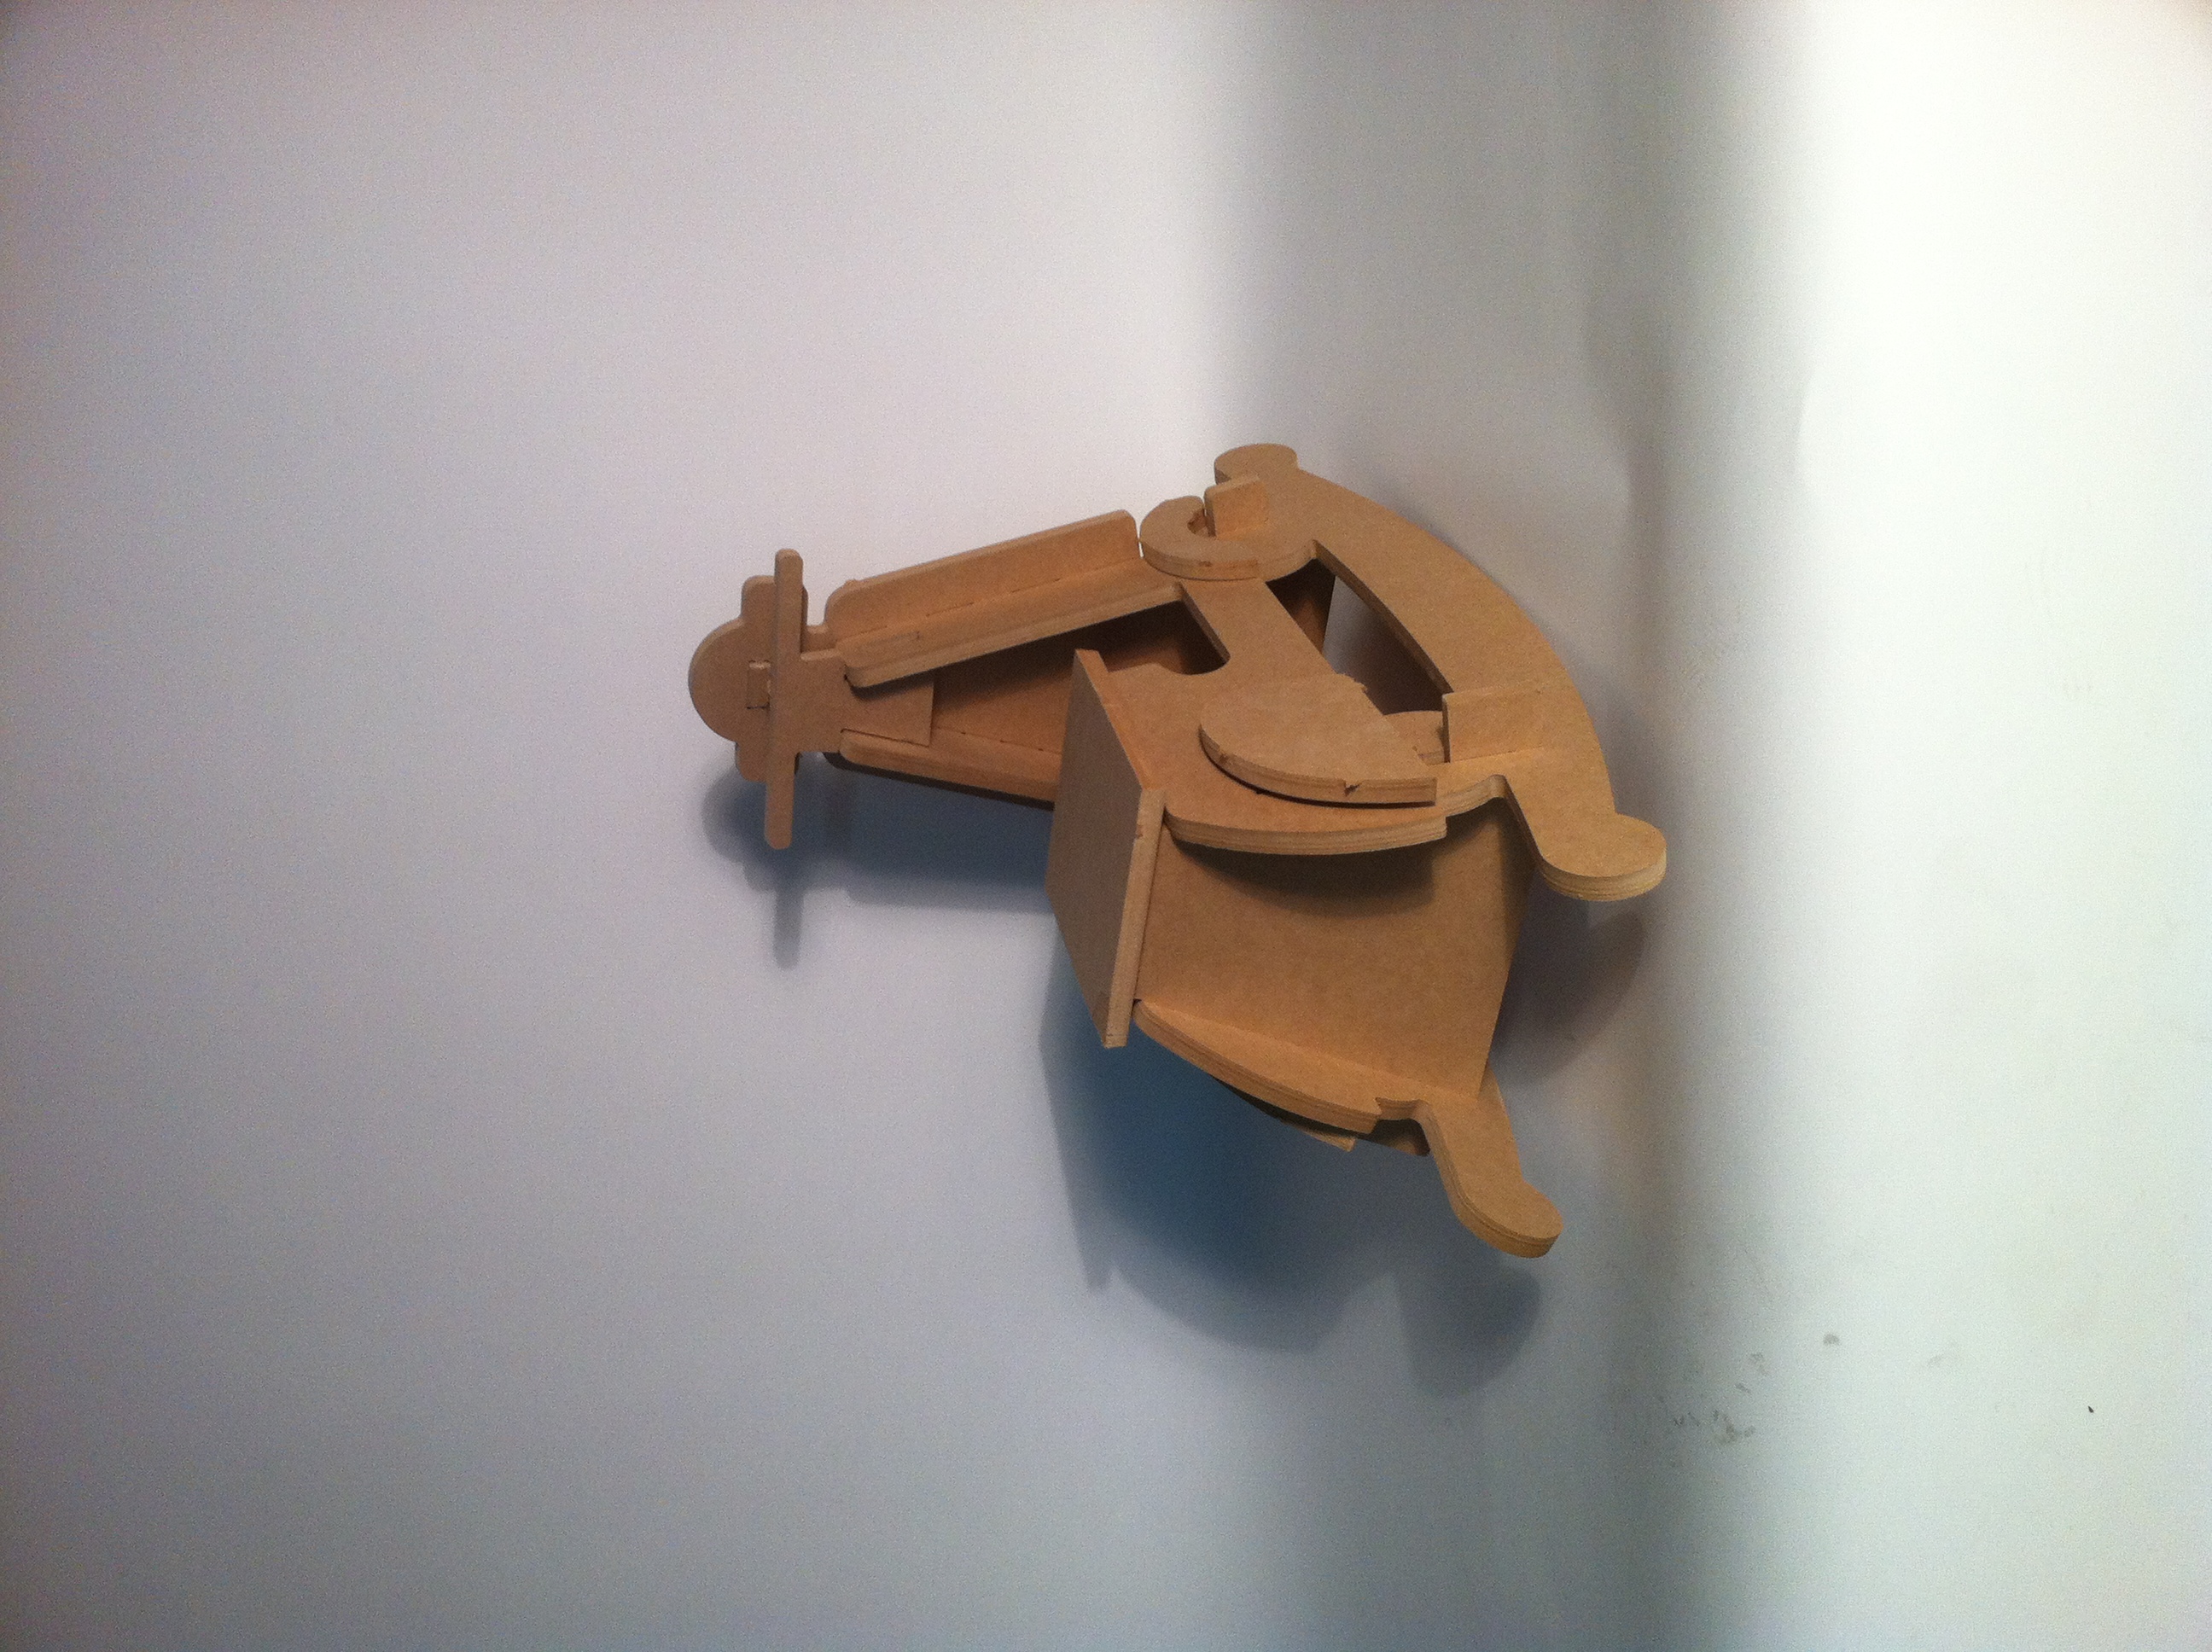
This MDF prototype of the “Rocking Vespa” turned out surprisingly functional. It can (mostly) support an adult’s weight. Though construction was difficult given all the joints, I am highly pleased with the outcome. I plan to change the design in a way that would ease assembly: eliminate some connections and widen the joint entries. I would like to round and soften the edges of the seat to improve comfort, and round the decorative pieces to improve the look. I will add two foot bars: right below the seat (above the “wheels”) for smaller children (like my daughter) and one under the “wheels” for larger children. The handle could also use some redesign to increase strength for rough play. I hope to paint and finish the piece to make it look more like a vespa. I will make the next two models out of plywood or a stronger material to make sure it will last through multiple children and have a longer lifespan.
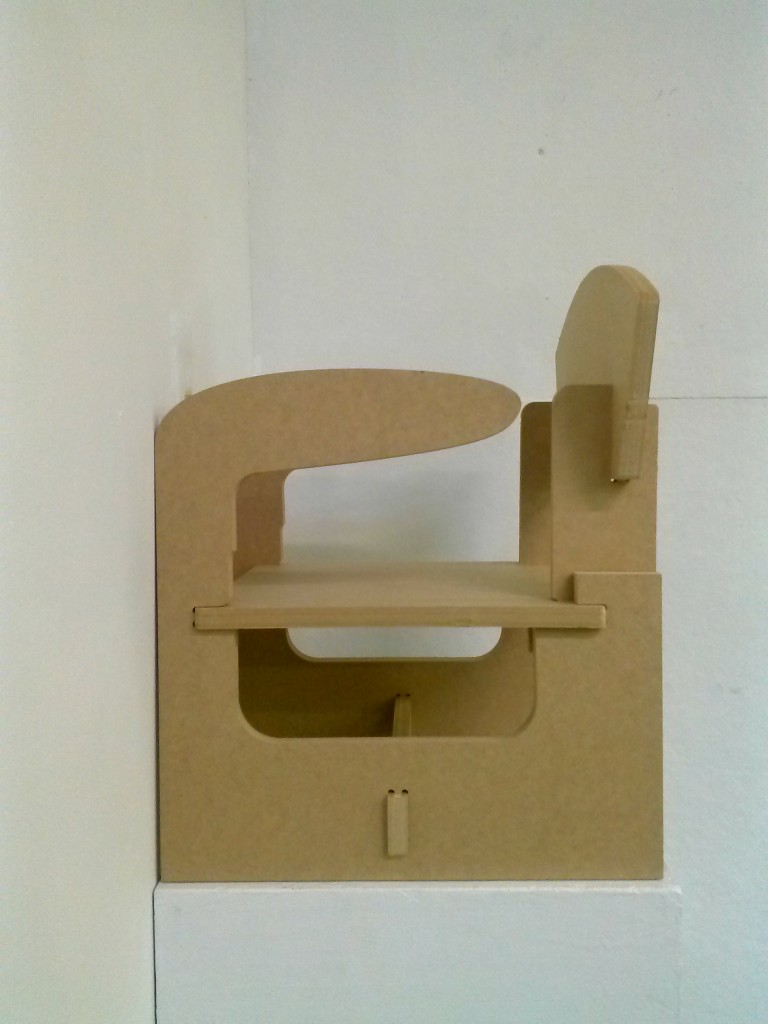
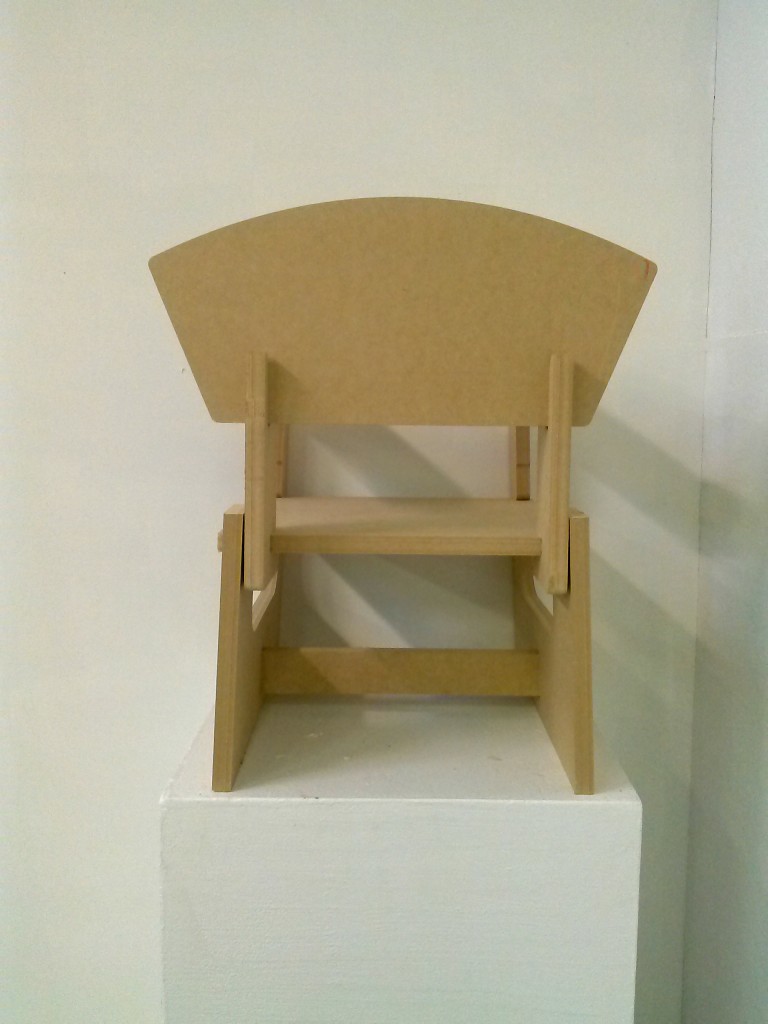
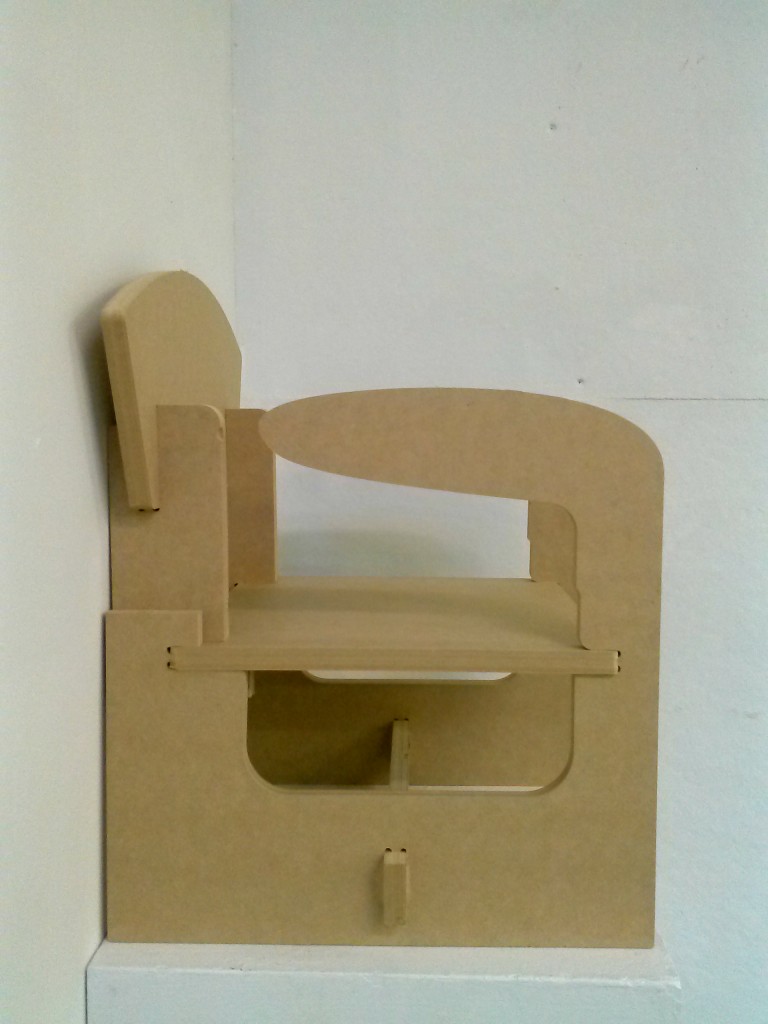
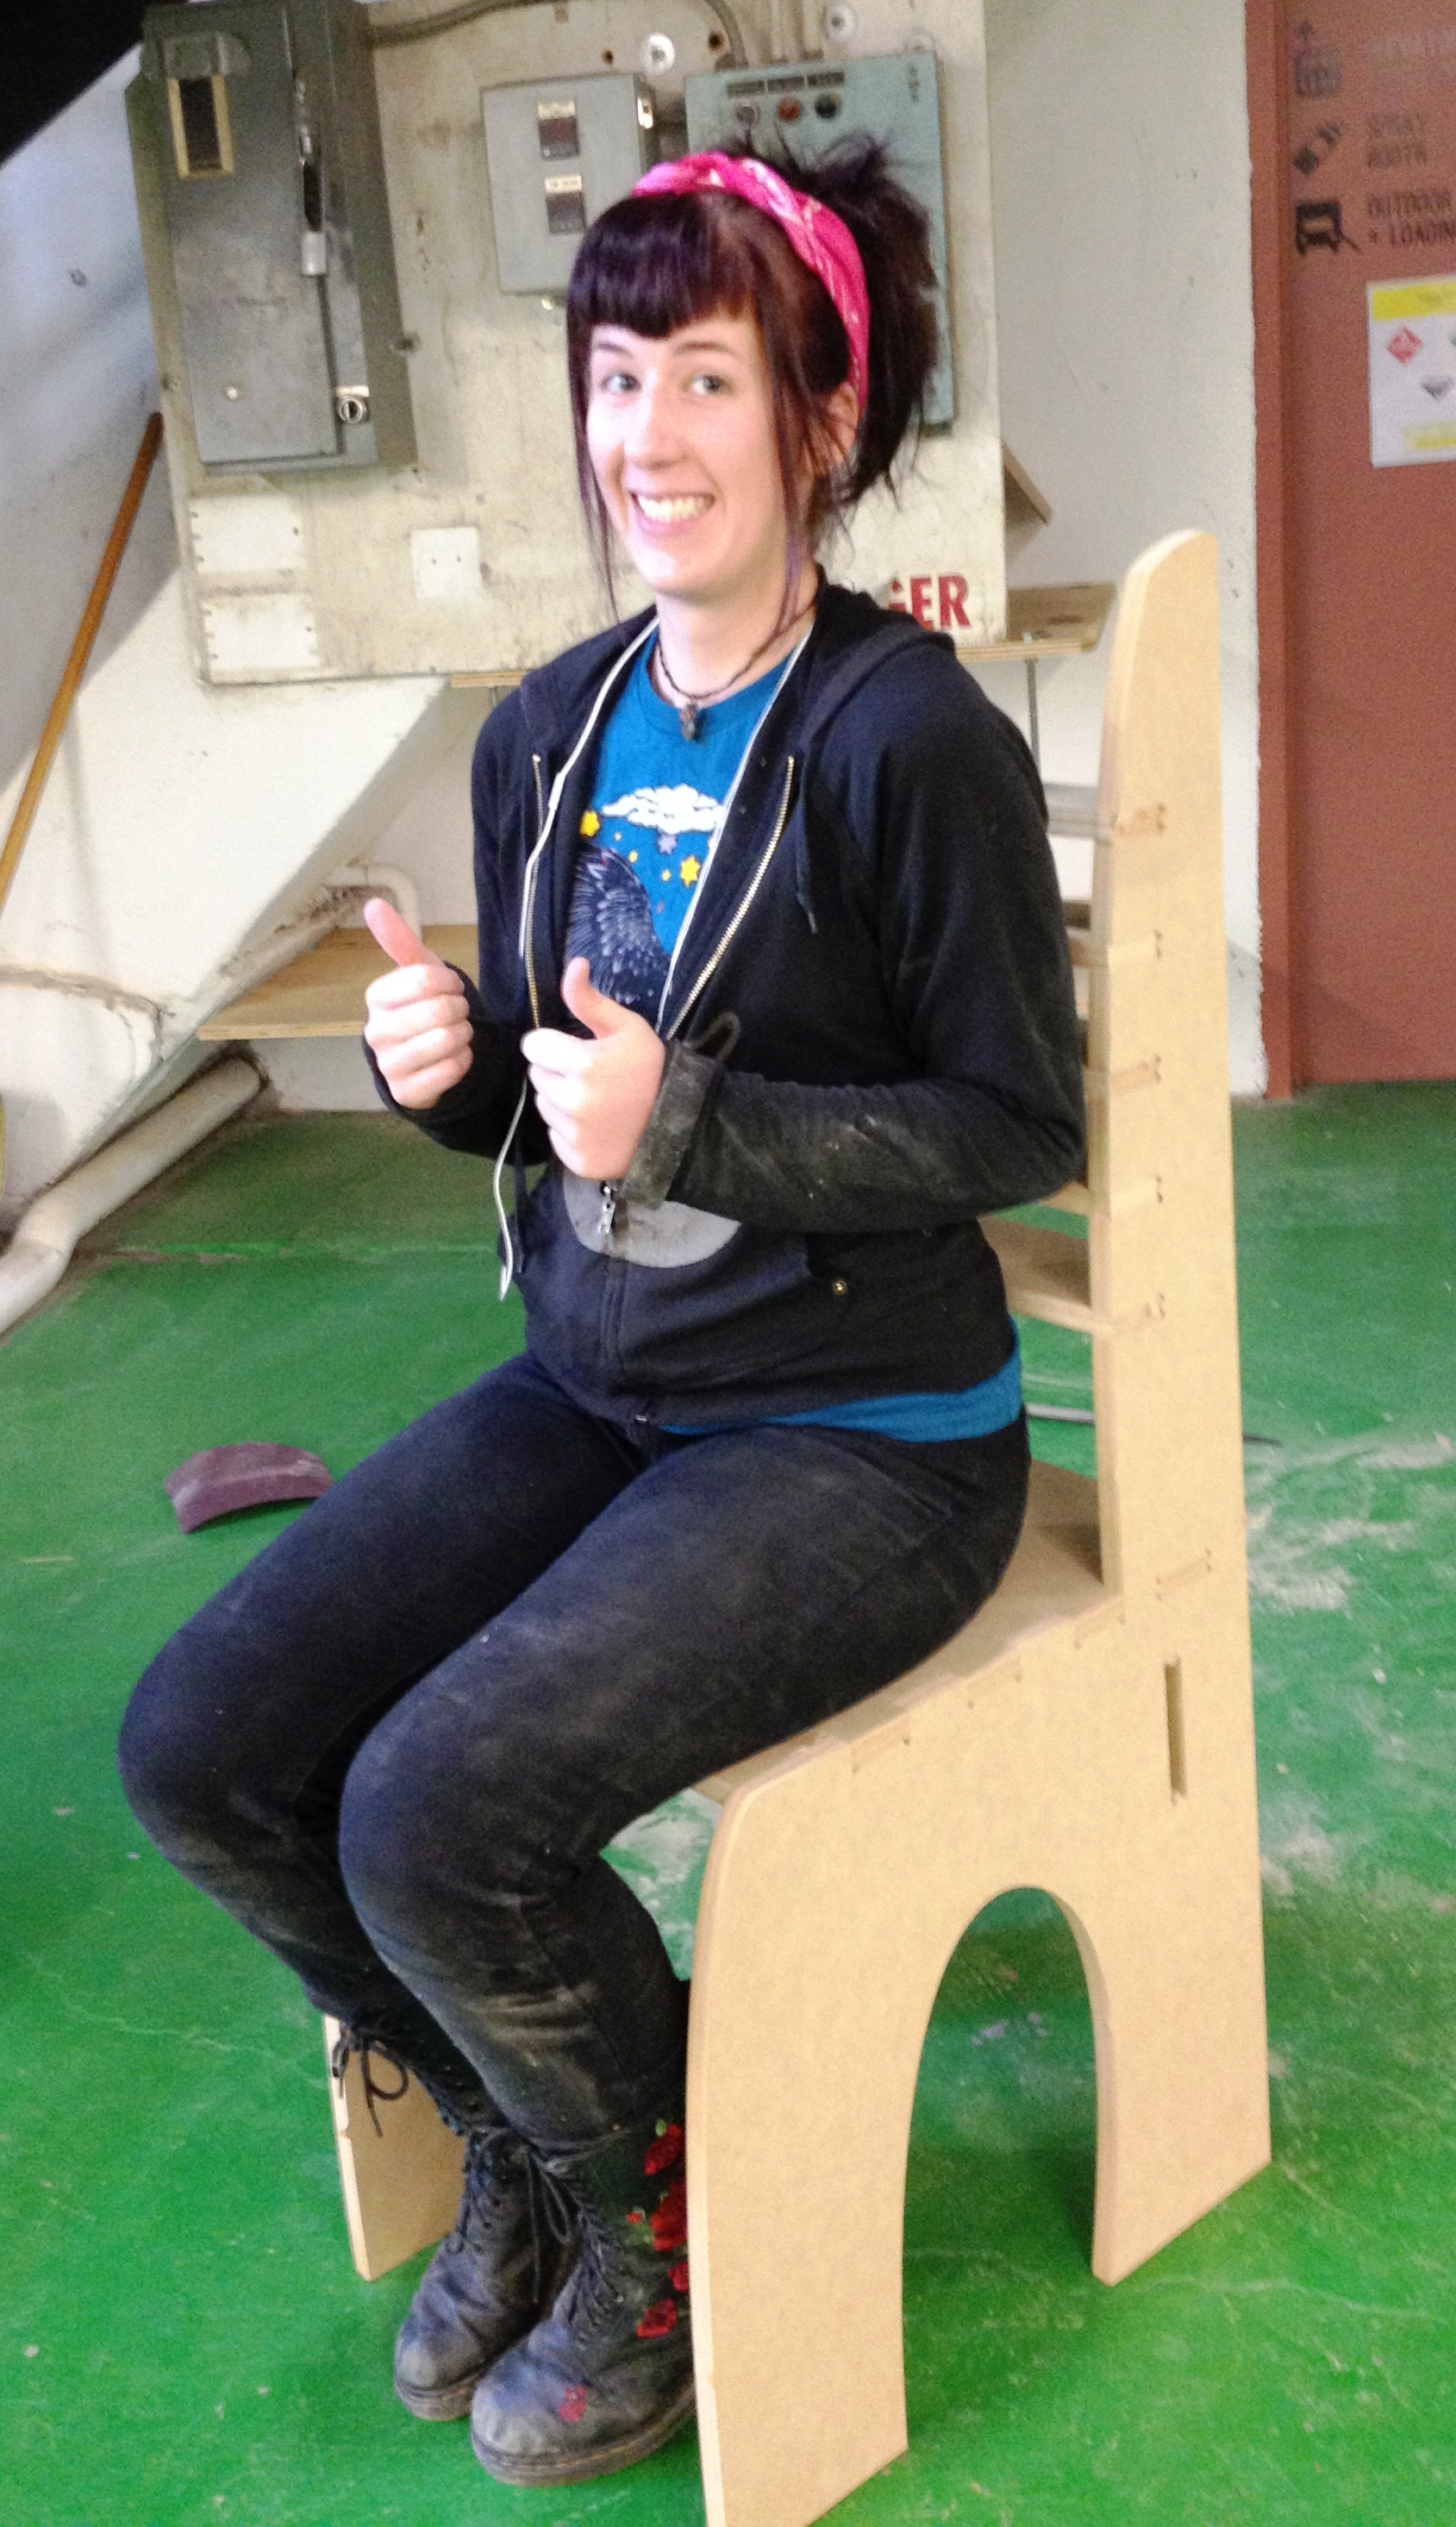
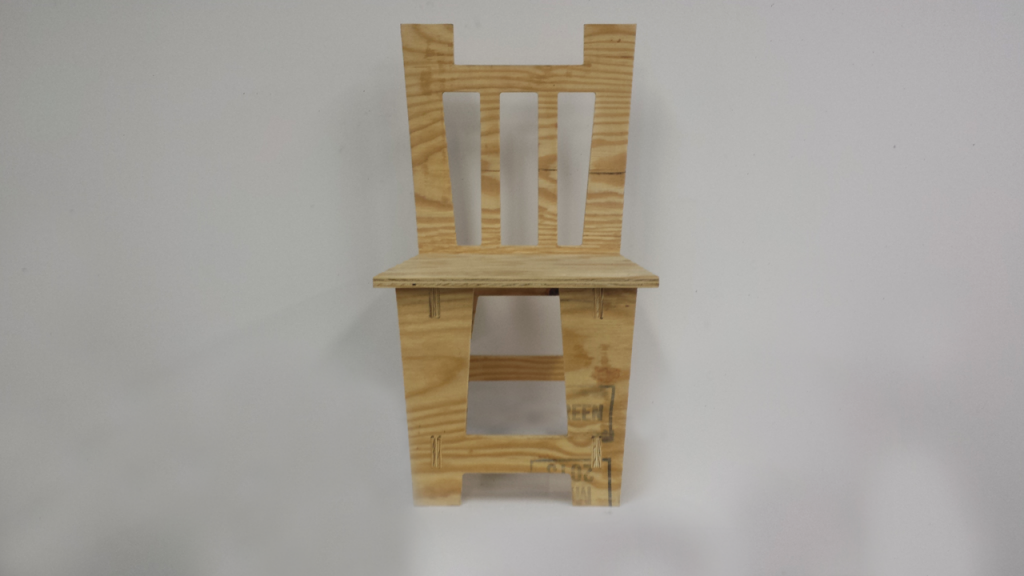 This first prototype of my chair has assured me that the design is both functional and of reasonable size.
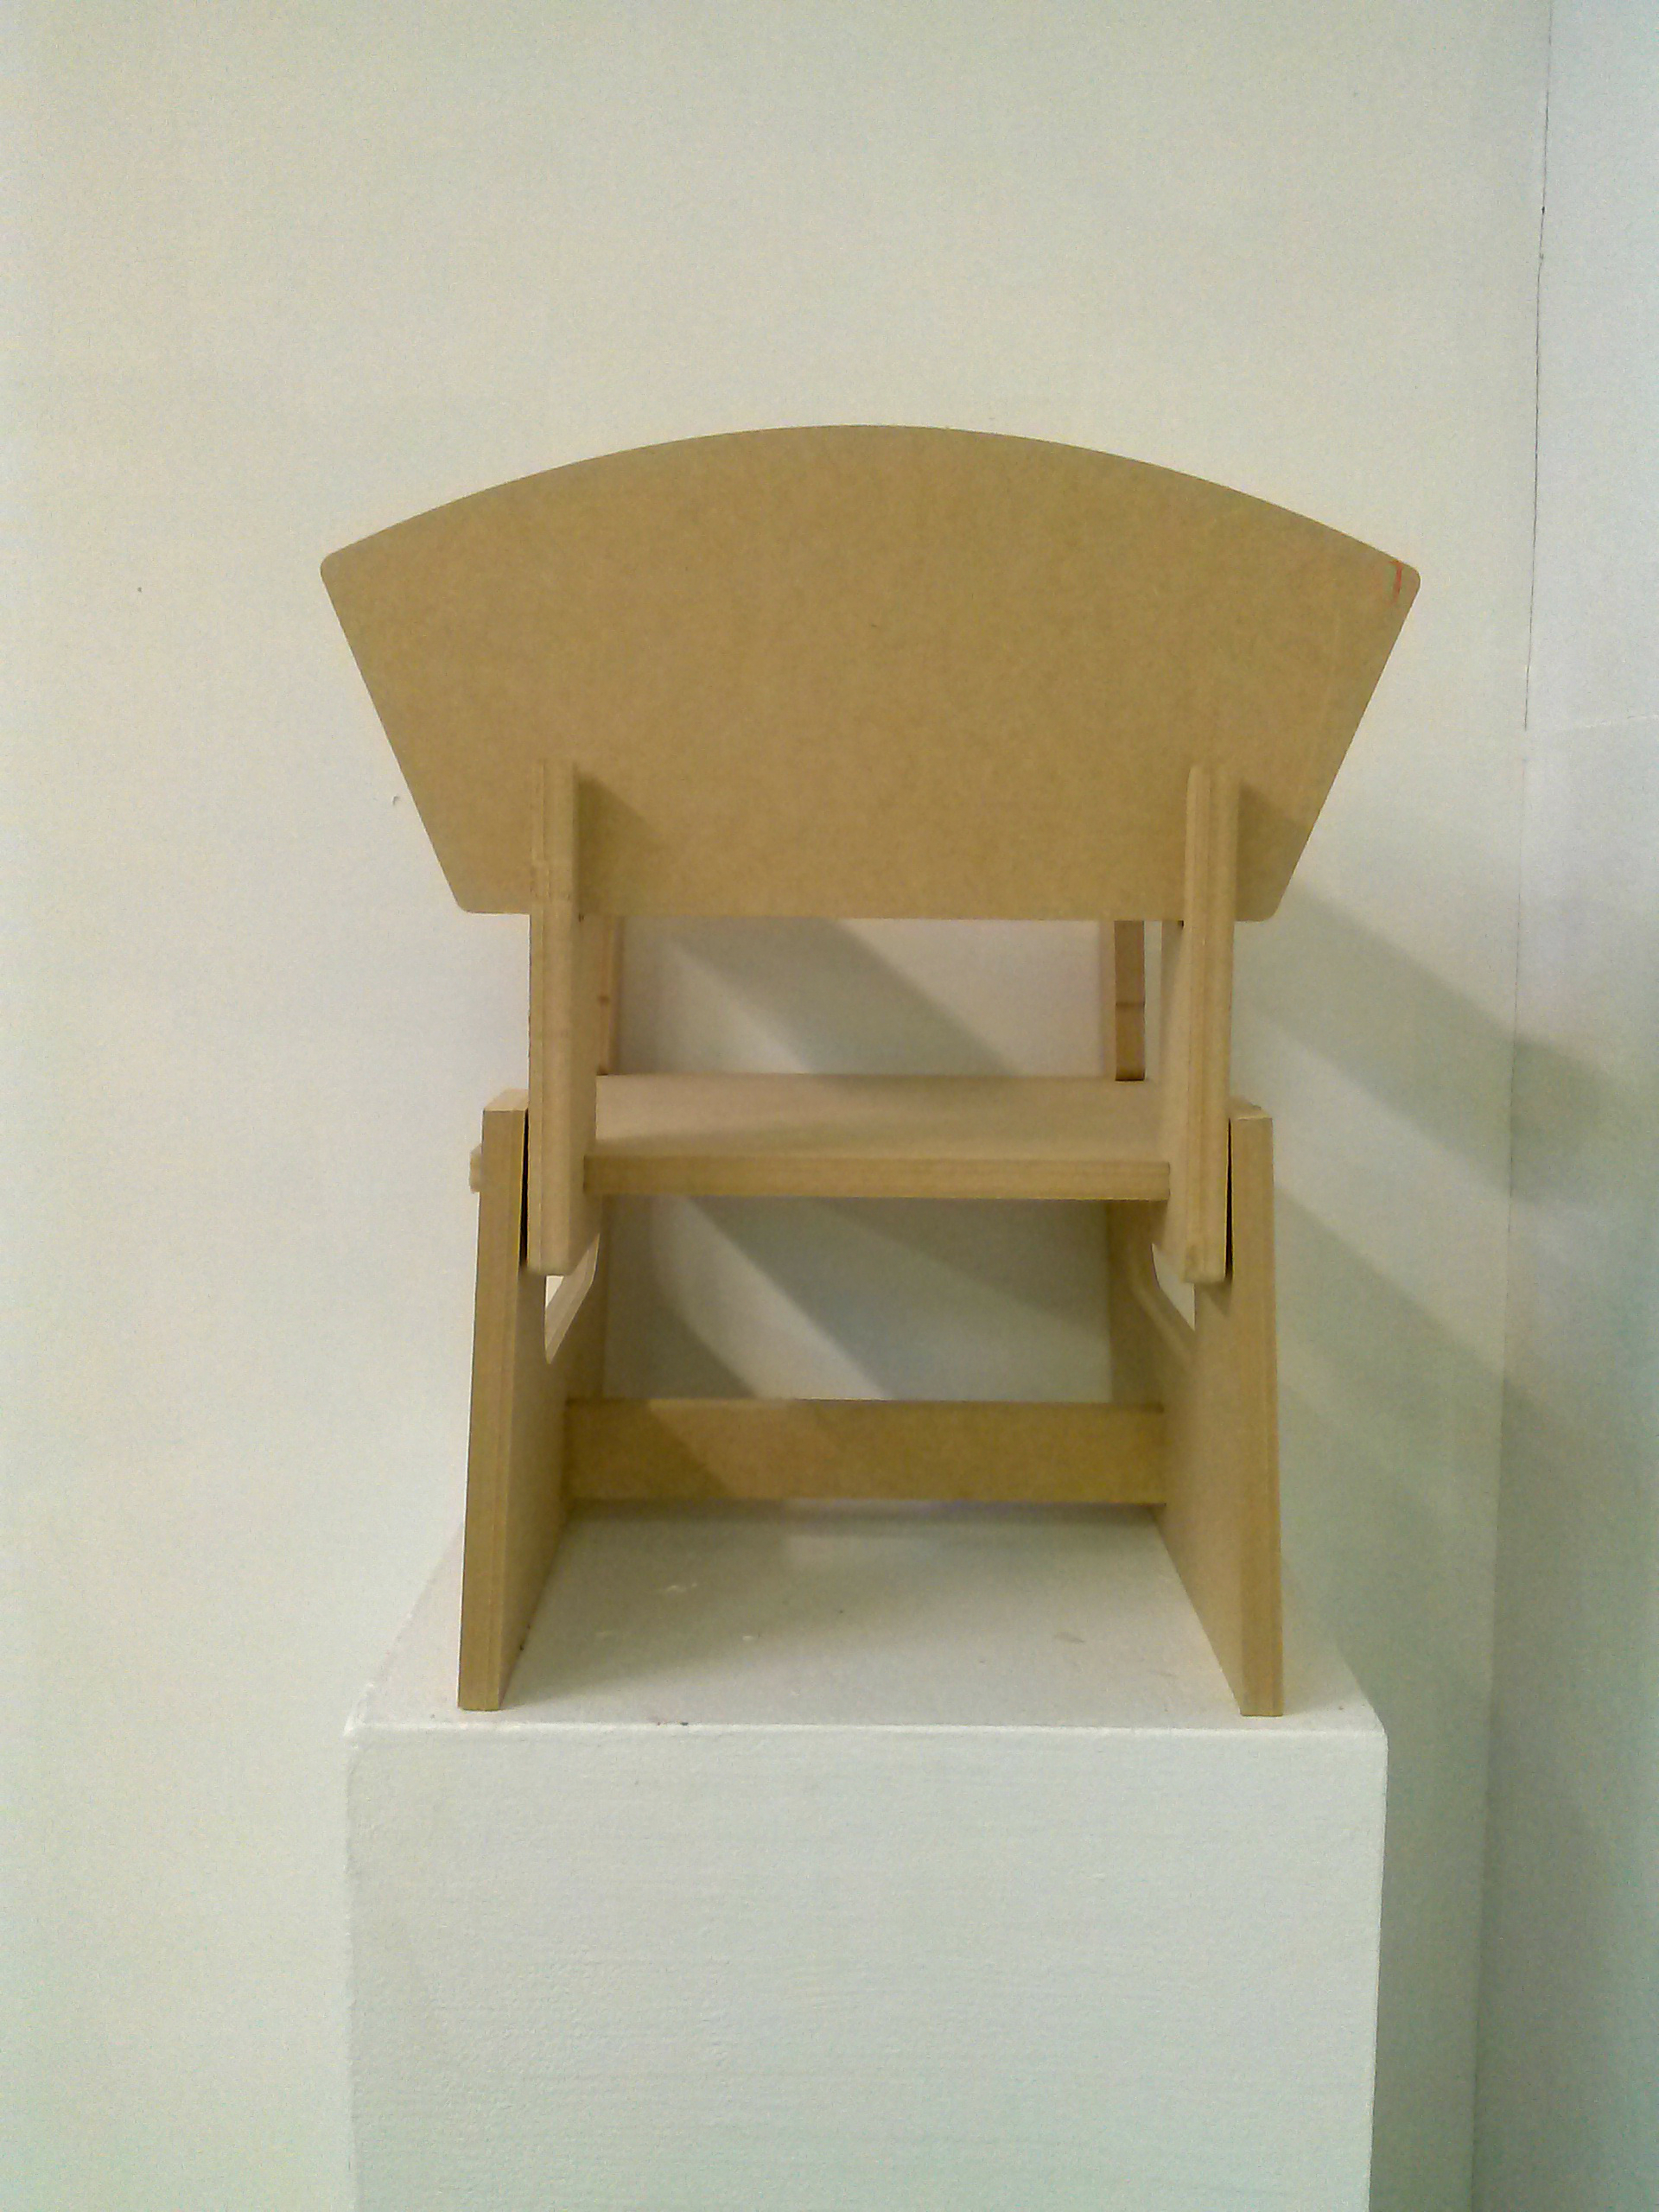
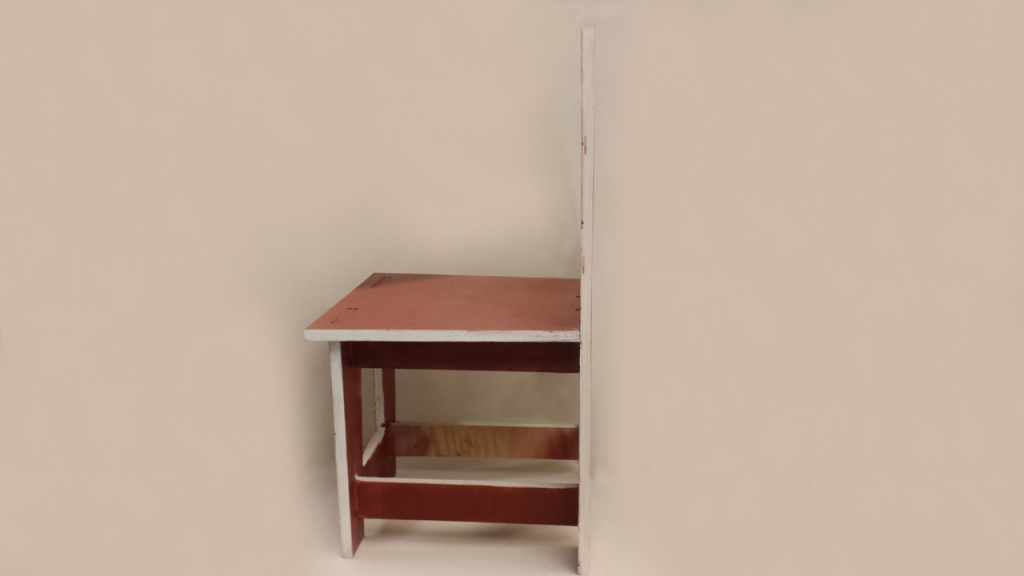
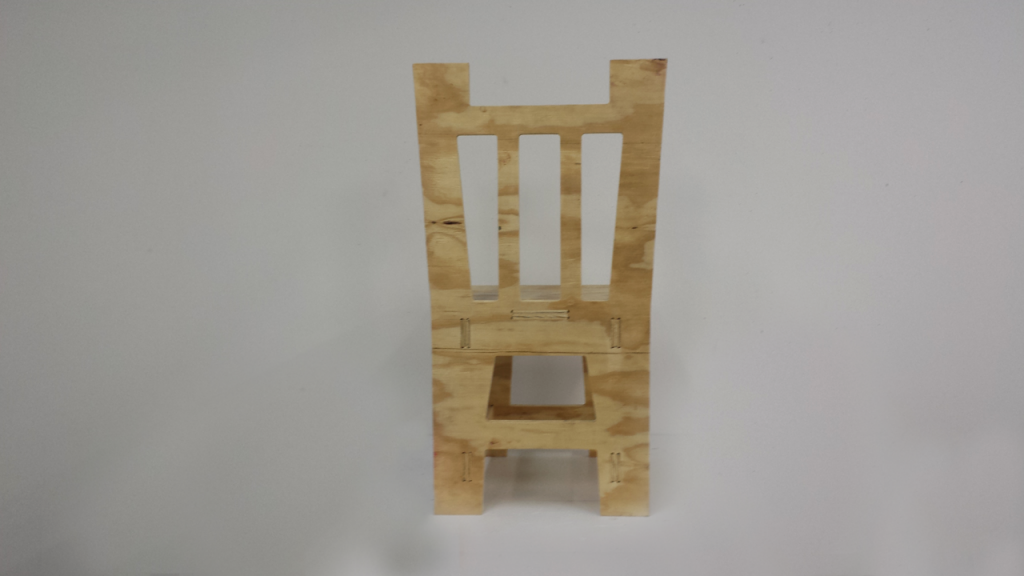 The main structural integrity of the chair is fine, however the backing of the chair requires some reinforcement.
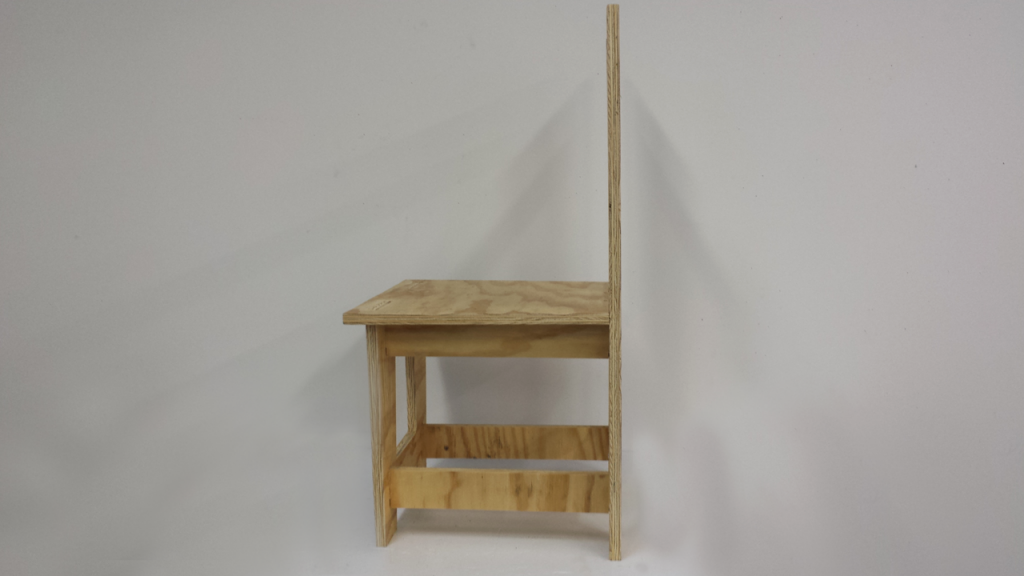 I will probably need to place a piece of wood perpendicular to the backing of the chair on either side running down to the floor.
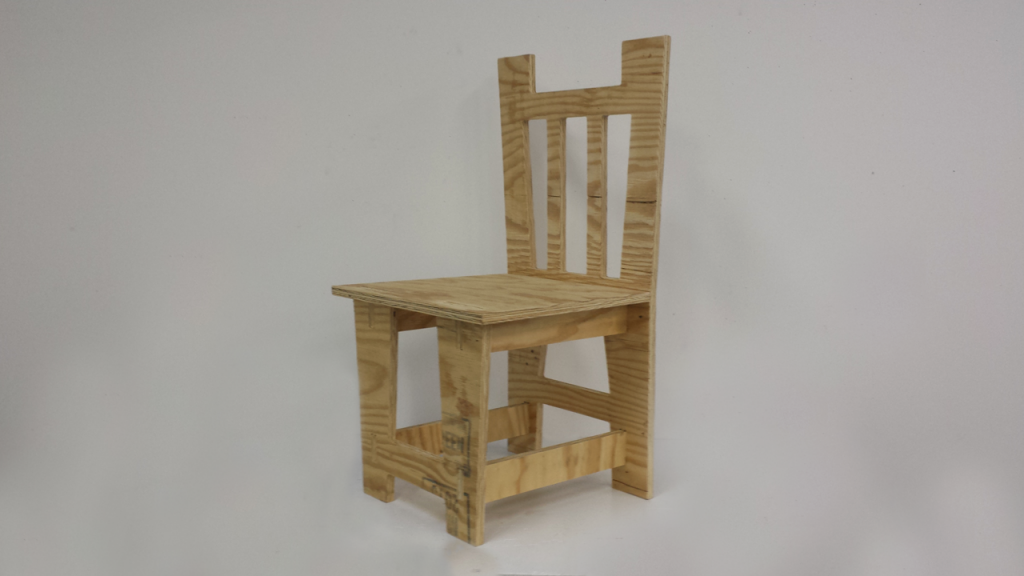 The main aesthetic design is a bit different than what I had first envisioned however I really enjoy it and would like to continue to use this style.
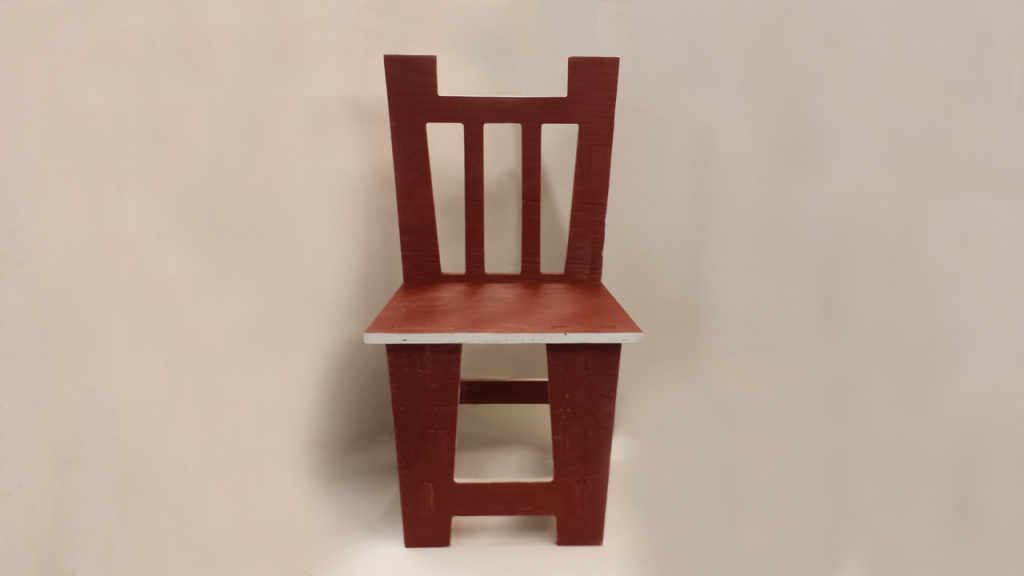 For my next iteration of the chair I would like to keep the form of the chair almost the same but create complex etchings and designs to the chair in order to make it seem more ornate.
 The painted prototype has also helped me envision what I would like my color scheme to be. The color also shows very nicely on camera which should make photographing the piece much easier.
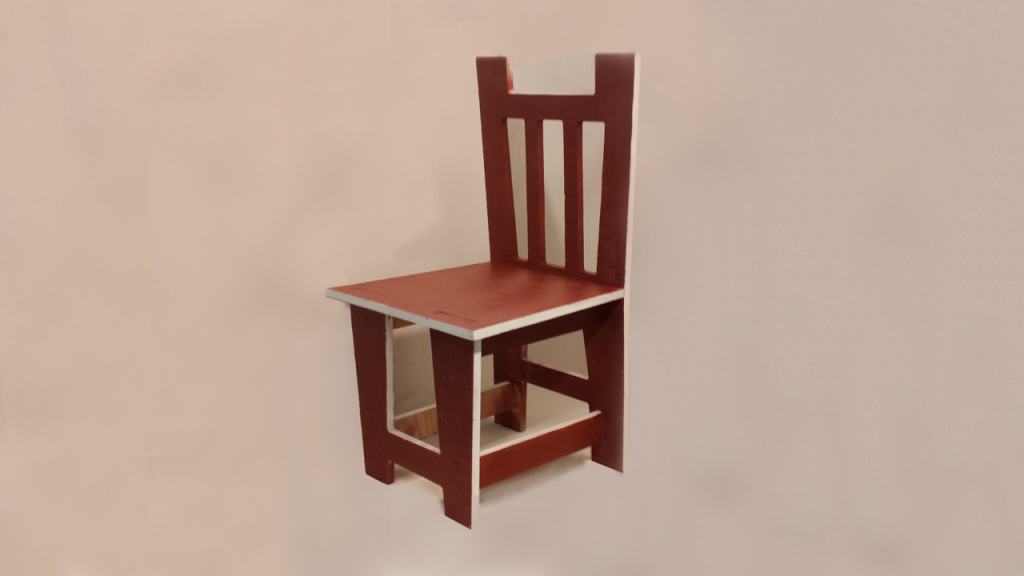 The Burnt Sienna with white accents seems to allow the chair to be a part of two different realms; a classic, adult style and a child’s room style. This can work very effectively with my upcoming altered concept.

After testing the prototype, I’ve made these changes to the rhino file:
– More room for neck/head
– Removed circular cut from bottom
– Made the curve more swirled
– Added an extra panel (more concentrated: more comfortable)
– Tightened the join places for stability
– Added swirled engravings to the sides
– Thickened the back of the chair for strength so you can lean back
The final chair will be built with plywood and spray painted gold.

The proportions are not as I would like them, so I must rescale the pieces to where an adult human would be able to sit in it.
I also need to add lips to the bottom support beam. I plan to redesign the bottom “feet”, to where there is less surface area of the chair that is touching the floor.

Upon rescaling, the armrest might become less stable, so a redesign of that would fix the issue.
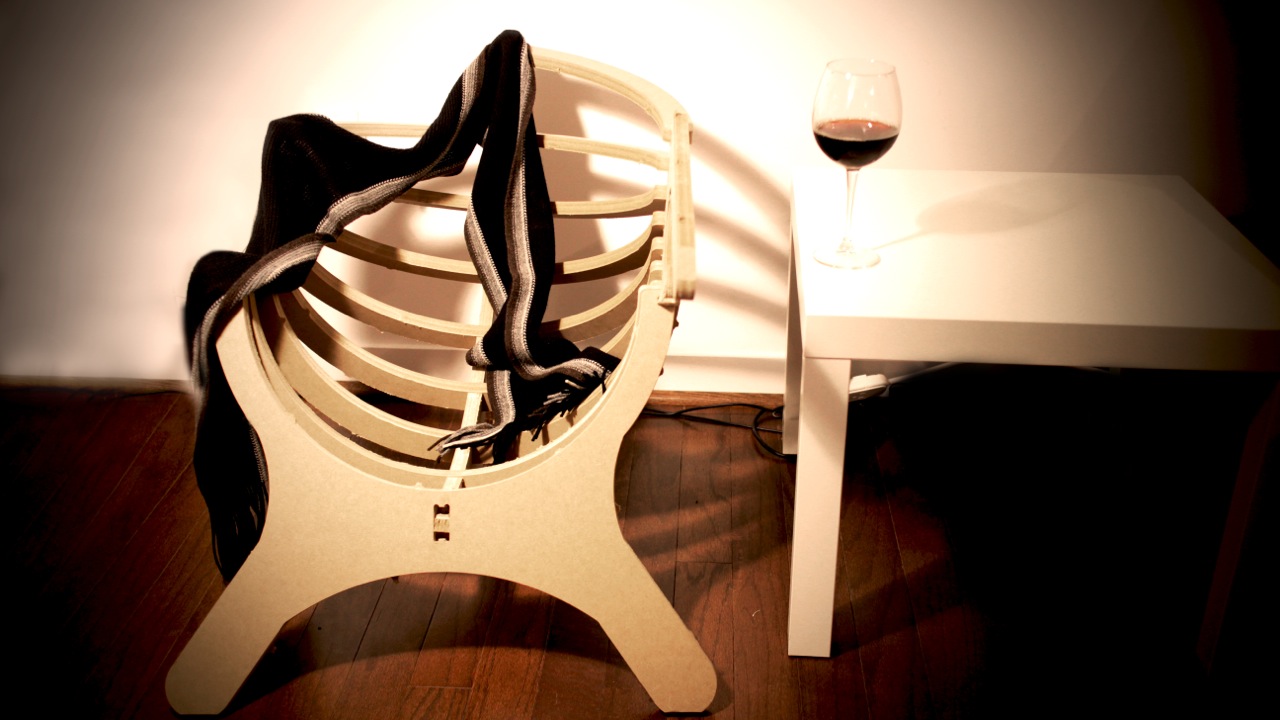
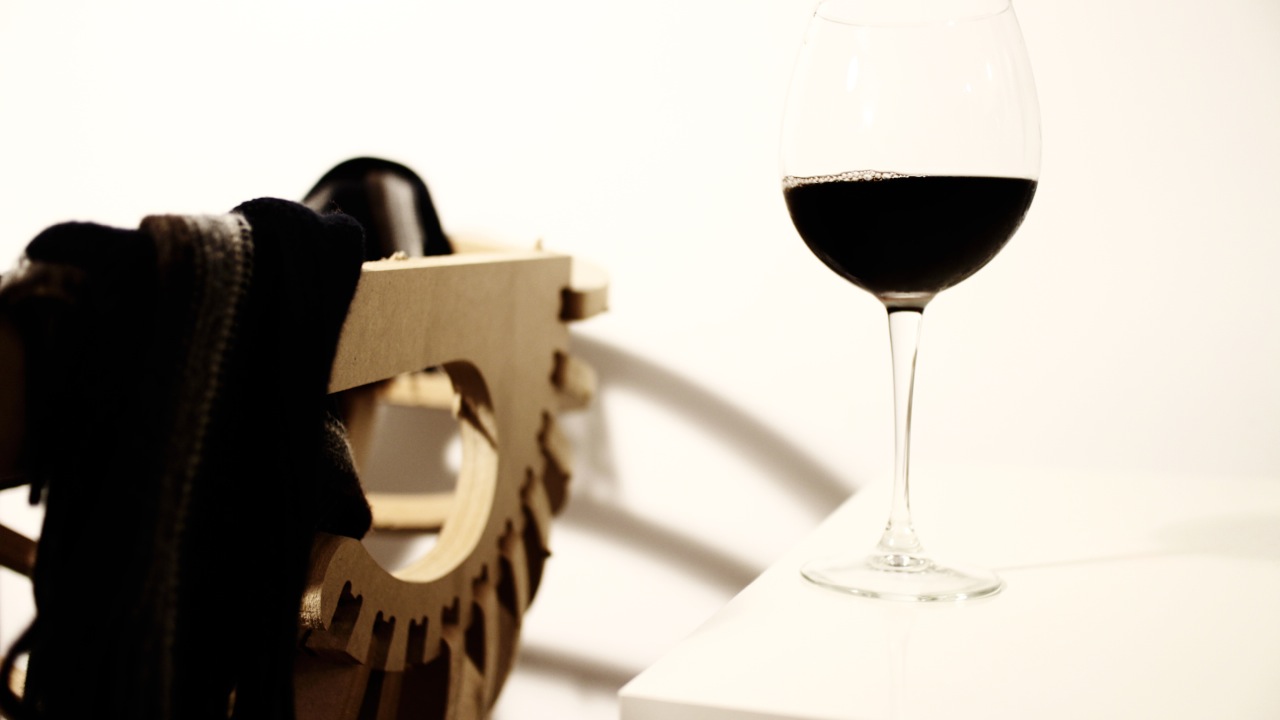
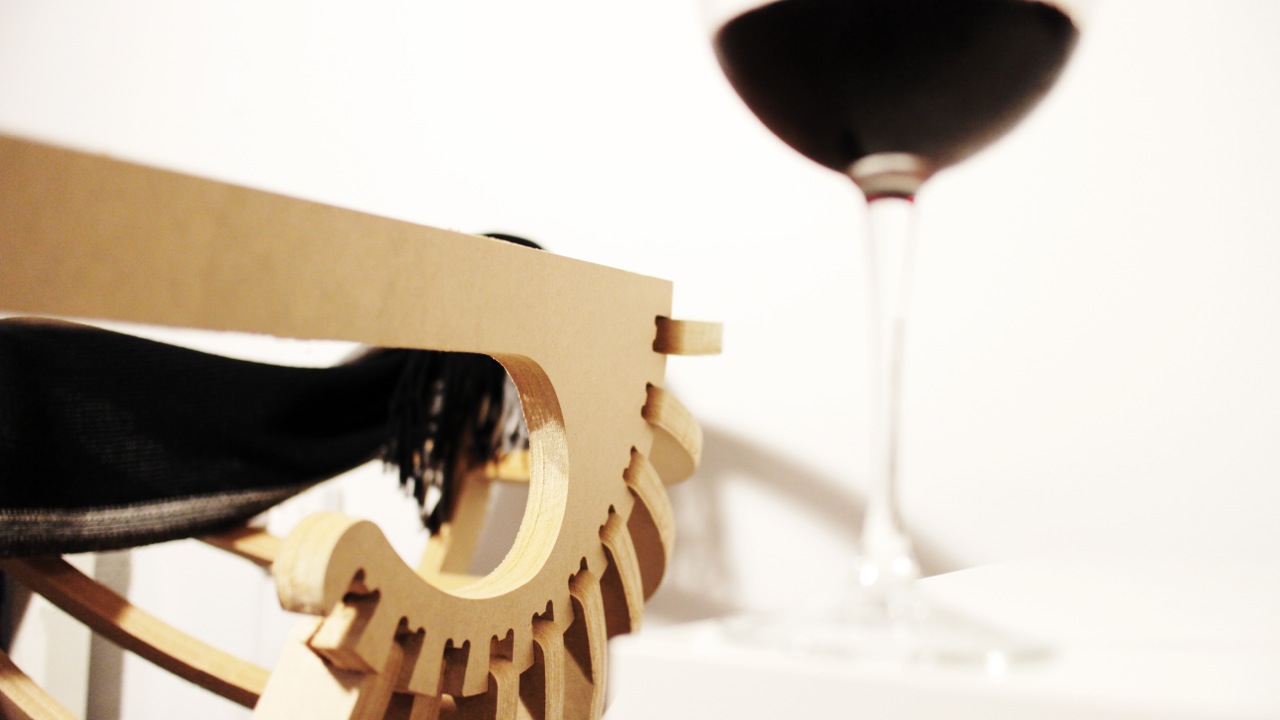

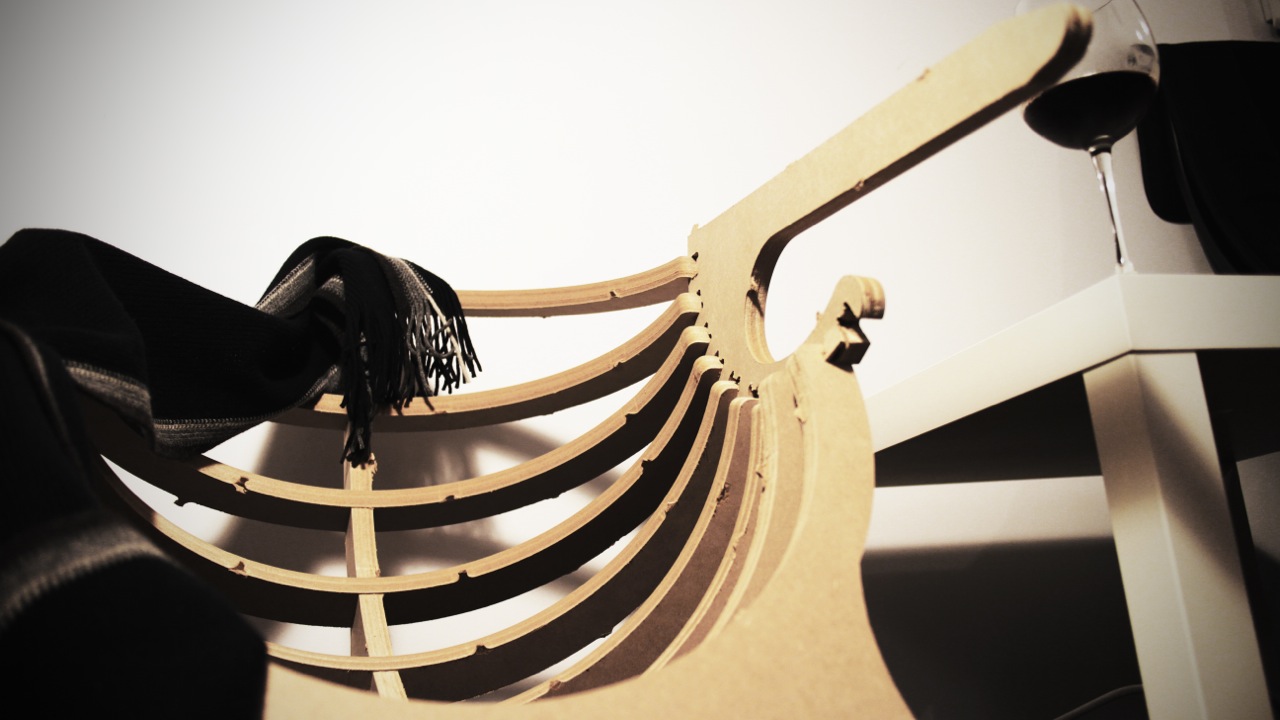
The MDF was a bit too thick (.75in.) for my chair design (.73in) the fits were snug, and that part was okay. What wasn’t so good is that when the pieces were bring jammed together one broke on top and in the front, right where the scarf conveniently fell. I will use thinner plywood instead of MDF to fix this problem. The front hole needs to be placed up on the z plane, so the weight of the spine doesn’t fall relying only on the sides and instead the bottom for support.
My chair is also missing an arm, this is because in RhinoCam I accidentally made one of the arms an inside cut instead of an outside cut. The final shell chair will also be sanded down.
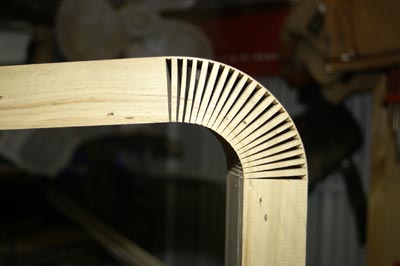
This is only one of my two chair designs. My other chair’s main component is still being tested out. I’m finding a way to bend the MDF or plywood using kerfing. So far it has been unsuccessful, but I hope to succeed in time for the final date.


This prototype is one of my designs that I had created for the project. It was near to what I had planned but there was few things to improve in my design.
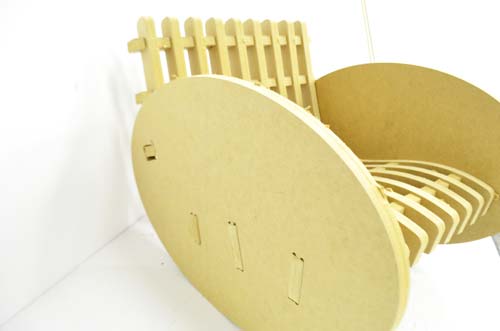
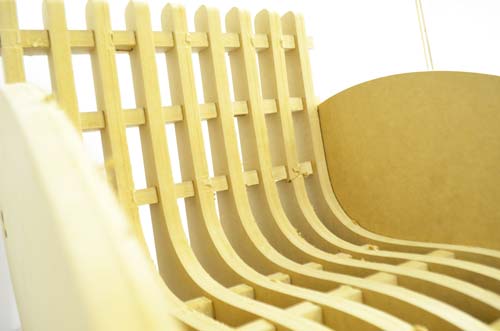
First of all, the holes that were made to make the chair rocking wasn’t in the right place. Although I did plan in Rhino, it wasn’t properly measured so I had to make the hole larger by hand. It seems that I need to adjust the holes again and make it a little bigger so it would be able to fit in with ease.
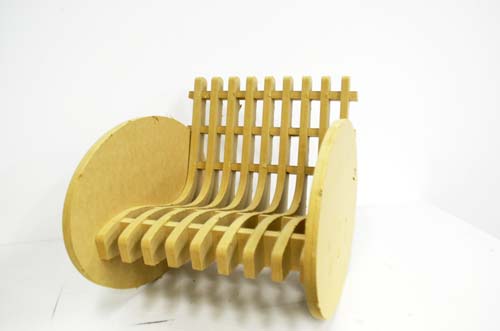
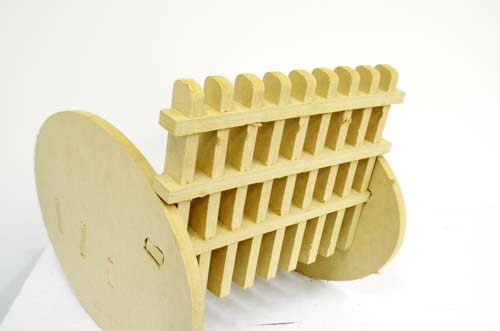
Also the back part of the chair wasn’t fitting in clearly due to small number changes that was made during the process which I will have to calculate again. Besides the back part I need to figure out how to put the chair together. Because I had tried it in a order that made some parts not fit in so perfectly one of the vertical pieces for the chair was broken into two. I think that I will probably try a different order to put the chairs together, putting the round wheels and horizontal sections of the chair together and then moving on to the vertical parts of the chair.
And the chair might seem a little to short for someone who is very tall, which was a factor that I forgot to consider when I was making the chair. It is a part that I will have to change again.
This prototype represents one of my designs. Although it went fairly well, I found quite a few things to improve my design by creating this prototype.

I discovered I need to resize the support piece and the slot for it on the back legs . I’m also considering putting the support on the front legs after sitting in the chair myself. I also plan to make the cut out between the two legs more ornate on the final chair.

I also need to realign and measure my finger joints that attach the seat to the legs. They did eventually fit together but it was a bit too tight.
I also need to remember to change my approach in rhinoCAM as you can see where the approach cut into the back of the chair pieces
And as for proportions…

The legs and the seat could fit better with the seat’s joint space widened a bit (approximately by 0.125″?).
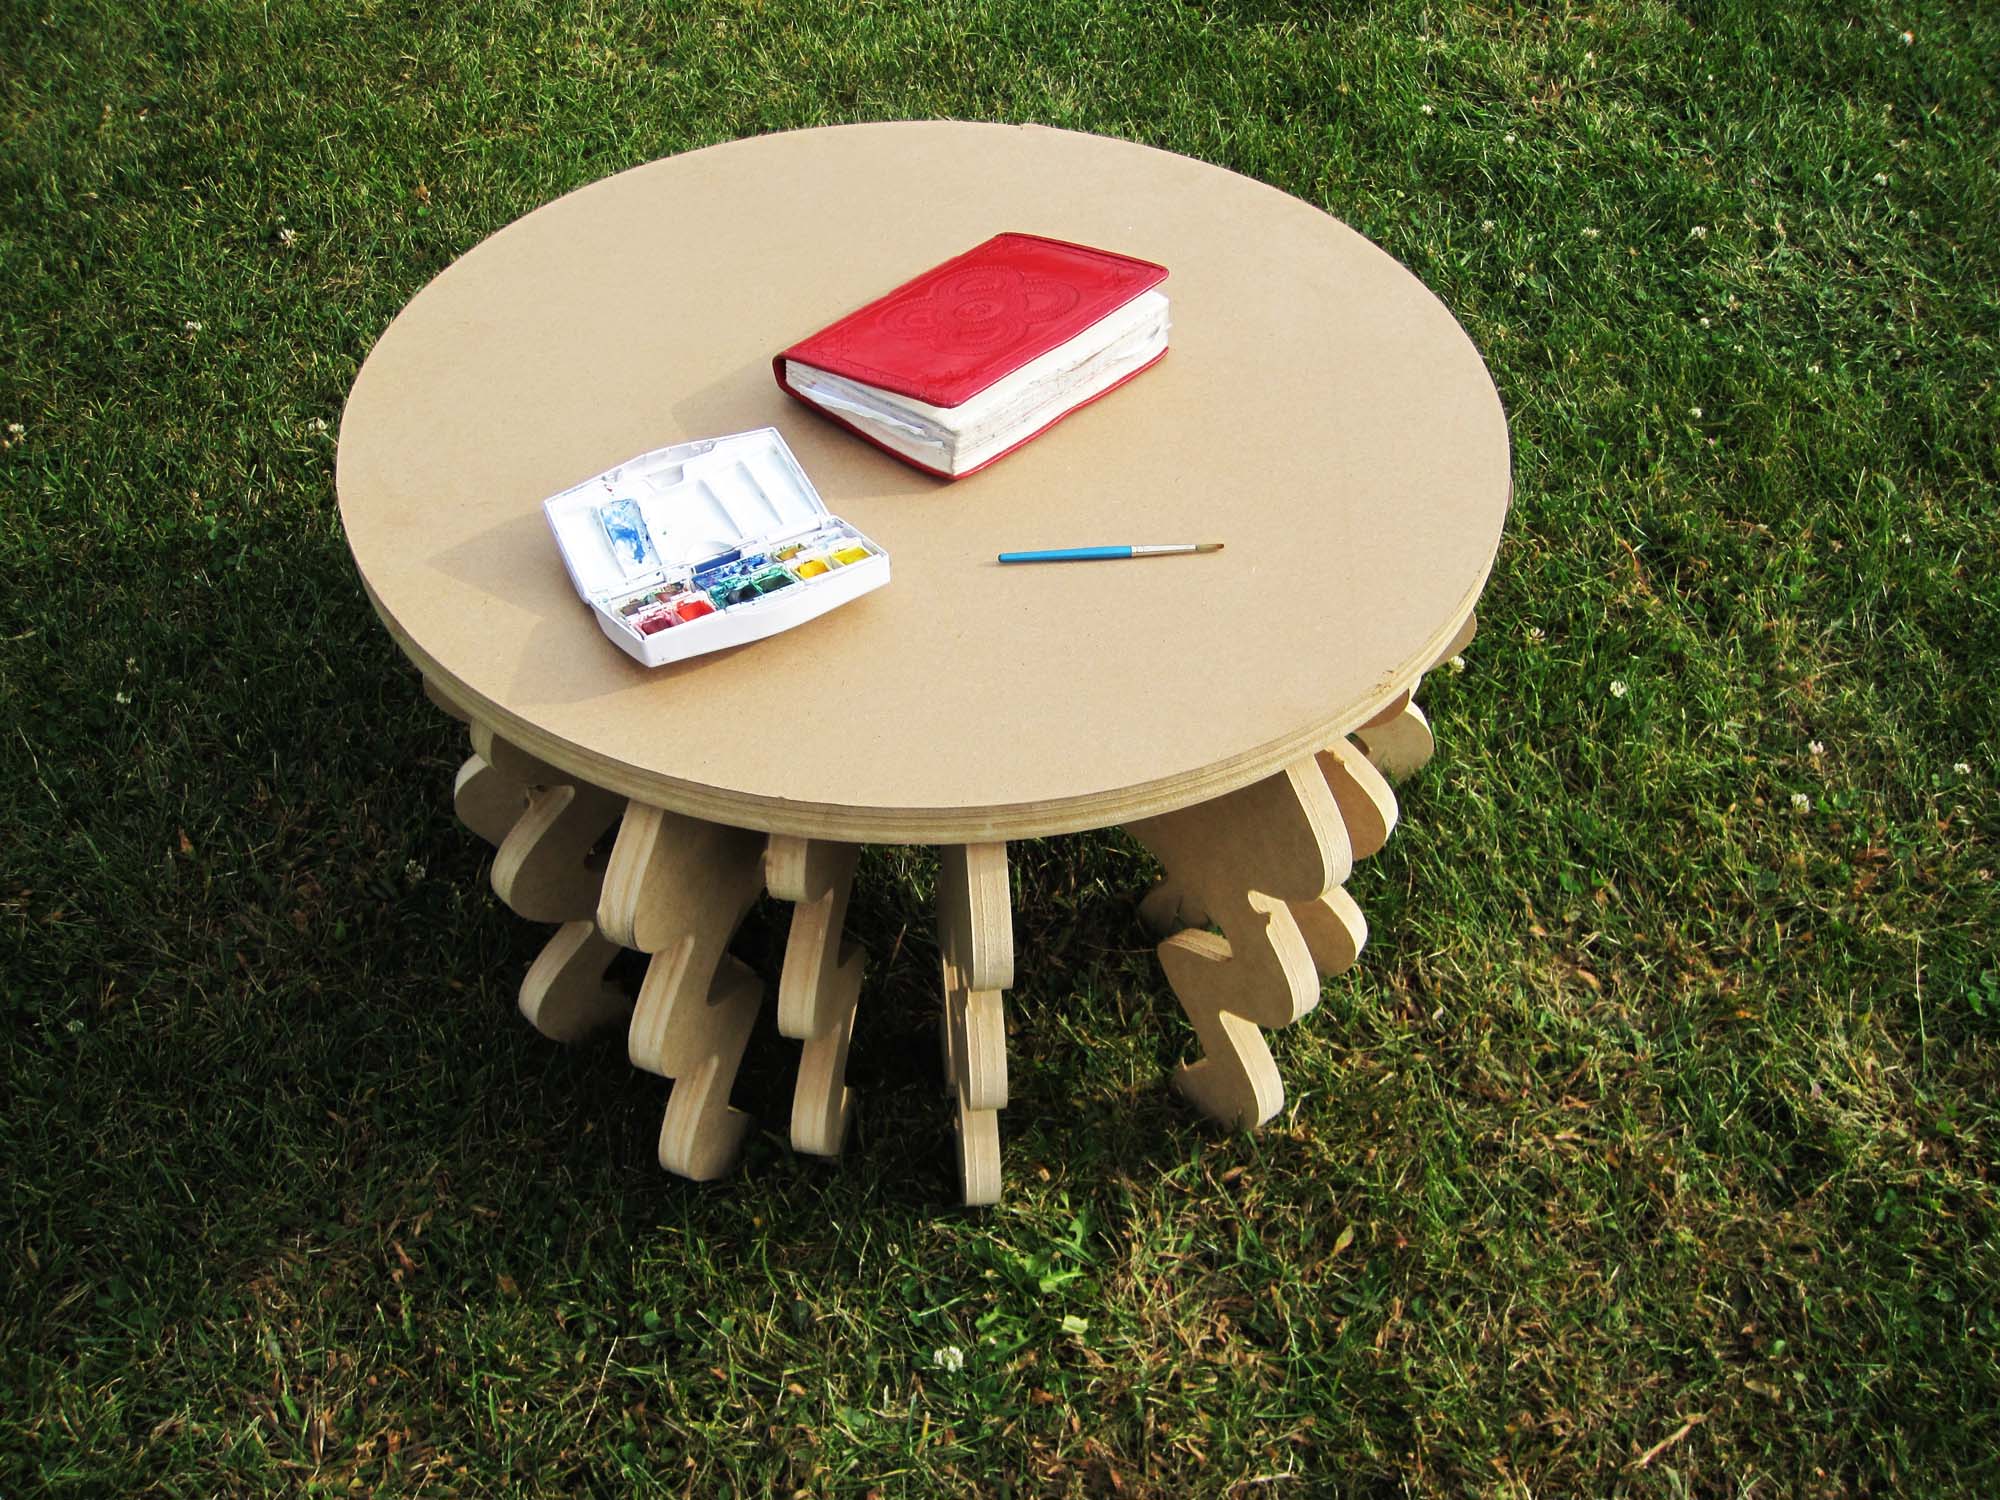
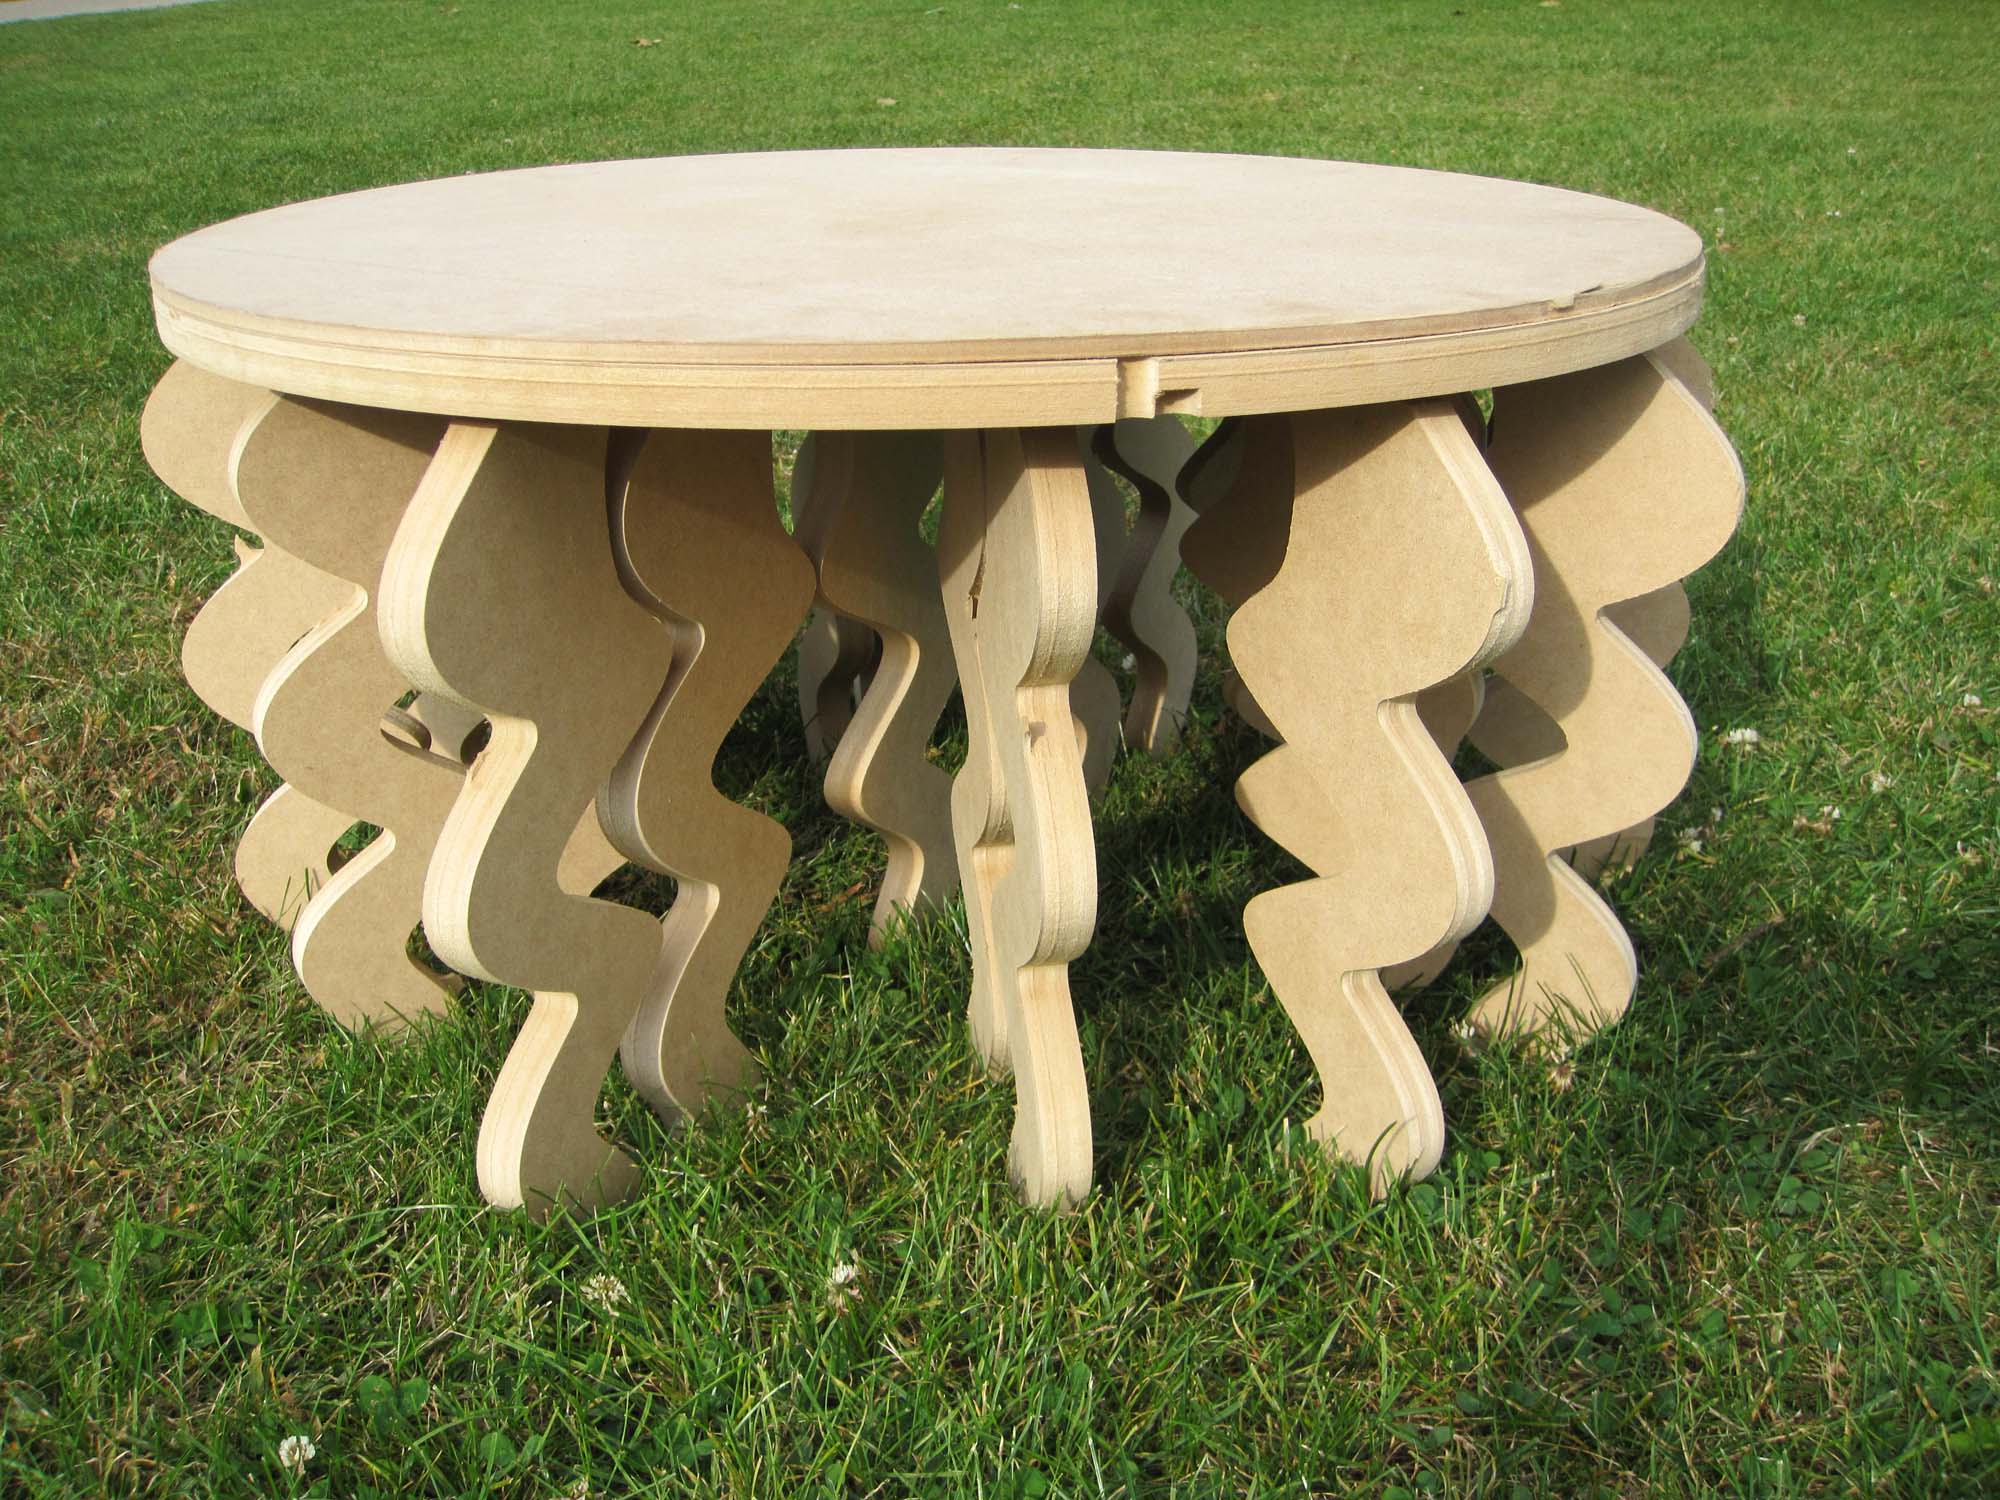
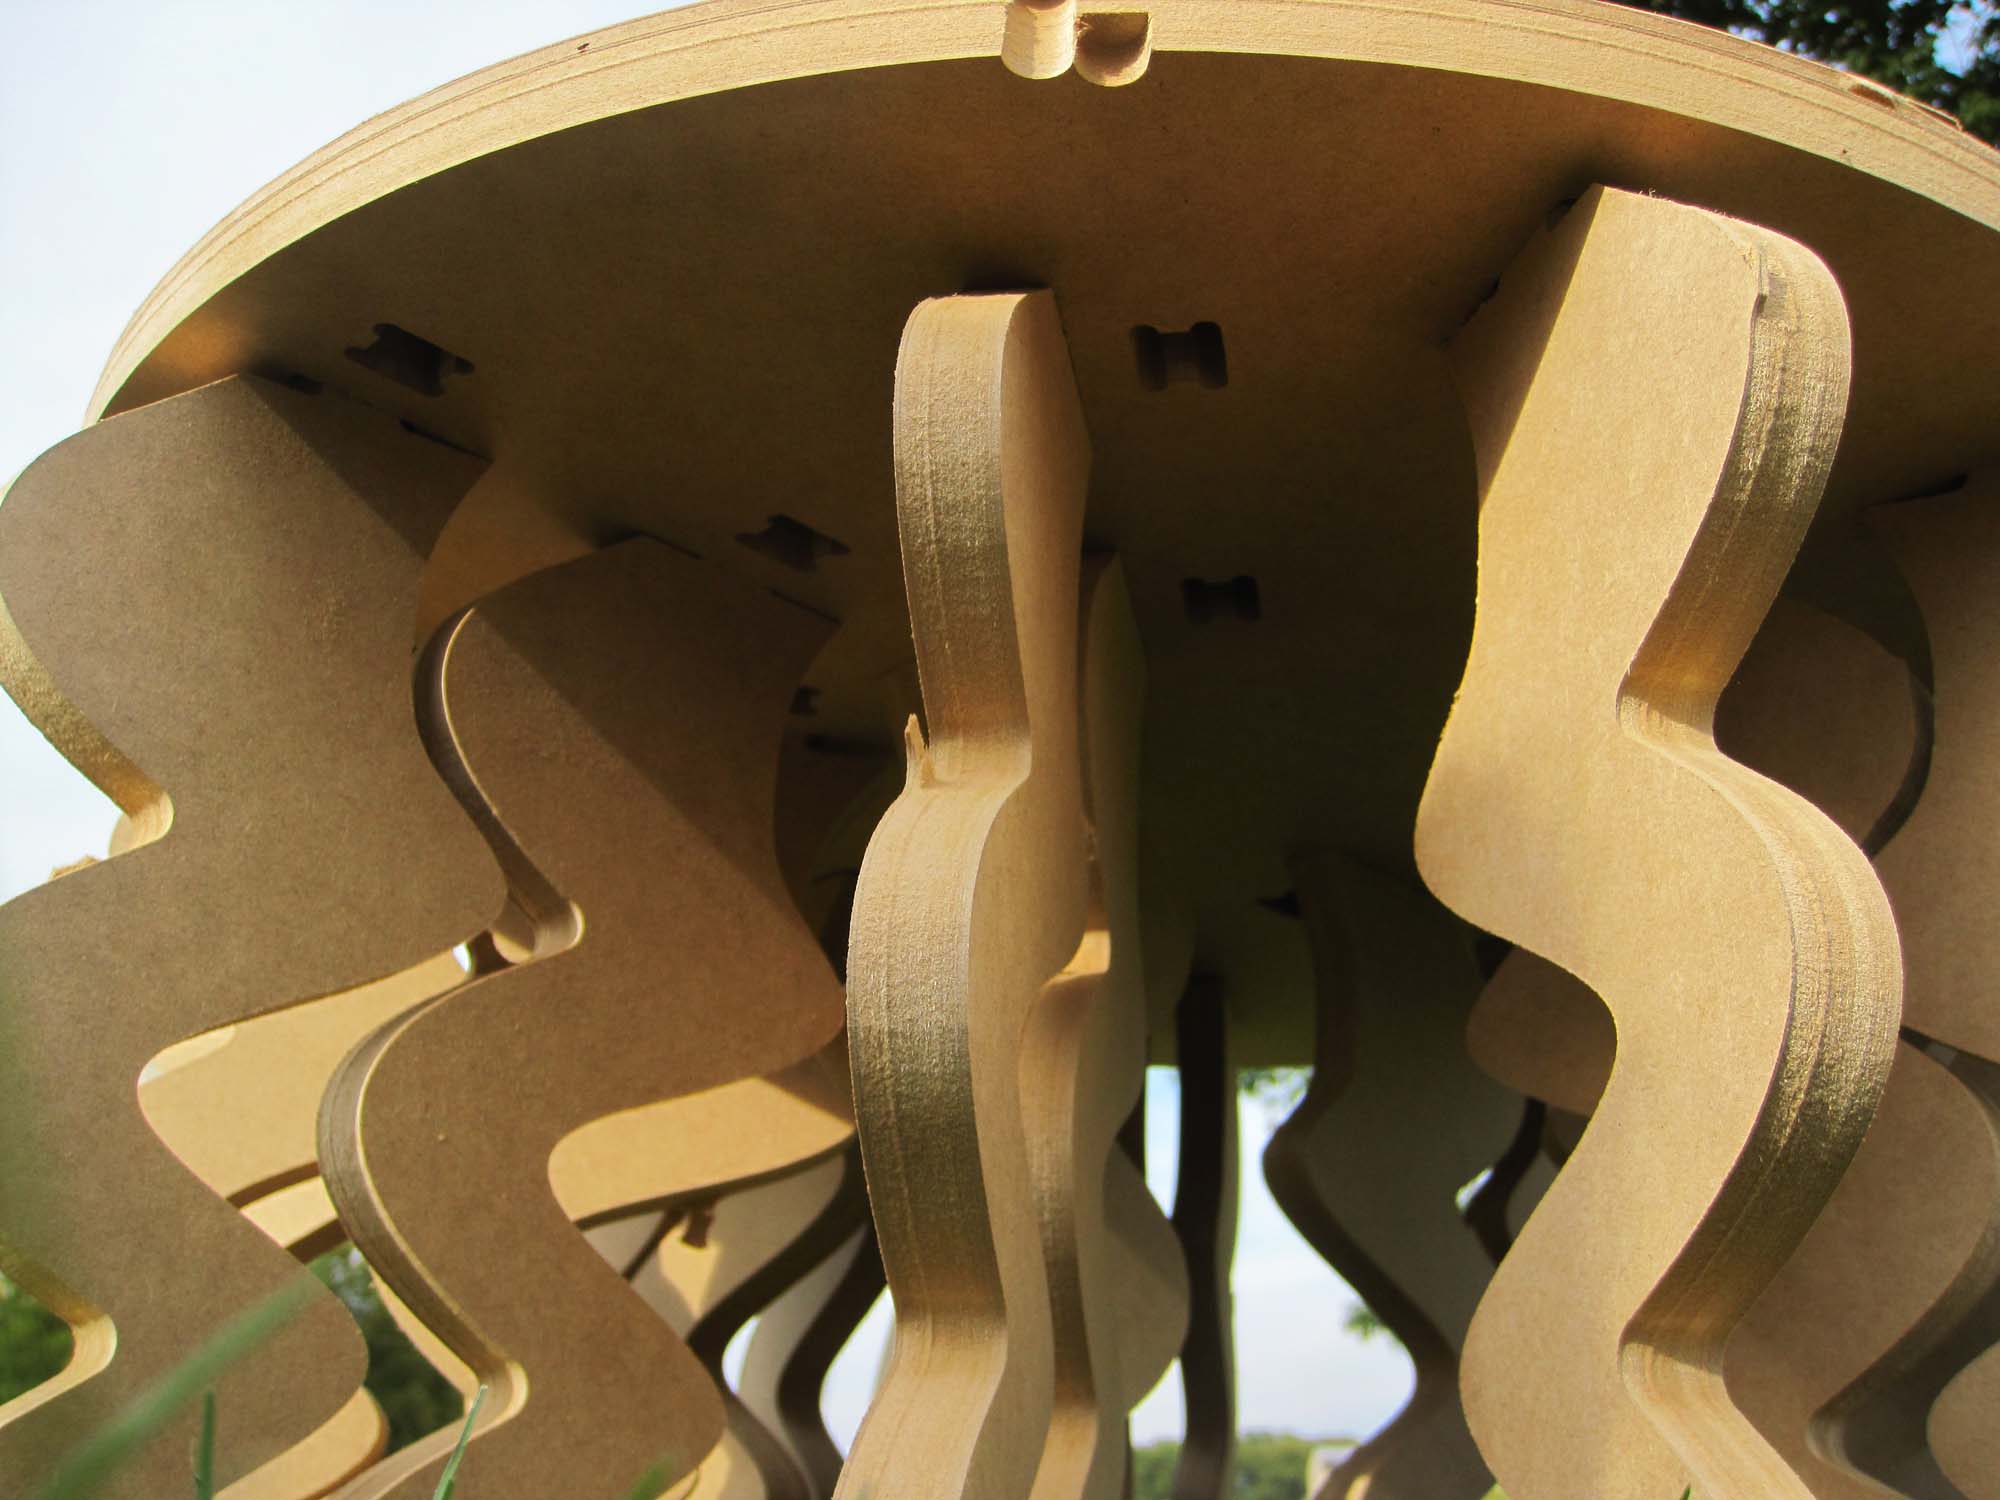
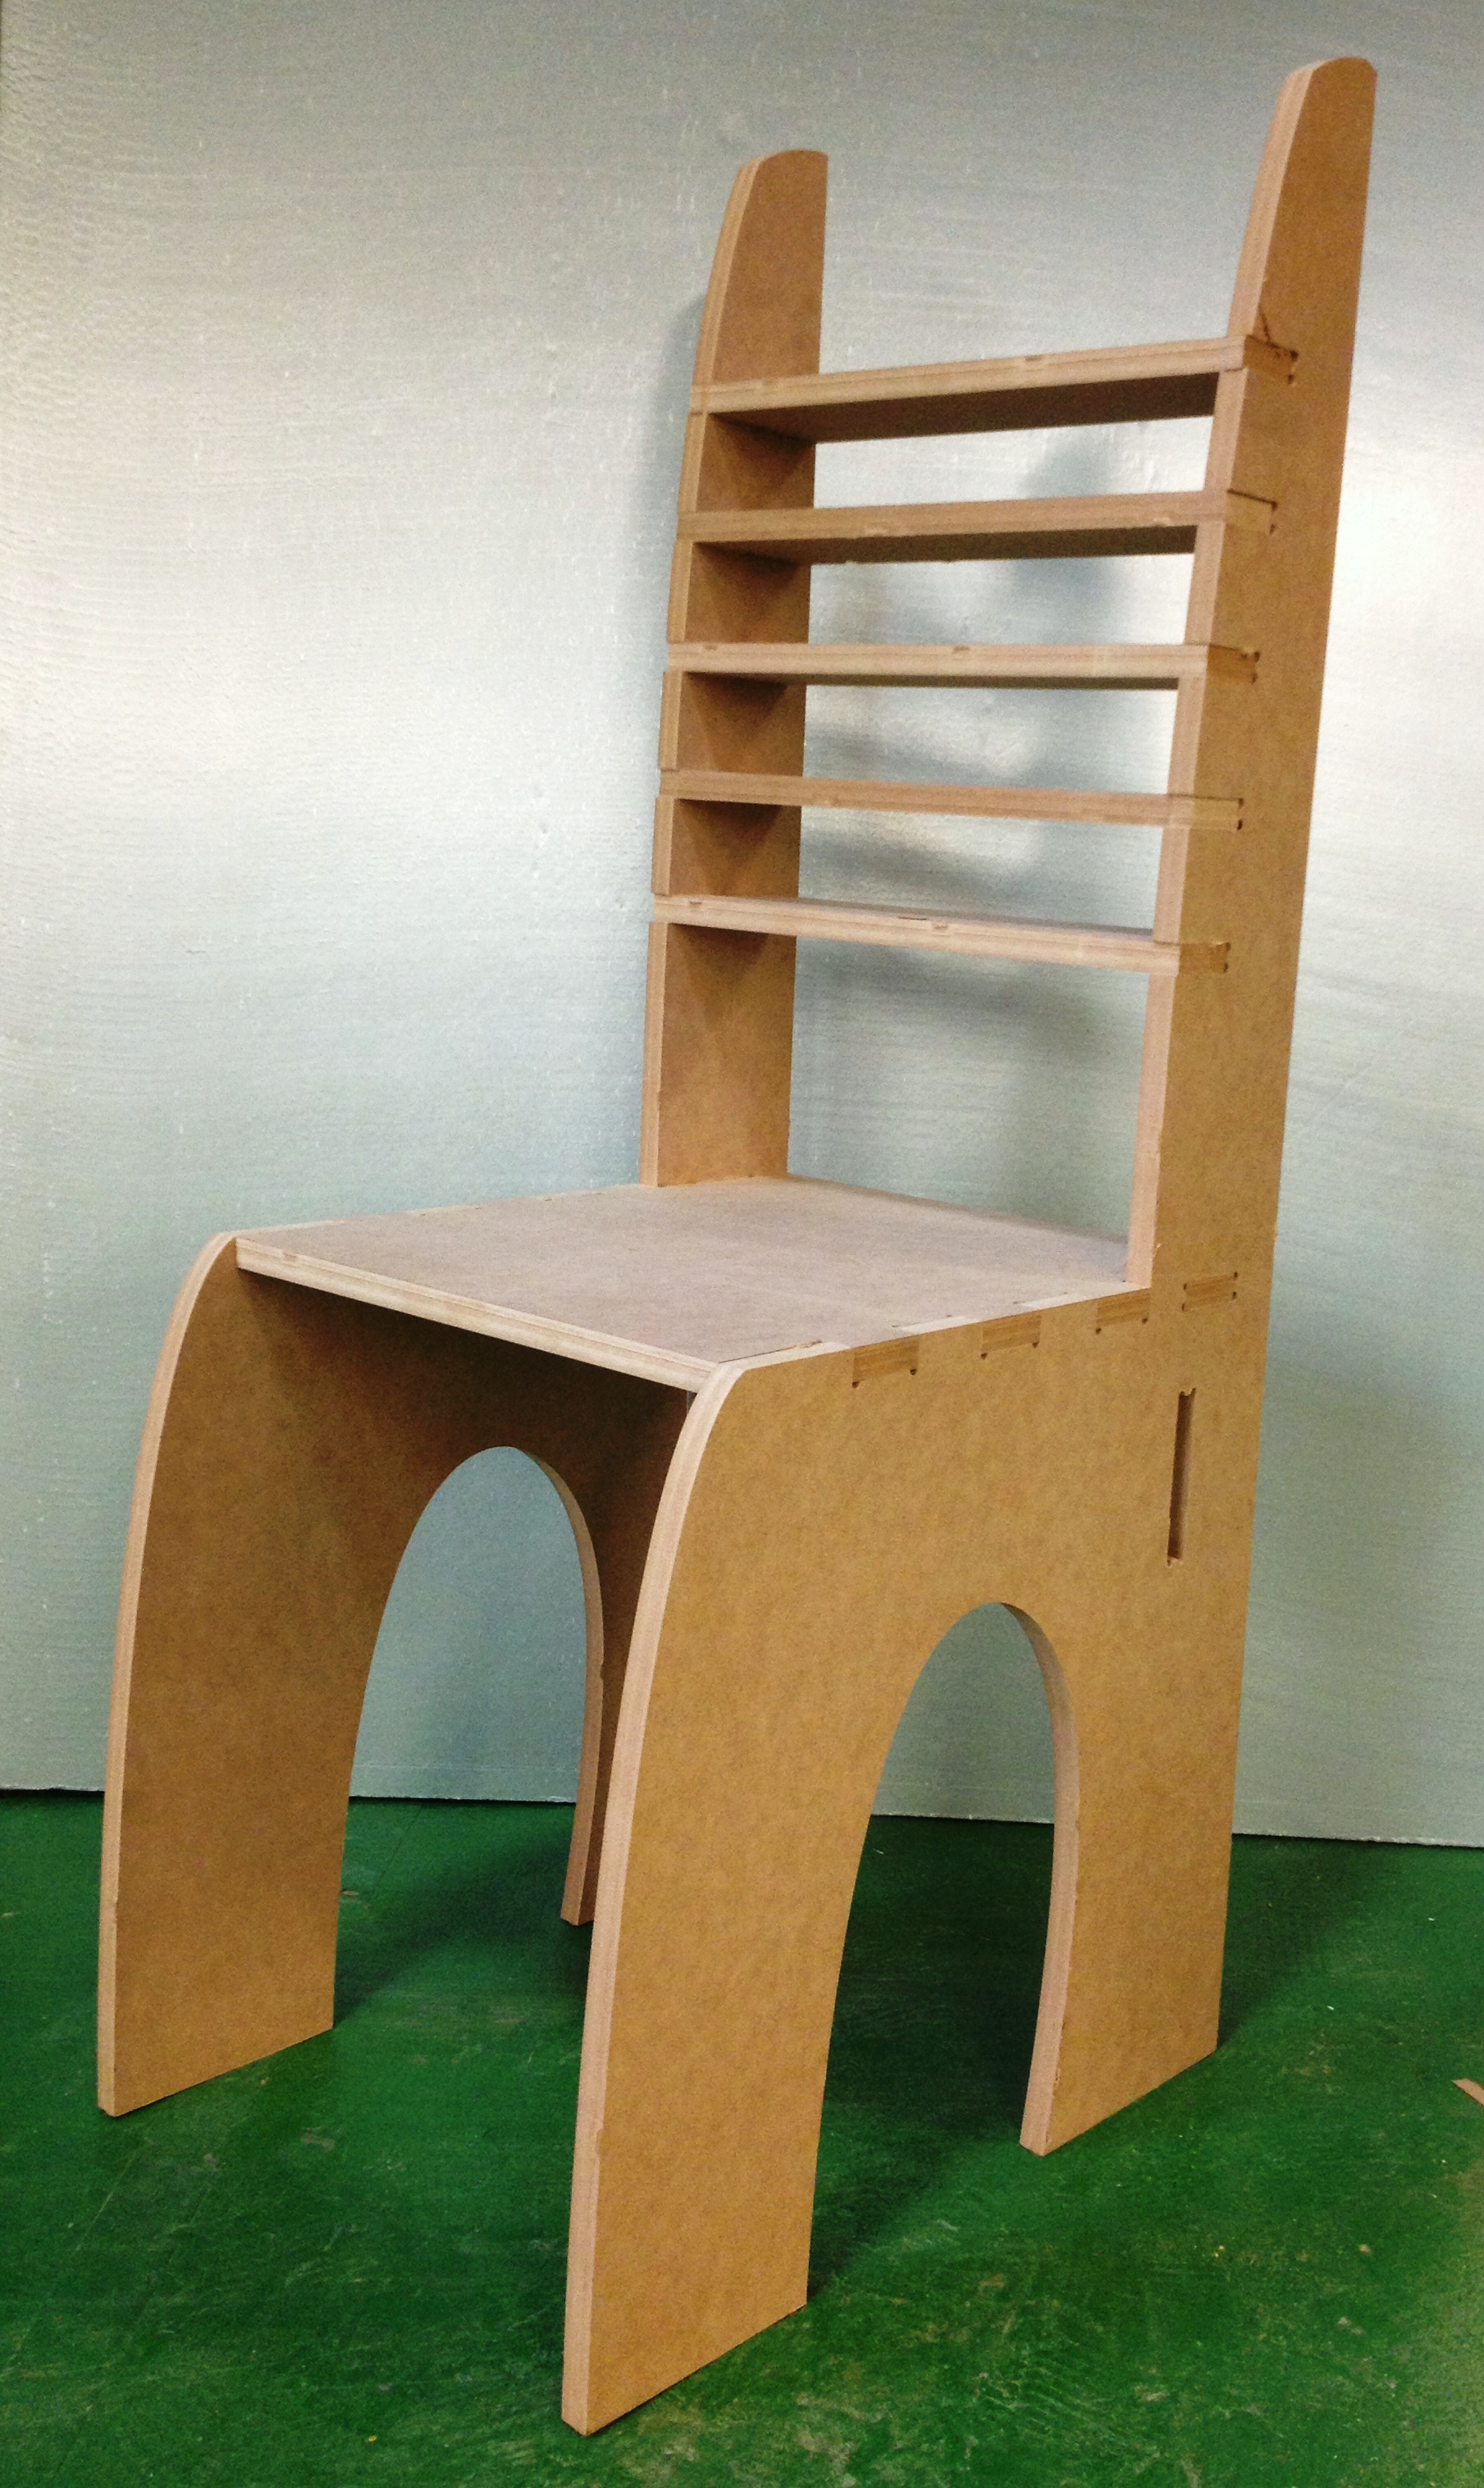
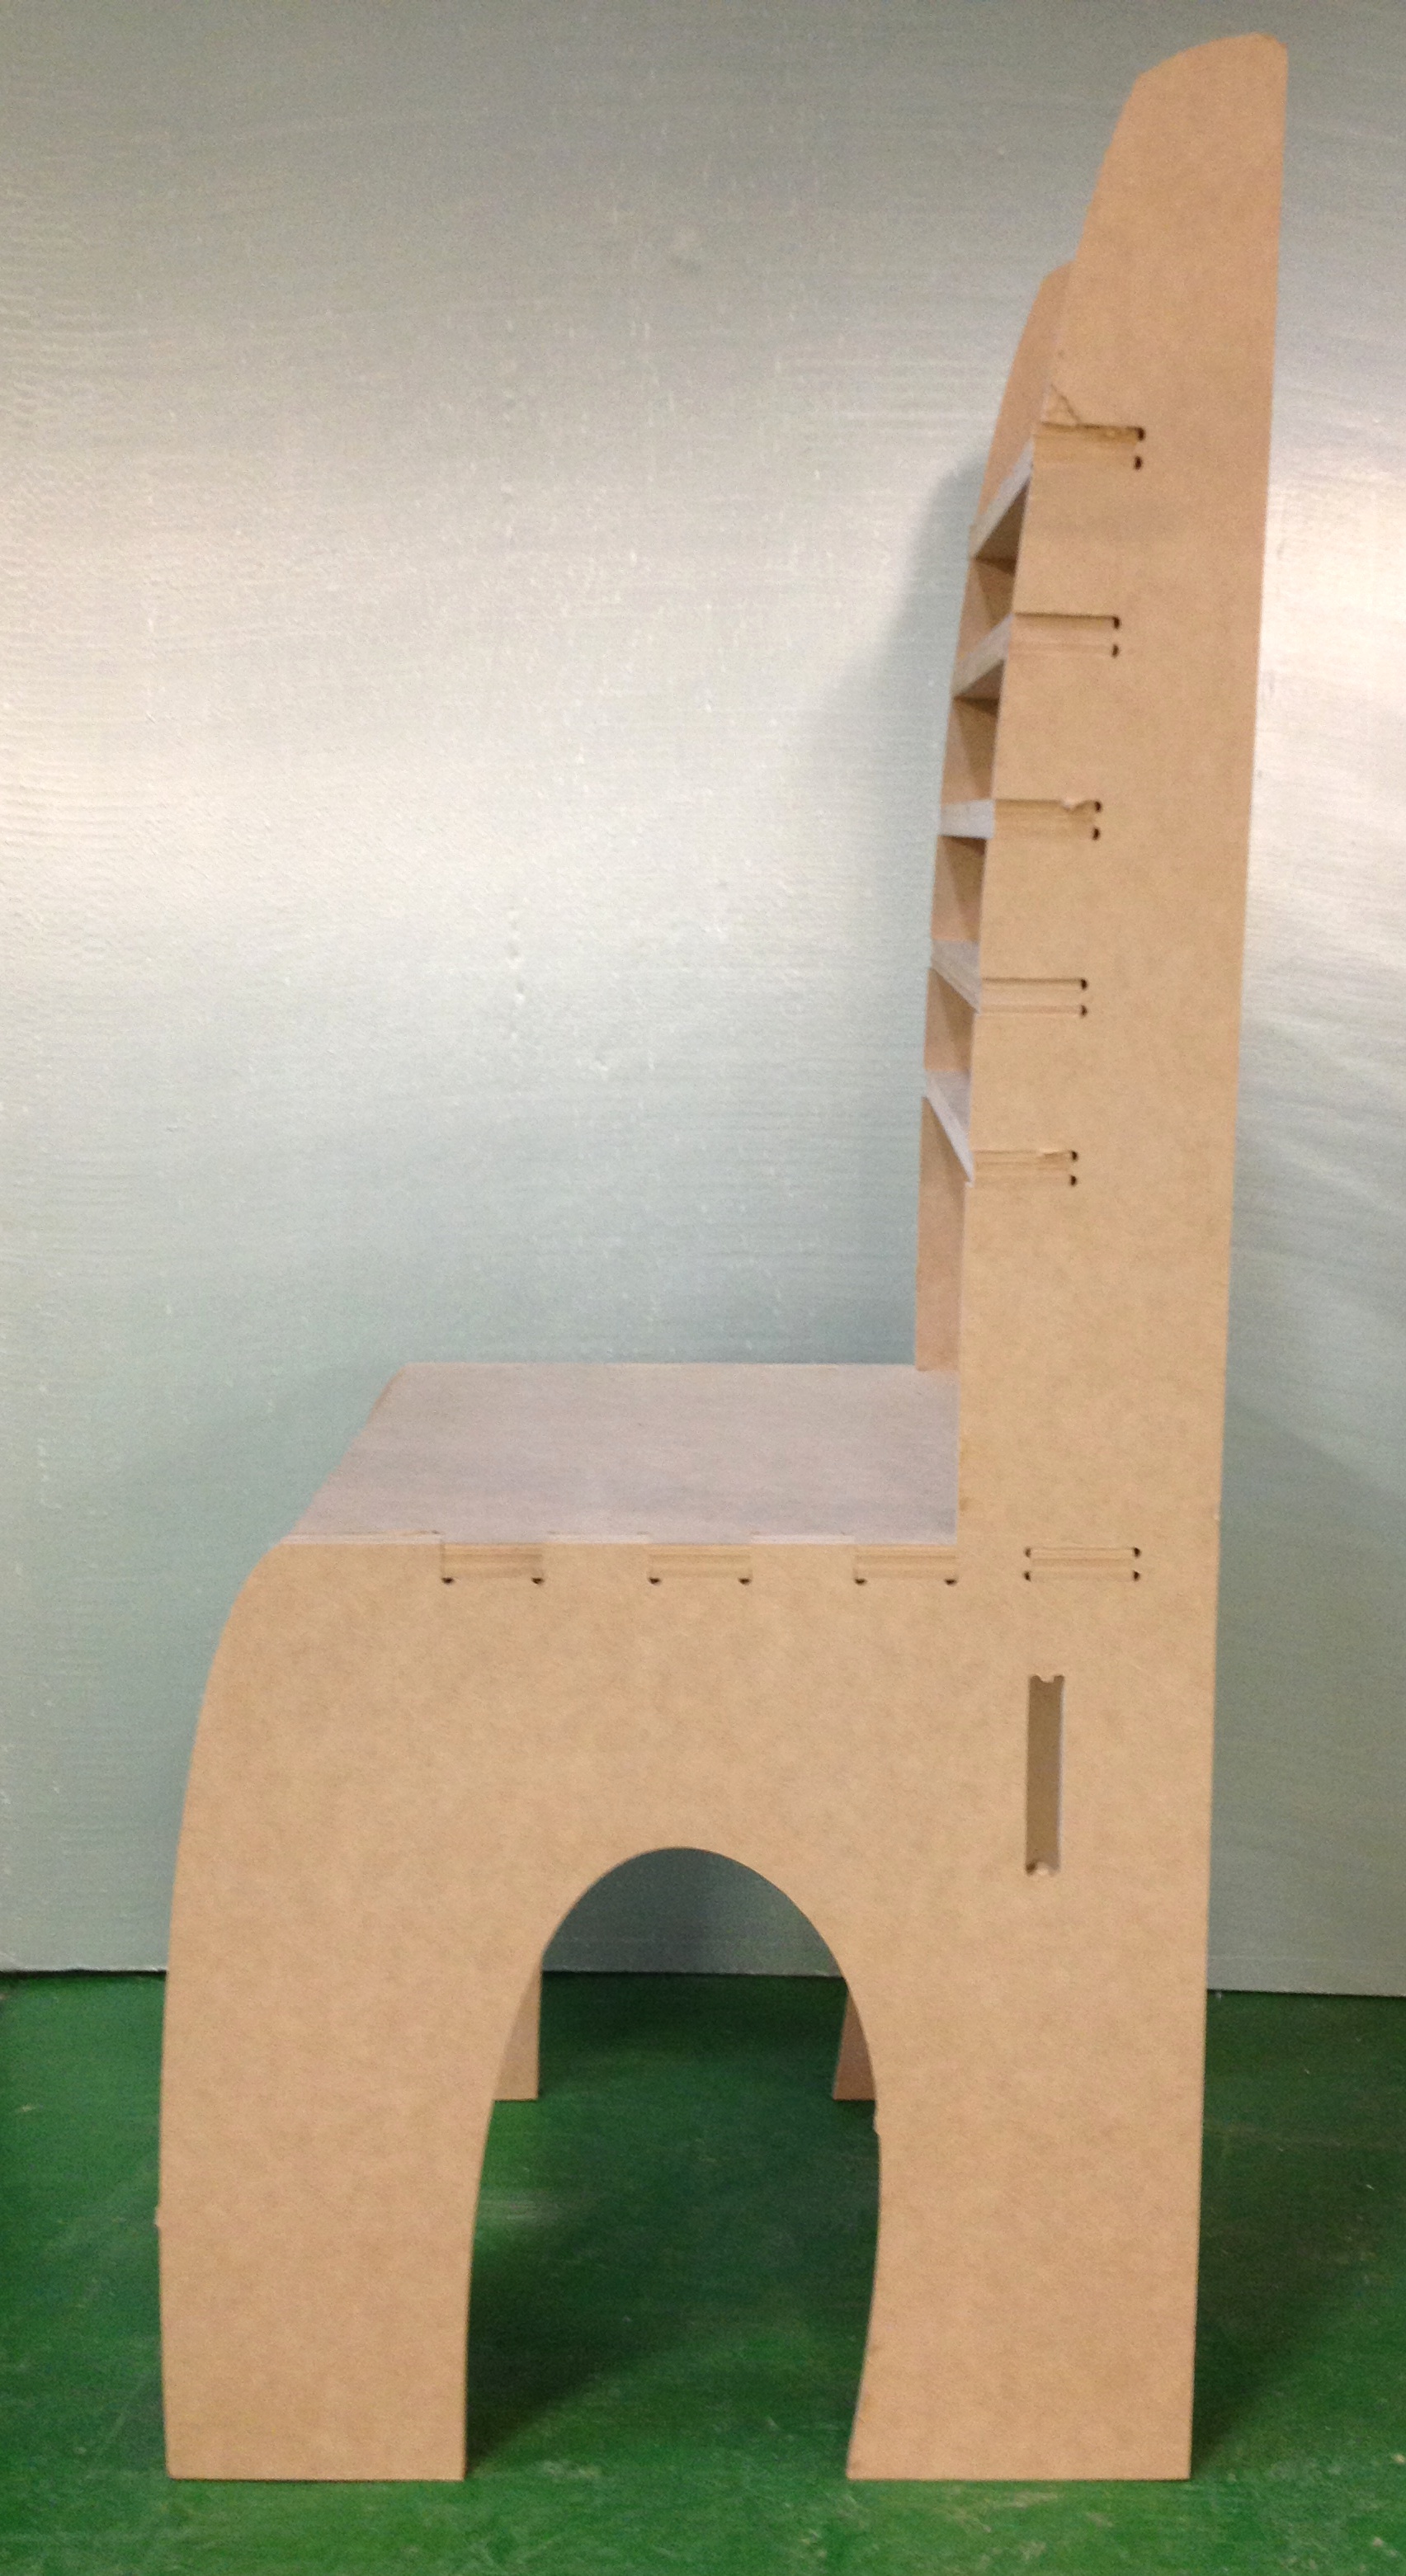
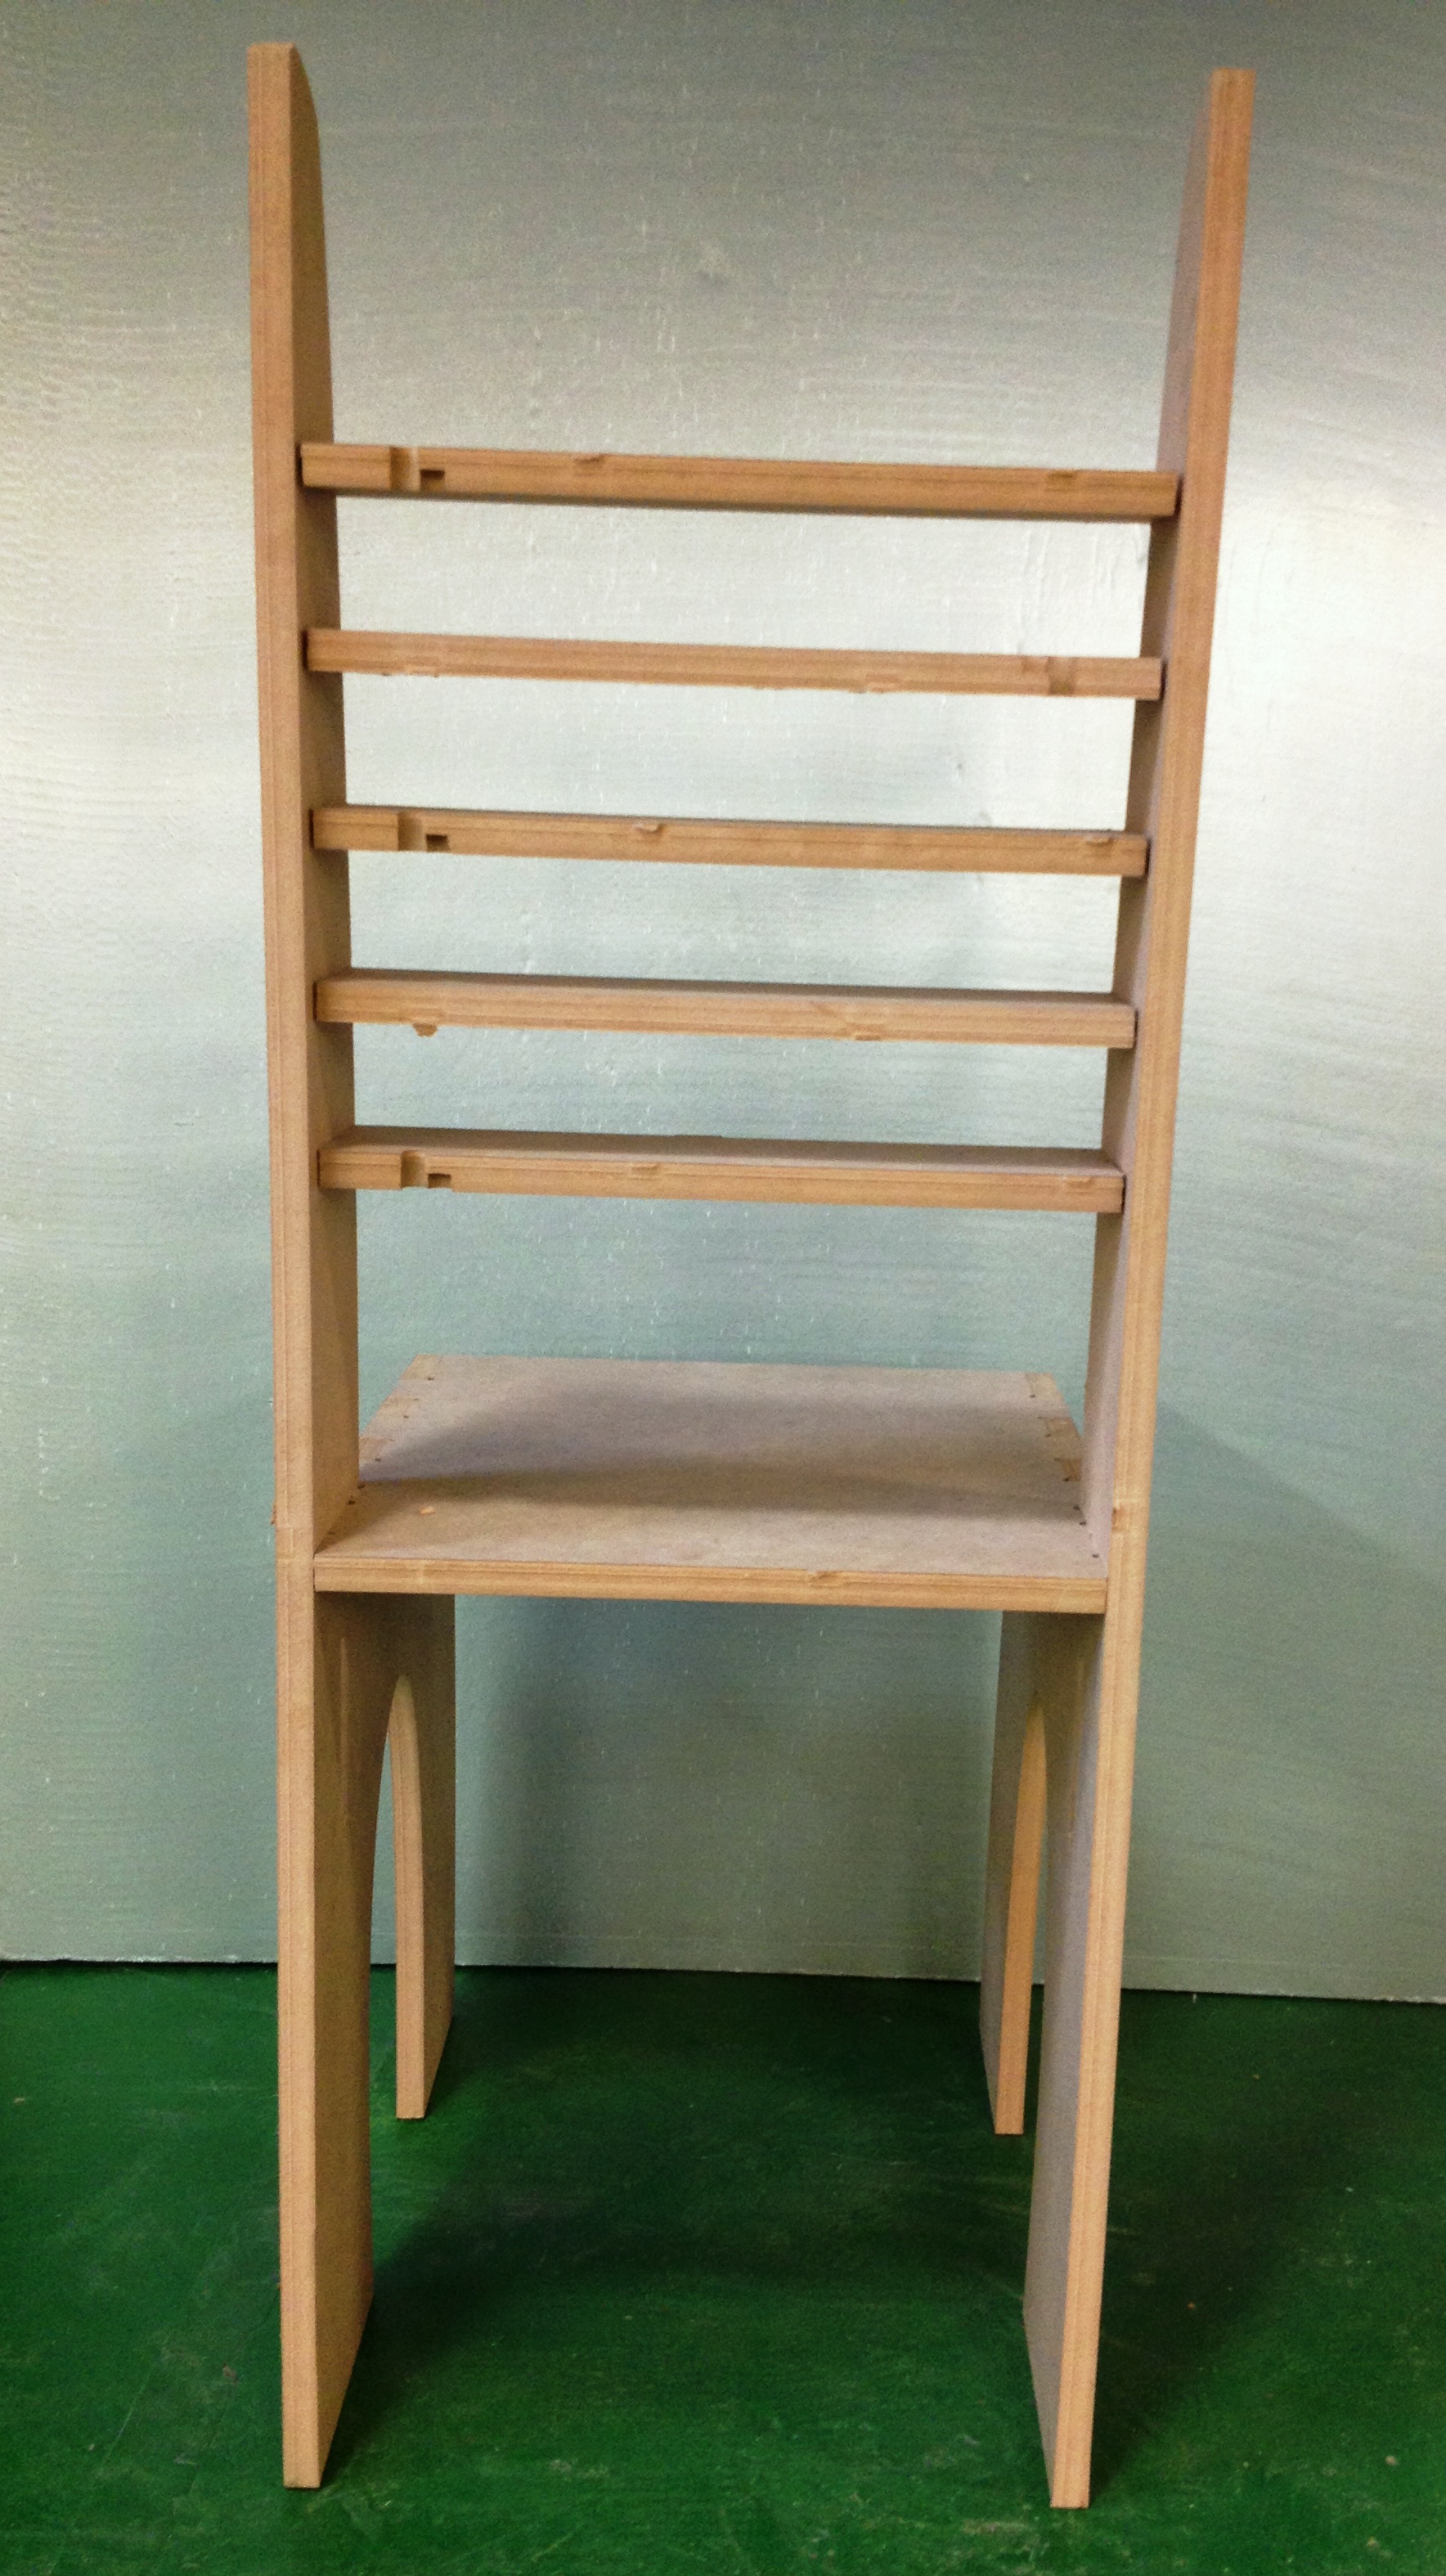
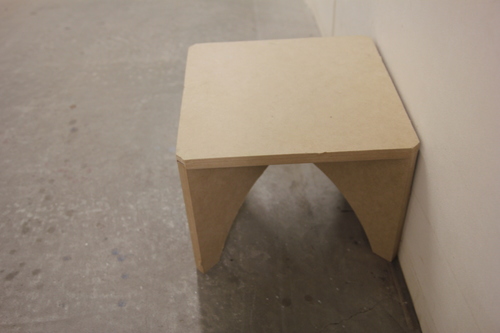
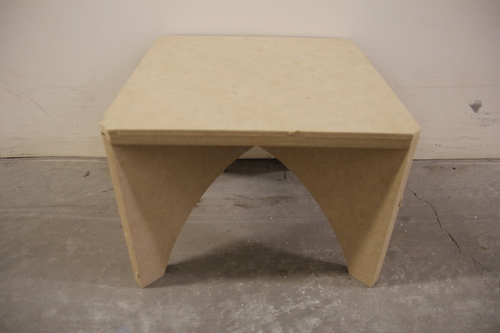
 Visually, this chair came out the way I envisioned it, but it was not physically secure. The triangular support pieces I made did not fit correctly and I had to leave them out. I plan on making pieces to secure the legs against the table top on both sides in the next version. I will also make it so the legs do not connect all the way to the surface. This time to hide the ugly bruises of the legs sticking up, I cut another circle to place on top. I found the size of the seat and the height of the chair to work for the idea I was trying to capture. On the next version, I want to make the placement of the legs look more purposeful. I did very carefully choose where to put the legs, but it seems from the sideways view, very random. Another addition I would make is a cushion. A flat surface as a chair is not meant to be something to lounge on, but at the moment, it would be difficult to even relax with how hard the chair is.
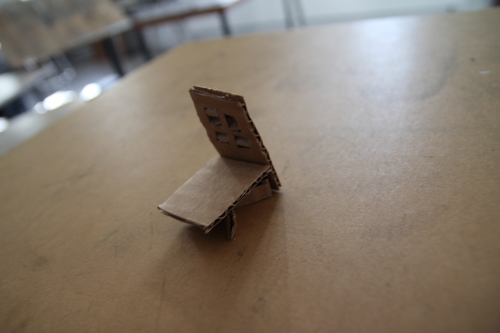

Two identical chairs, one with a box of a revolver and a bullet, one with the Bible.
It is a suicide kit, which people can use to act out or re-enact killing of oneself without getting hurt.
A laser-cut box will be used to store a “toy” gun and a bullet, while a real Bible sits on the other chair.
A pattern of a cross is essential, since first, it is good to look at
and second, my starting point comes from the Christian notion of shooting oneself in the head to “get rid of all the bad thoughts”.
I imagined, Tom wants to kill himself.
Jane would not like him to die, but also knows that she cannot stop him.
All Jane can do for now is to talk to him briefly and read the verses until there goes a sound.


