My modeled boxes files should be on blackboard, I submitted them through there because we were initially using it as our submission mechanism.
Oragami
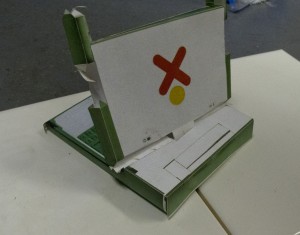
For the origami Test I used pepakura to unfold a simple 3D file I created using rhino. After pepakura unfolded the model into a vector format, I brought the file into photoshop and then illustrator to create and match textures onto the faces.
I modeled a small version of an OLPC laptop that I thought would be a nice gift to give away to people donating money to our Project Rwanda Fundraiser.
Tessellated origami with laser cutter
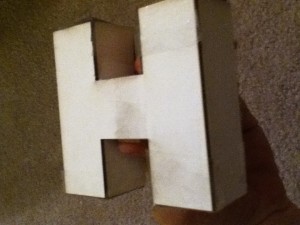
This is the final laser cutter design that was created with Pepakura Designer, the material I used is matboard which was not very ideal for folding because of the way in which it is layered which makes it hard to fold and tear.
The original design I had made for the folding assignment was much cooler and it was based on a tutorial by Hyoung-Gul Kook. The tutorial I followed can be found here http://livecomponents-ny.com/2010/03/22/4_5-tessellation-folding/
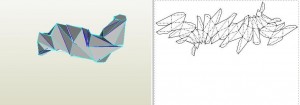
I had some trouble with the tutorial and Ali helped me contact Hyoung-Gul who very kindly helped me solve the issue I was having. Below is a picture of the model I made with the tutorial and on the left is the pepakura unfolded version. I laser cutted and tried to assemble the pepakura pattern but the tabs did not match together and the assembling was very complex to figure out without instructions.
Organic Small Table Model
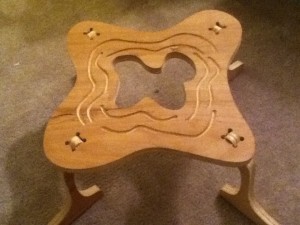
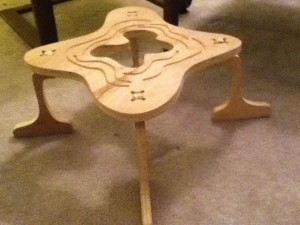
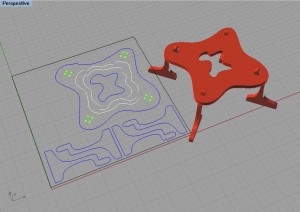
I ended up making a small model for a table. I wanted to make an object that I liked so I went with the theme of making a design that feels organic. The table uses 2.5 axis milling profiling and engraving cuts.
Final Project Documentation
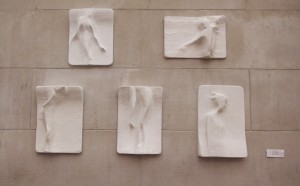
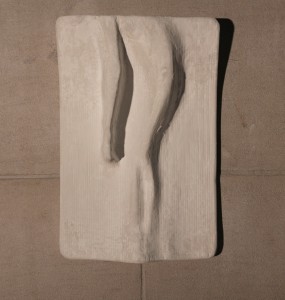
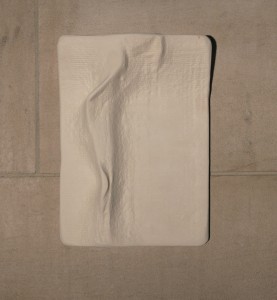
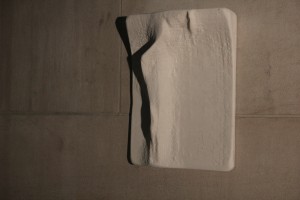
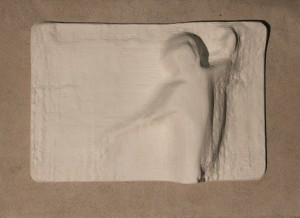
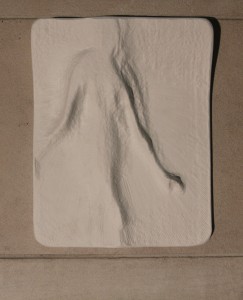
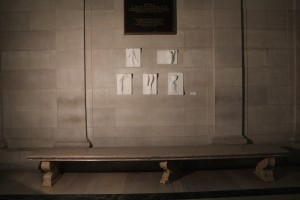
For my final project I used black and white photographs of figures behind tracing paper, translated them into height maps in rhino, printed them with the CNC and then sanded and painted their surface. The process created a primitive kind of 3D imaging by treating the original photograph like a distance map and then translating that to 3D data. The resulting reliefs are a reflection on the computer’s desire to separate the figure from the surrounding noise.
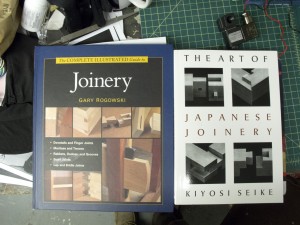
CNC Router Project- Japanese Joints
For this project I wanted to try and push the boundaries of CNC jointery. Typically there is a specific aesthetic that is given to furniture or projects made with the router. Mainly the restriction comes from the 3 Axis limitation of milling into the stock, but also the restriction of the round router bit filleting every corner.
For this project I made 3 cuts that involved registering the stock on the table -> making a cut -> and then rotating -> and re-registering the stock for the next cut. I was able to do a large dovetail joint and also a custom lap joint.
Also part of my CNC testing early on was how to do 2-sided milling. My first attempt (referenced below) did not work because I made the mistake of not centering my virtual file in the center of my virtual stock. Therefore When I attempted to flip the actual material, the cut passed too deep through the material
CNC Routing Adventuretime
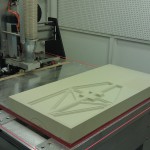
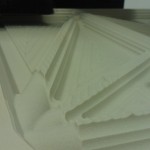
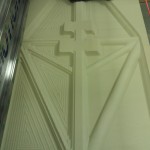
I made use of the CNC Router in Doherty today. I cut molds for two carbon fiber panels to be used as driver close-outs in the Formula SAE race car. The foam was a 6lb/ft^3 density polyisocyanurate (polyiso for short). The foam has similar properties to polyurethane foam, such as closed cell (very tiny air bubbles), and importantly is not adversely affected by most solvents and can be coated with a wide variety of sealants, paints, and primers. These pieces were cut using a 1/2″ ball nose endmill for the horizontal roughing passes, then a 1/4″ ball nose endmill for the parallel finishing pass. Below are some in process and finished CNC shots. I’ll follow up with primered, sanded/polished, and carbon parts at a later date.


