Justin Lin – 3D Printing Project
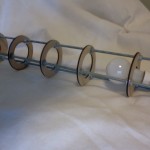
Description: This project attempted to create a living object out of the 3-D printer. The form is informed by tree stumps and is designed with a system of vents connected to rubber hoses which allow me to blow air through. Bubbles and foam precipitate from the vents when I breathe through the stump, with the help of a little soapy water sprayed on.
Material: White ABS plastic
File: justin_lin_3d_printing_final
I have been in communication with Zach about the CNC-router at M Morrison and the difficulty to schedule times on it.
He is aware of the problem and is working to open some times, but our schedule happens to collide with projects/deadlines in architecture.
Luckily, the Doherty Hall CNC-router is now completely installed, training (for myself and School of Art tech staff) will take place in the next week or two and we should have access to the router for the second have of the project.
In the mean time, please continue with your designs for the 2.5-axis milling assignment (“the holder”) and be prepared to present the designs without the fabricated object on Wednesday, March 7, 2012. For those who will not have a chance to cut their designs on the router, I recommend fabricating a prototype at a smaller size, using the laser cutter.
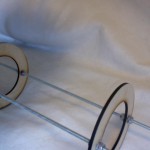
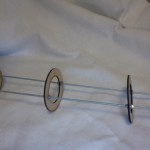
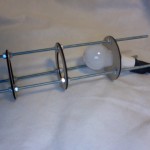
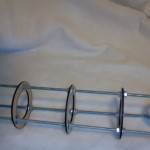
Well… this was definitely not as good as a design. While it may be lighter, the structural integrity I had with the original 3 rod Light Rod is crucial for the stability of the piece. My installation of this is going well forward as I found a way to directly wire each light bulb in a circuit. None the less a far inferior design and does not conceptually grasp the “subversive alternative light” that the other, larger Light Rod had.
Many examples of furniture CNC routed.
Please post Rhino files and photos of finished project (with solid color background) to this blog.
Design and build a holder using 2.5 axis routing techniques introduced this week. The holder can function for people (chair, stool, bench, head-rest) or for things (book shelf, laptop stand, table). Consider using .75″ or 1″ MDF as your material.
Post Rhino files and images of the finished piece on this blog.
Should reservations availability on the Morrison CNC router post a problem, please contact Ali and Zach by email.
NOTES on processing your design for 2.5 axis routing job:
- open Machine Operations (MOP) Browser from “RhinoCam 2.0” menu
- open Tool Library Browser from the “RhinoCam 2.0” menu
- In the MOP window, under the “Create” tab, click on “Stock – None” and indicate the size of your stock material [brownish stock material should be visualized]
- Under the “Create” tab of the MOP window, select “Profiling” from the “2.5 Axis”
- Under the “Maching Features/Regions” tab, indicate the curves in your design that are to be profiled
- Under the “Tools” tab, indicate the tool you wish to use for .
- Under the “Feeds and Speeds” tab, indicate appropriate parameters (refer to CMU dFAB “White Book”)
- Under the “Cut Levels” tab, indicate “Total Cut Depth” (thickness of your material for profiling) as well as the number of passes (“Rough Depth/Cut”)
- Under the “Cut Parameters” tab, select “Outside” or “Inside” depending on the type of profiling
- If your design requires “inside edge” profiling as well as “outside edge”, repeat the above steps for your inside profiles also
NOTES on creating designs in Rhino for 2.5-axis routing:
- Create two rectangular curves that represent the bottom and top surfaces of your stock material
- Place bottom left corner of your stock material at the origin
- Your geometry (all curves) should be planar and placed at the TOP of your stock material
TIPS
- In your RhinoCam generated g-code, change “M61” to “M61.1” in order to turn on only the front 1/2 the vacuum table
“Form Study”
(by no means does he write that these are dildos)
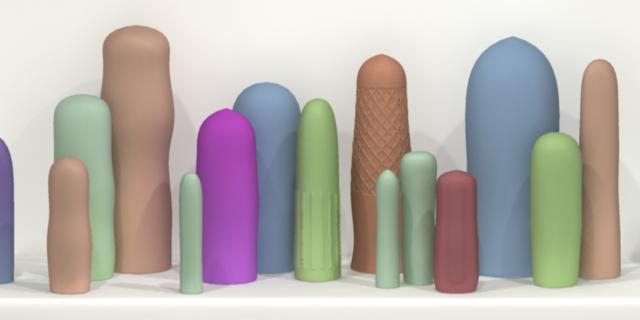
http://salavon.com/work/FormStudy1/image/255/